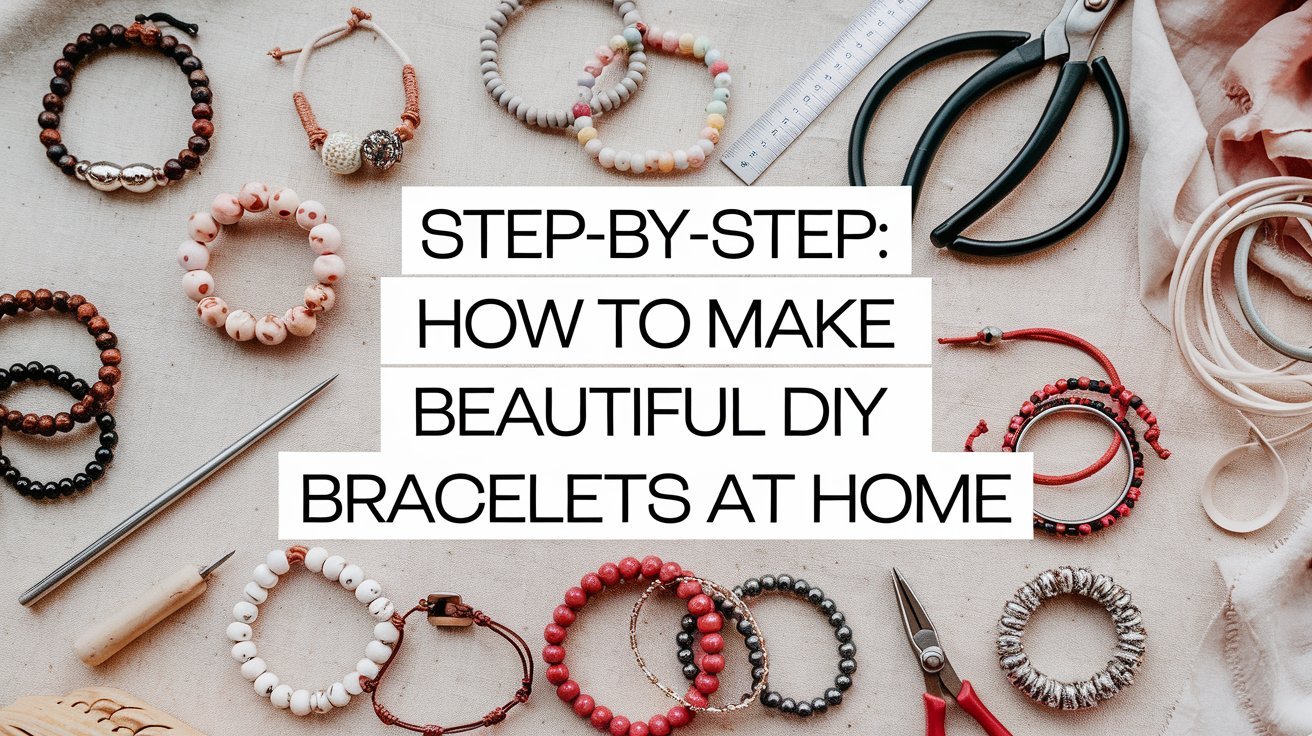
For me, crafting DIY bracelets isn’t just about making accessories—it’s a way to unwind, spark creativity, and create something truly unique. I’ve realized over time that whether you’re creating for yourself, gifting to loved ones, or simply experimenting with a new hobby, DIY bracelets bring a special sense of accomplishment. Let me guide you through seven beautiful bracelet designs that I love making at home.
What You Might Need
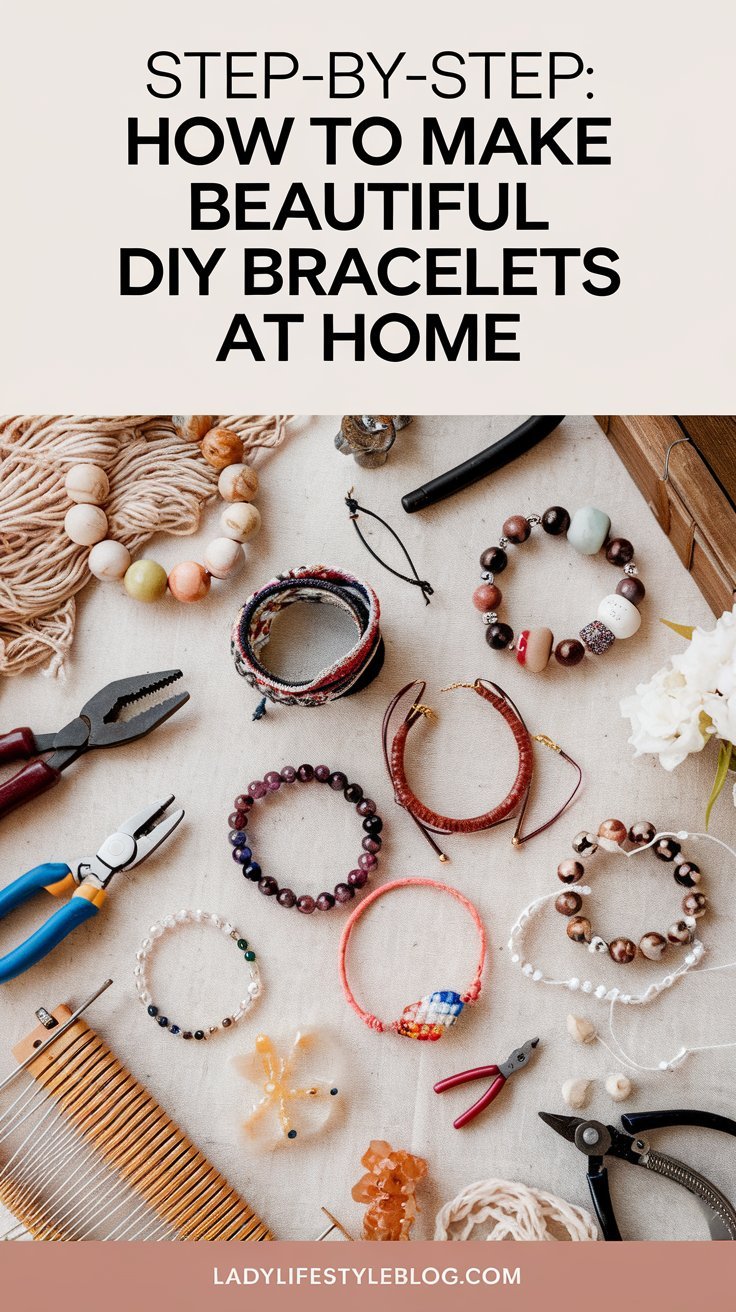
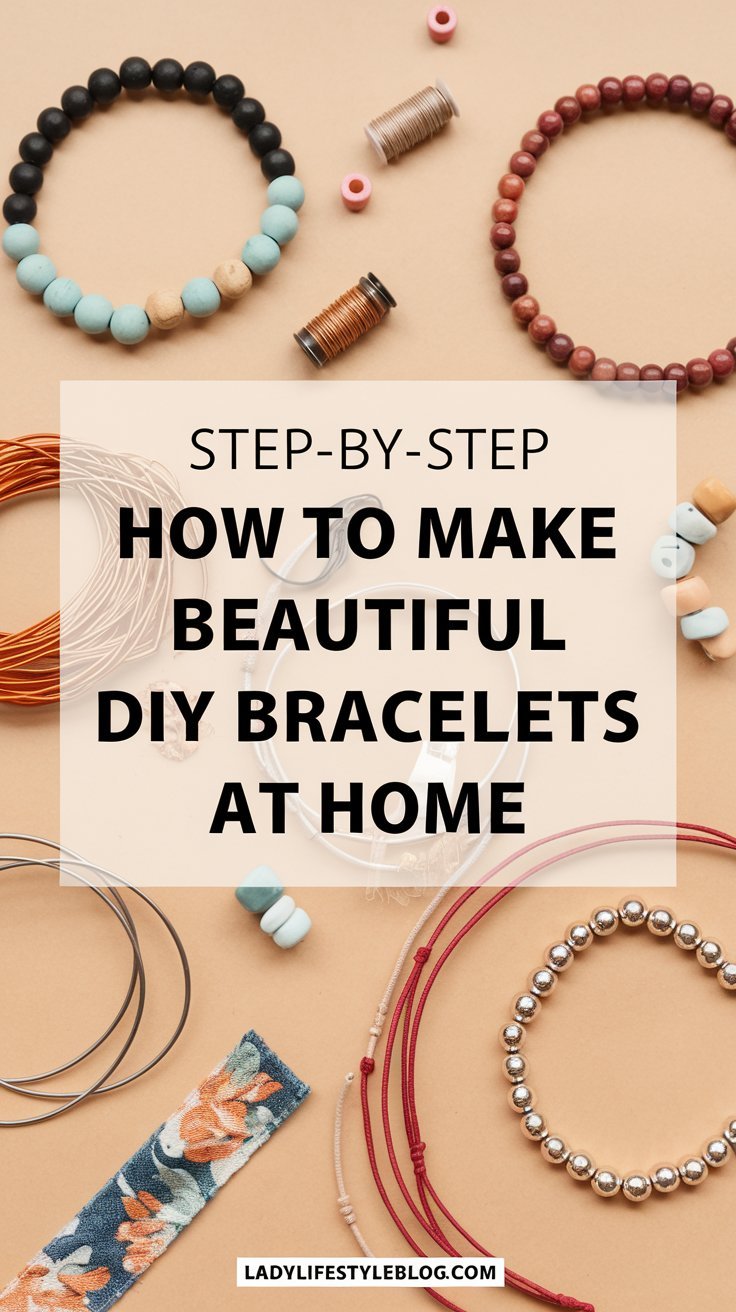
Before we get started, here’s a quick checklist of items you’ll need for your DIY bracelets:
Basic Tools:
- Scissors
- Needle-nose pliers
- Tape or a clipboard (for securing thread or wire)
Stringing Materials:
- Elastic cord
- Jewelry wire
- Waxed thread or embroidery floss
- Leather cord
Decorative Elements:
- Beads (glass, wood, clay, plastic, or metal)
- Charms and pendants
- Jump rings and clasps
Finishing Touches:
- Clear nail polish or jewelry glue (to secure knots)
- Measuring tape (for accurate bracelet sizing)
Pro tip: Choose materials in your favorite colors and textures to make each bracelet truly yours.
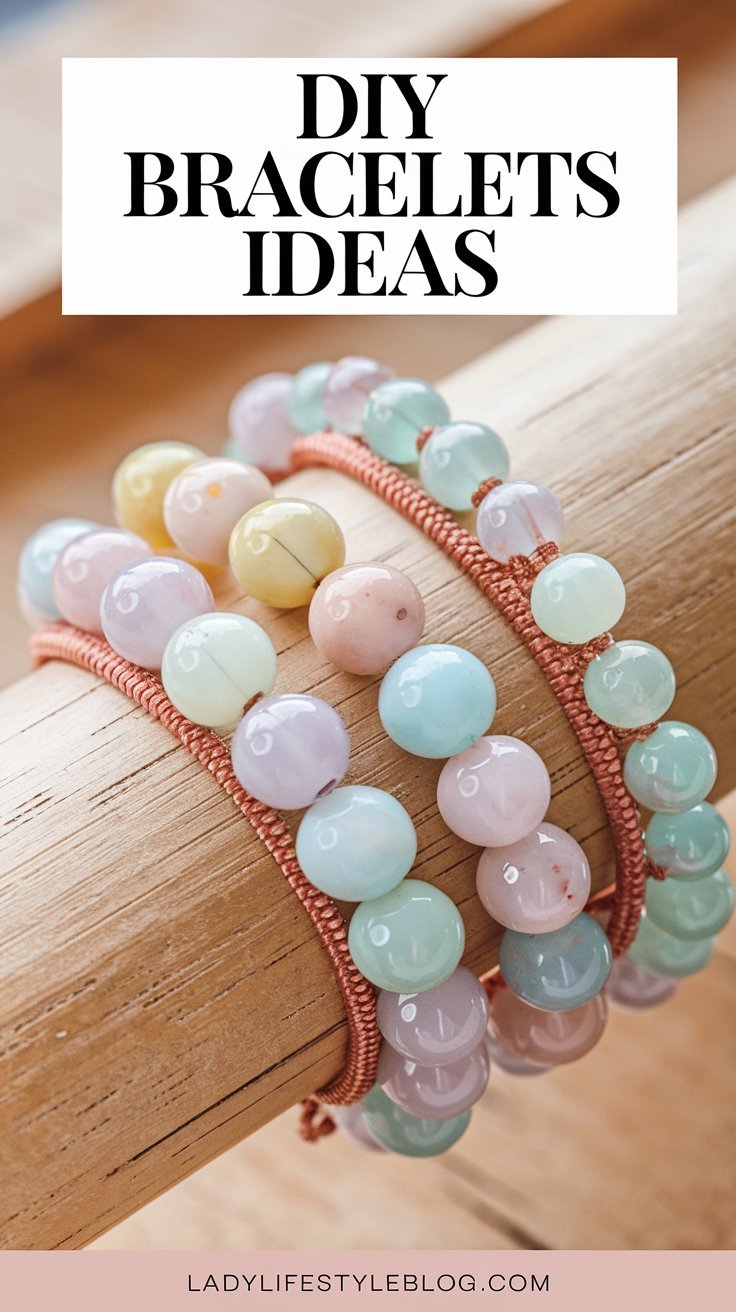
Beaded Stretch Bracelet
Easy, elegant, and perfect for beginners.
Beaded stretch bracelets are a classic and simple way to get started with DIY bracelets. They’re versatile and can be dressed up or down, depending on the beads you choose.
Steps:
- Cut a piece of elastic cord about 10 inches long.
- String your beads onto the cord in your desired pattern. Play with colors, sizes, and textures for a unique look.
- Once all the beads are in place, tie a secure double knot. Add a drop of clear nail polish or jewelry glue to seal it.
- Trim any excess elastic, and you’re done!
Pro Tip: Pre-stretch your elastic cord before adding beads to prevent sagging over time.
Styling Ideas: Pair multiple stretch bracelets in complementary colors for a trendy stacked look. Mix matte and glossy beads for added texture.
Common Mistakes to Avoid:
- Using a cord that is too thin—it may break easily. Choose a sturdy elastic that fits snugly through your beads.
- Skipping the glue on the knot, which can cause the bracelet to come apart after wear.
Picture This:
Imagine glossy pastel beads on a stretchy cord, delicate enough for stacking or wearing solo. It’s a simple yet striking accessory that complements any outfit.
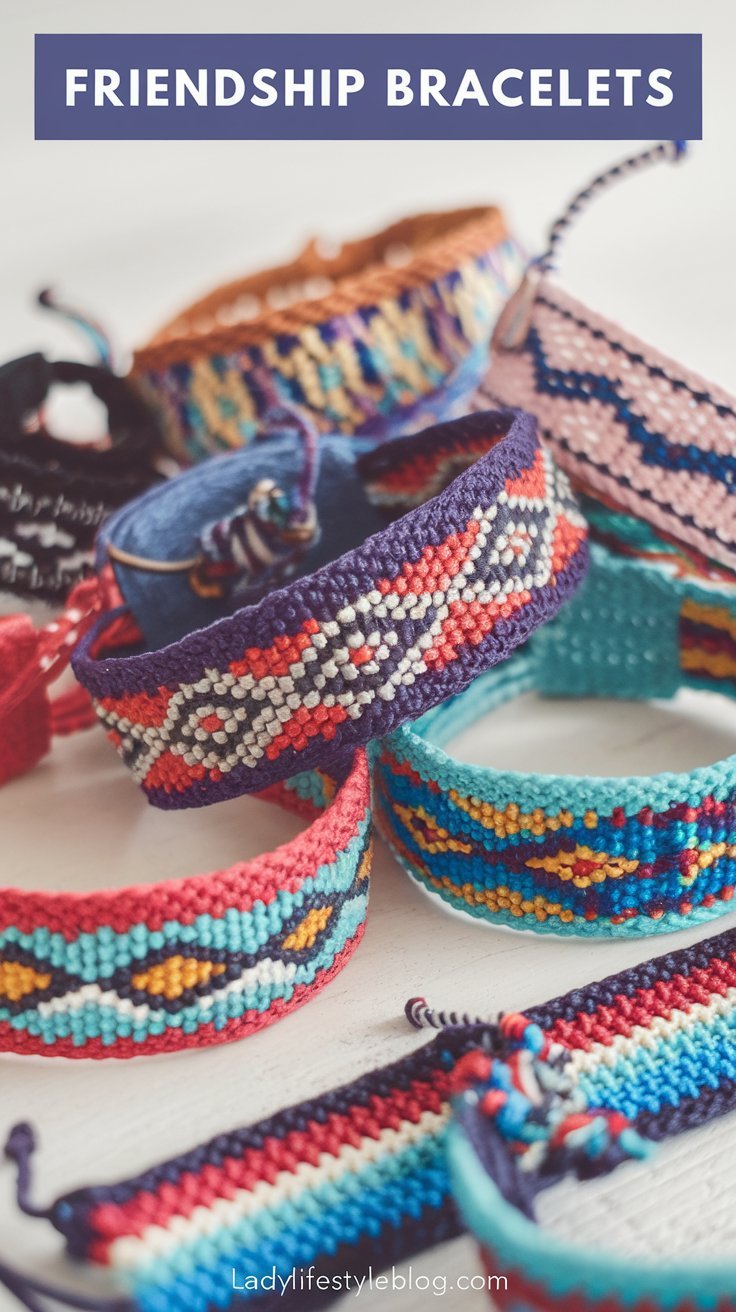
Friendship Bracelets
Nostalgic, colorful, and oh-so-fun to make.
For me, friendship bracelets bring back childhood memories. These vibrant creations are perfect for sharing with loved ones or wearing stacked for a boho vibe.
Steps:
- Cut several strands of embroidery floss, each about 24 inches long.
- Tie the strands together in a knot, leaving a small loop at the top.
- Secure the loop to a table with tape or use a clipboard to hold it in place.
- Start braiding, weaving, or knotting the threads in your chosen design.
- Finish by tying a knot at the end and trimming any extra thread.
Pro Tip: Use a safety pin to attach the bracelet to your jeans or a cushion while you weave to keep your hands free.
Styling Ideas: Stack multiple friendship bracelets in different colors for a boho-inspired wrist stack.
Common Mistakes to Avoid:
- Tying knots too tightly can make the bracelet uneven. Keep consistent tension for a smooth design.
- Not securing the beginning of the bracelet properly, which can cause unraveling.
Picture This:
Think vibrant pops of color with intricate woven patterns, evoking memories of summer camp and carefree days. Stack a few together for a playful boho look.
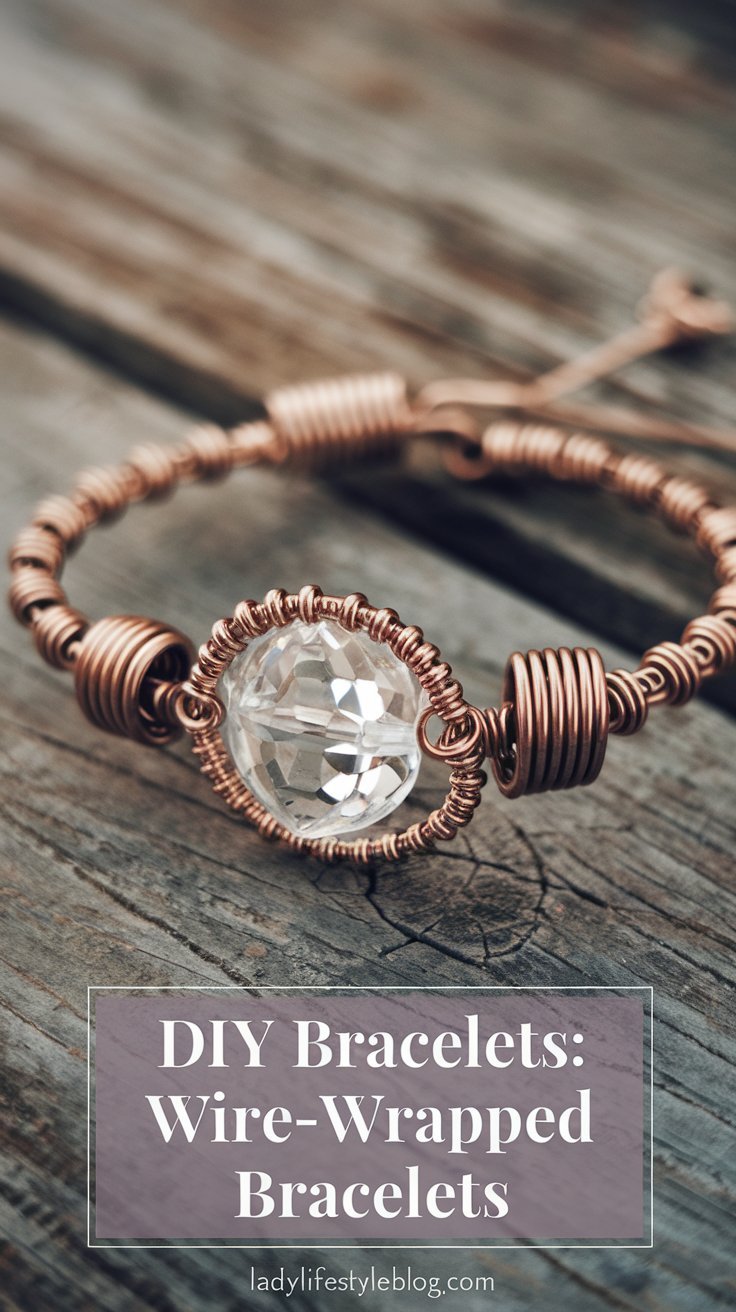
Wire-Wrapped Bracelets
Chic and sophisticated with a handmade twist.
I love how wire-wrapped bracelets make even simple beads look so elegant. They’re my go-to for gifting something special.
Steps:
- Cut a piece of jewelry wire about 12 inches long.
- Slide your focal bead or charm to the center of the wire.
- Wrap the wire around your wrist to measure, leaving extra length for the clasp.
- Use needle-nose pliers to attach a clasp to one end and a jump ring to the other.
- Secure the wire by twisting it neatly around itself near the clasp.
Pro Tip: Use 22-24 gauge wire—it’s flexible enough for easy wrapping but sturdy enough to hold shape.
Styling Ideas: Layer your wire-wrapped bracelet with delicate chain bracelets for an elegant, stacked effect.
Common Mistakes to Avoid:
- Using wire that is too thick, making it hard to shape.
- Wrapping too tightly, which can cause the wire to snap.
Picture This:
A delicate bracelet with a sparkling crystal bead as the centerpiece, hugged by subtle wire twists. Pair it with your evening outfits for an effortlessly polished look.
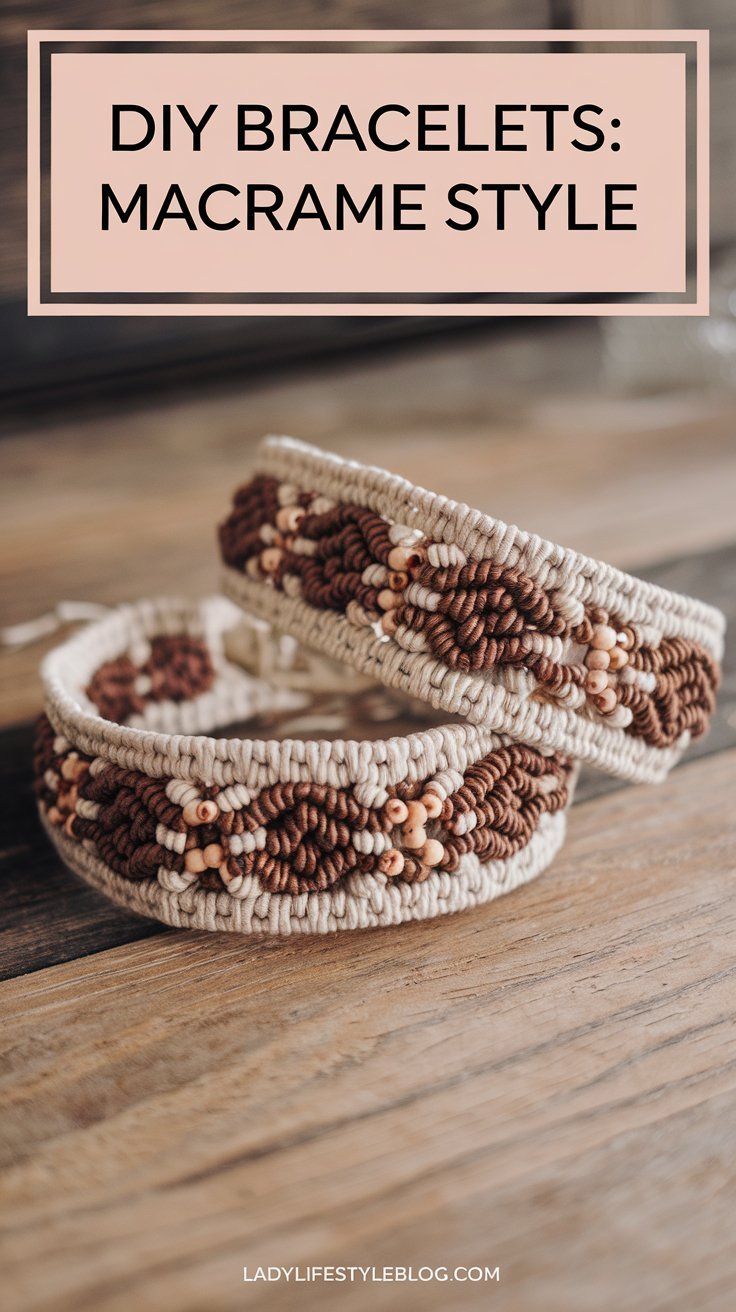
Macramé Bracelets
Trendy, textured, and perfect for the earthy fashionista.
I’ve been obsessed with macramé bracelets lately. They’re easy to customize and have such a cozy, handmade charm.
Steps:
- Cut a long piece of waxed thread (around 3 feet) and fold it in half.
- Attach the looped end to a clipboard or tape it to your work surface.
- Start tying square knots or your preferred macramé pattern.
- Add beads or charms along the way for extra flair.
- Finish with a sliding knot or a simple clasp for adjustability.
Pro Tip: Use waxed cord for better grip and durability—it holds knots more securely than embroidery floss.
Styling Ideas: Pair a macramé bracelet with rings and stacked bangles for a relaxed, boho look.
Common Mistakes to Avoid:
- Using thread that’s too slippery, which makes knots loosen.
- Not measuring your wrist size beforehand, resulting in a bracelet that’s too tight or too loose.
Picture This:
Soft woven patterns with tiny wooden beads peeking through, creating a natural and laid-back vibe. Perfect for casual outings or beach days.
Charm Bracelets
Personalized and endlessly customizable.
Charm bracelets are an excellent way to tell your story or showcase your interests through tiny, meaningful trinkets.
Steps:
- Choose a chain bracelet base or create your own with jump rings and wire.
- Collect your favorite charms, pendants, or tiny trinkets.
- Attach the charms to the bracelet using jump rings and needle-nose pliers.
- Space the charms evenly for a balanced look, or cluster them for a bold statement.
Pro Tip: Select charms in different shapes and sizes to create visual interest.
Styling Ideas: Mix gold and silver charms for a modern, eclectic look.
Common Mistakes to Avoid:
- Overloading with too many charms, making the bracelet too heavy.
- Using low-quality jump rings, which may open and cause charms to fall off.
Picture This:
A bracelet jingling softly with tiny charms, each representing a special memory or hobby. It’s a wearable scrapbook on your wrist.

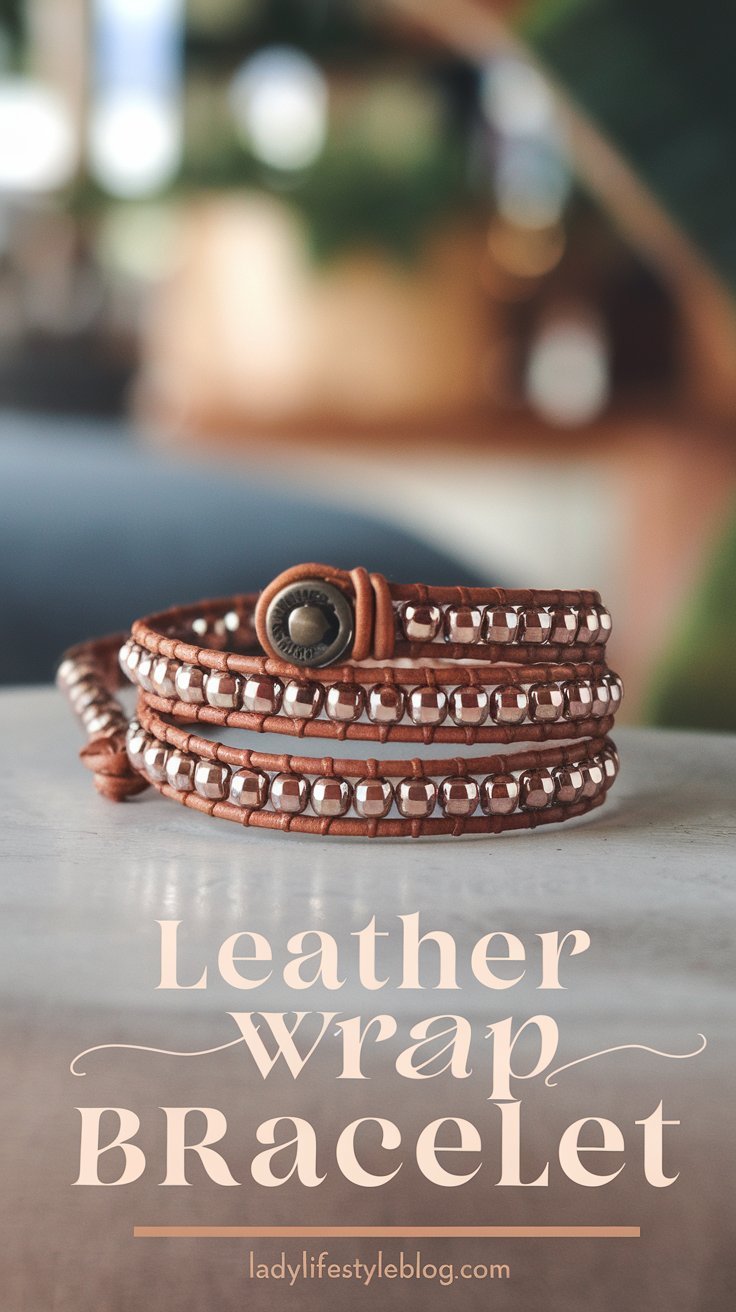
Leather Wrap Bracelet
Stylish, edgy, and perfect for layering.
Leather wrap bracelets are a modern accessory that combines rustic leather with chic beads or crystals.
Steps:
- Cut a long piece of leather cord and fold it in half.
- Secure the cord and start threading beads onto both strands, alternating with knots to hold them in place.
- Wrap the bracelet around your wrist multiple times and finish with a button or clasp.
Pro Tip: Use natural leather cord—it softens over time for a comfortable fit.
Styling Ideas:Pair a leather wrap bracelet with a denim jacket and ankle boots for an effortless, casual look.
Common Mistakes to Avoid:
- Choosing beads with holes that are too small for the leather cord.
- Wrapping too loosely, which can cause the bracelet to shift out of place.
Picture This:
A sleek leather cord intertwined with shiny beads, wrapped around your wrist multiple times for a statement look. Ideal for adding a touch of edge to your outfit.
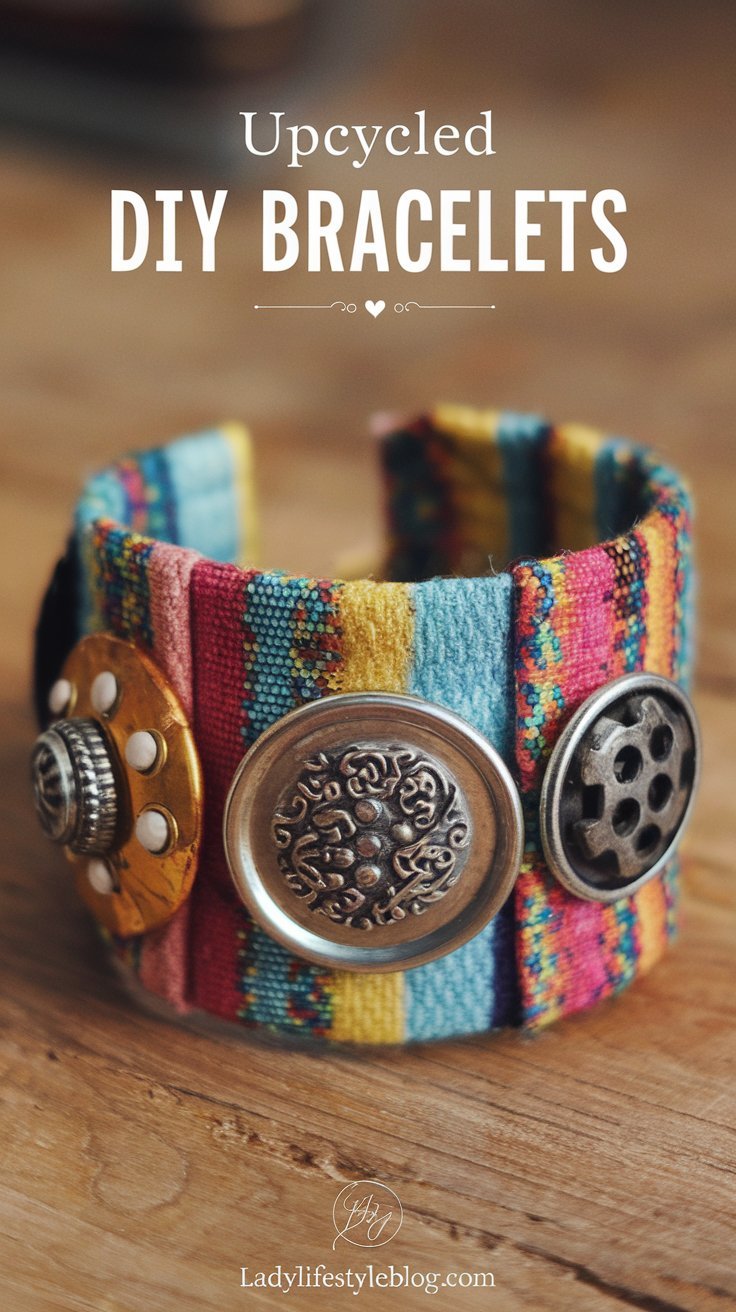
Upcycled DIY Bracelets
Eco-friendly and uniquely yours.
I love upcycling! It’s amazing how you can transform old items into stylish bracelets that feel fresh and unique.
Steps:
- Gather materials like old necklaces, fabric, or soda tabs.
- Cut them into manageable pieces and combine them with thread, wire, or elastic cord.
- Experiment with layering different textures and colors.
- Finish by securing everything with knots, clasps, or glue.
Pro Tip: Look for vintage buttons, keychains, or broken jewelry pieces to upcycle into new designs.
Styling Ideas: Wear an upcycled bracelet with a simple outfit to make it the statement piece.
Common Mistakes to Avoid:
- Using fragile materials that might break with wear.
- Not sealing edges properly, leading to fraying.
Picture This:
A quirky bracelet made from vintage buttons, colorful fabric strips, and shiny soda tabs, exuding charm and personality. It’s a conversation starter with a sustainability twist.
Frequently Asked Questions
What is the easiest DIY bracelet for beginners?
A beaded stretch bracelet is the simplest—just string beads on elastic and tie a knot.
How do I make my DIY bracelet last longer?
Use jewelry glue or clear nail polish on knots to prevent them from coming undone.
Where can I buy bracelet-making supplies?
Craft stores like Michaels and Hobby Lobby or online retailers like Etsy and Amazon have a great selection.
How do I size my bracelet correctly?
Measure your wrist and add half an inch to an inch, depending on the bracelet style.
Conclusion
I hope you’ve been inspired to try your hand at these DIY bracelet ideas. Whether it’s a nostalgic friendship bracelet or an elegant wire-wrapped piece, each design is a fun way to express your creativity. Gather your materials, let your imagination run wild, and start crafting DIY bracelets that are as unique as you are!
At Lady Lifestyle Blog, I use AI as a tool to assist with research, idea generation, and content refinement. While much of my content is shaped with AI’s help, I personally review and adjust each post to ensure it aligns with the blog’s style and purpose. My focus is on providing stylish, creative, and practical inspiration for every modern lady!