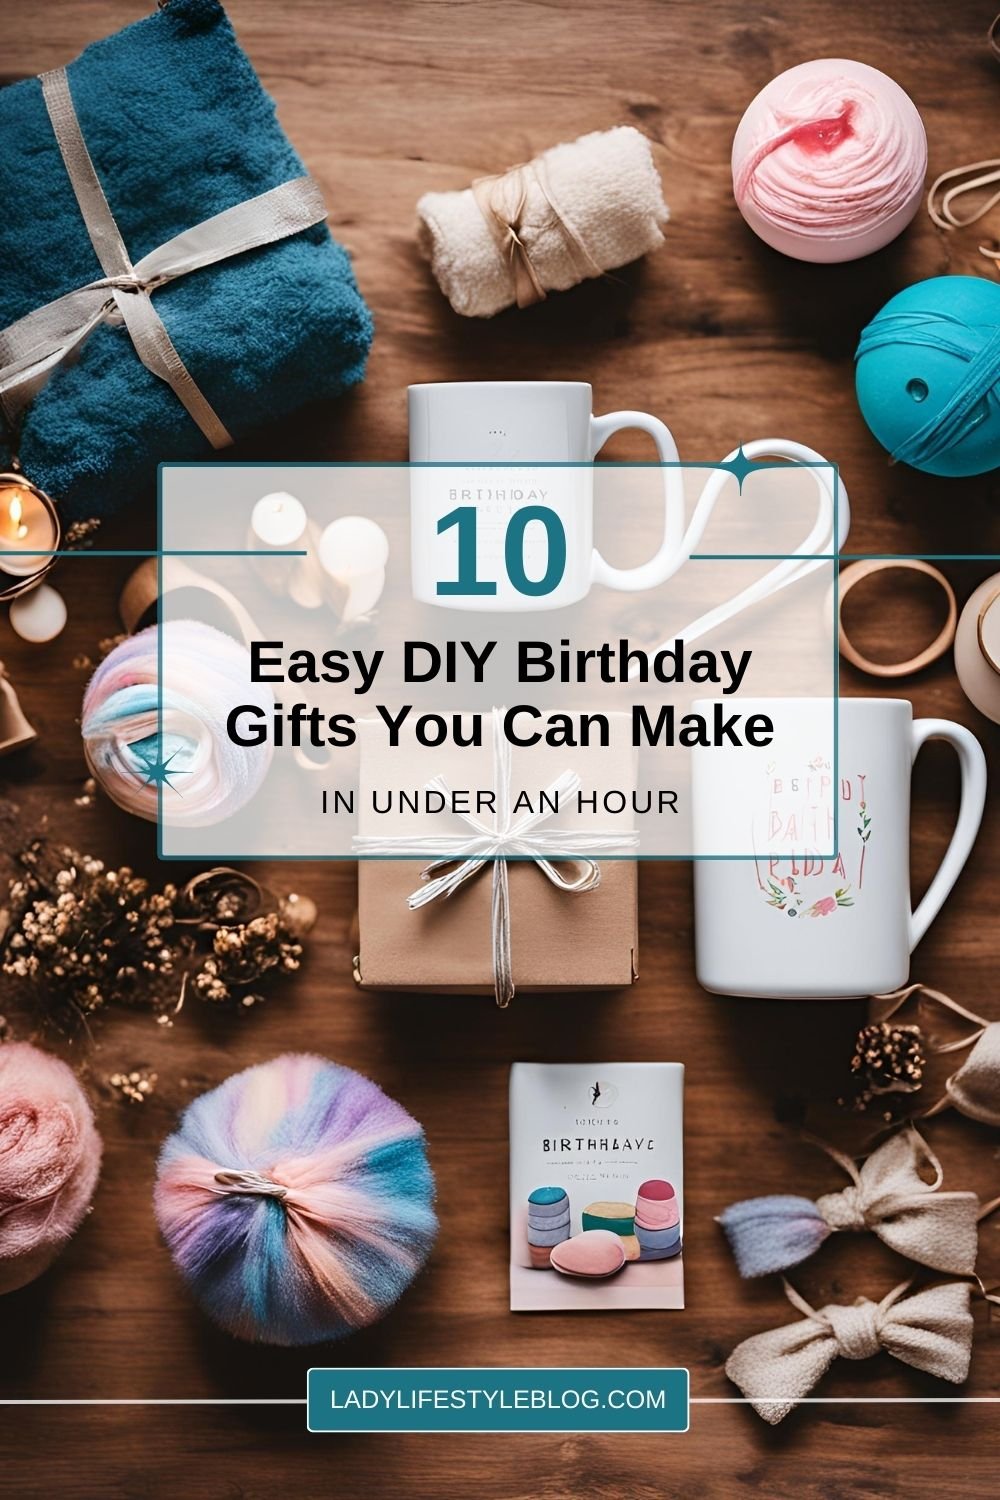
I’ve been there—you suddenly realize it’s someone’s birthday, and you have no gift! For me, that’s when I turn to something handmade. There’s just something about a DIY gift that makes it feel extra special, like a little piece of your heart is woven into it. I hope these DIY birthday gifts bring you as much joy in making them as they will bring to the lucky recipient. Let’s get crafting!
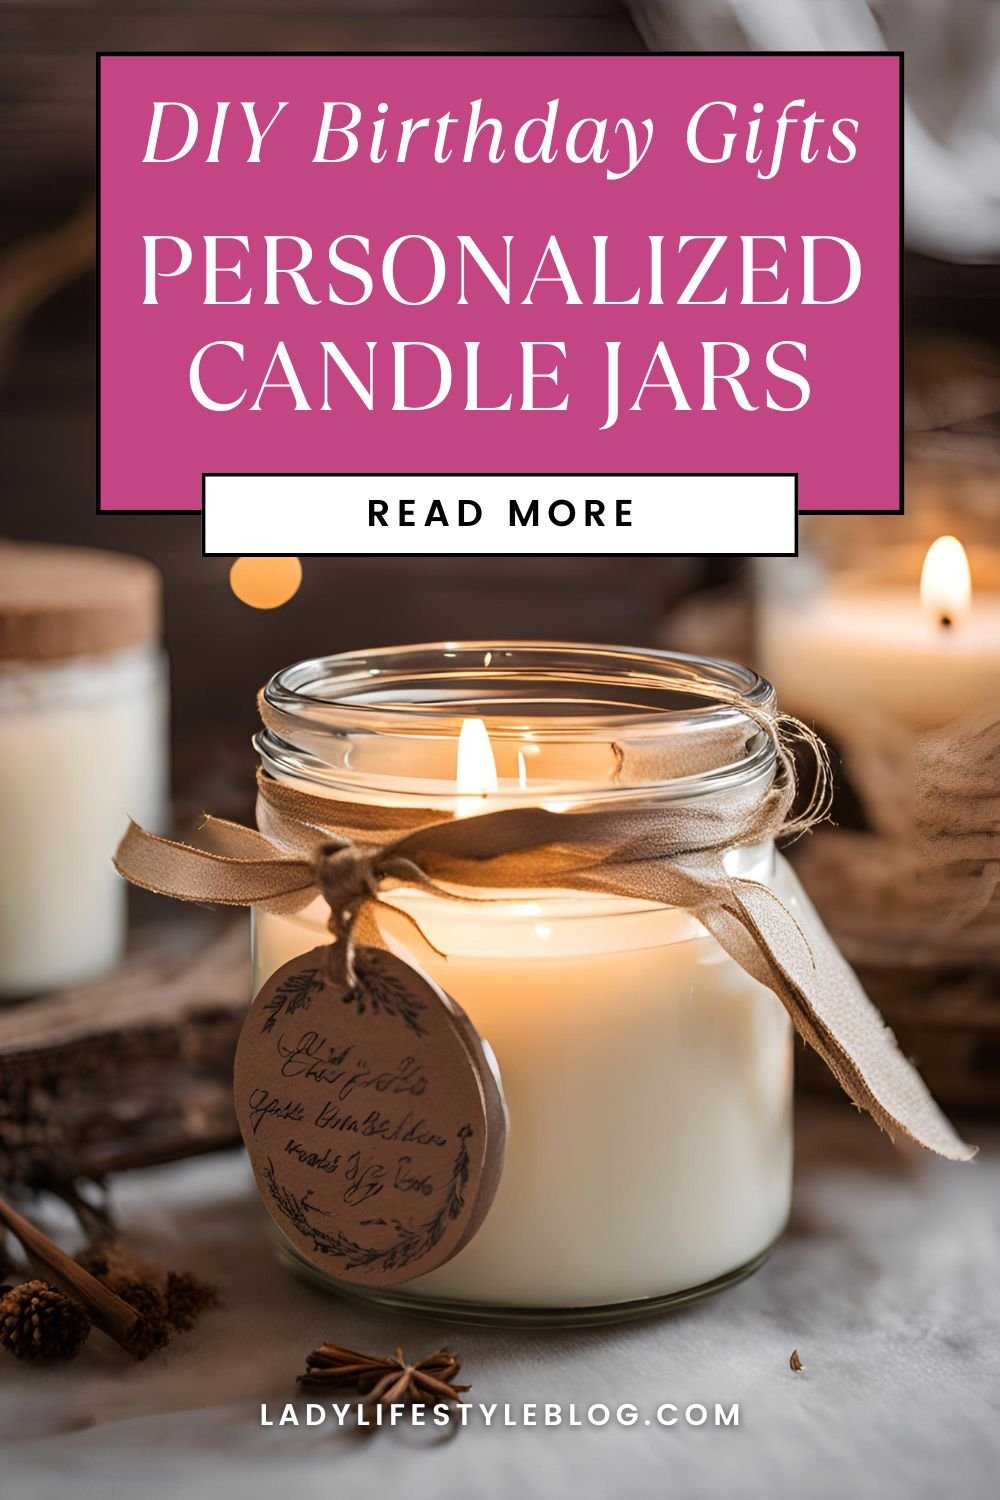
Personalized Candle Jars
Nothing says cozy and thoughtful like a personalized candle jar. You can pick their favorite scent and decorate it beautifully! I once tried to impress my best friend with a store-bought candle, only to realize she was allergic to the scent. Oops. Since then, I’ve been making my own, picking scents I know she loves. Now, every time she lights it, she says it feels like I’m right there with her. Best friend points secured!
What You Might Need:
- Plain candle jar
- Essential oils or fragrance oils
- Soy wax flakes
- A wick
- Decorative labels and ribbons
How to Make It:
- Melt the soy wax flakes in a double boiler.
- Add a few drops of essential oil for fragrance.
- Place the wick at the center of the jar and carefully pour the wax in.
- Let it set for about 30 minutes.
- Decorate the jar with labels, ribbons, or even hand-painted designs.
Pro Tip: Use a wooden wick for a cozy crackling sound when the candle burns. It adds an extra sensory experience!
Budget-Friendly Hack: Repurpose old candle jars—just clean them out, remove leftover wax, and refill them!
Common Mistake: Pouring wax when it’s too hot can cause cracks in the candle. Let it cool slightly before pouring.
Picture This:
A cozy, flickering candle sitting on their nightstand, filling the room with their favorite scent—pure relaxation, thanks to you!
DIY Scented Sachets
I was looking for a way to make my dresser drawers smell amazing without using artificial scents—then I discovered these sachets! One time, I stuffed my gym bag with dryer sheets, thinking it would keep my clothes smelling fresh. Instead, I smelled like a walking laundry commercial. Lesson learned—homemade lavender sachets smell way better and don’t scream ‘I just rolled in fabric softener.
What You Might Need:
- Small fabric squares or muslin bags
- Dried lavender, rose petals, or other fragrant herbs
- Essential oils (optional)
- Needle and thread or fabric glue
- Ribbon or string
How to Make It:
- If using fabric squares, cut them into 4×4-inch pieces.
- Mix dried flowers with a few drops of essential oil in a bowl.
- Place a small handful of the fragrant mixture in the center of a fabric square.
- Fold and secure the edges using a simple stitch or fabric glue.
- Tie with a ribbon for a charming finish.
Pro Tip: Add a few drops of essential oil every few weeks to refresh the scent and make it last longer.
Budget-Friendly Hack: Use old fabric scraps from worn-out clothes or pillowcases instead of buying new fabric.
Common Mistake: Overfilling the sachets can cause them to burst. A small handful of dried flowers is enough!
Picture This:
A lovely scented sachet tucked into a drawer, releasing gentle floral notes every time they reach for their favorite sweater.

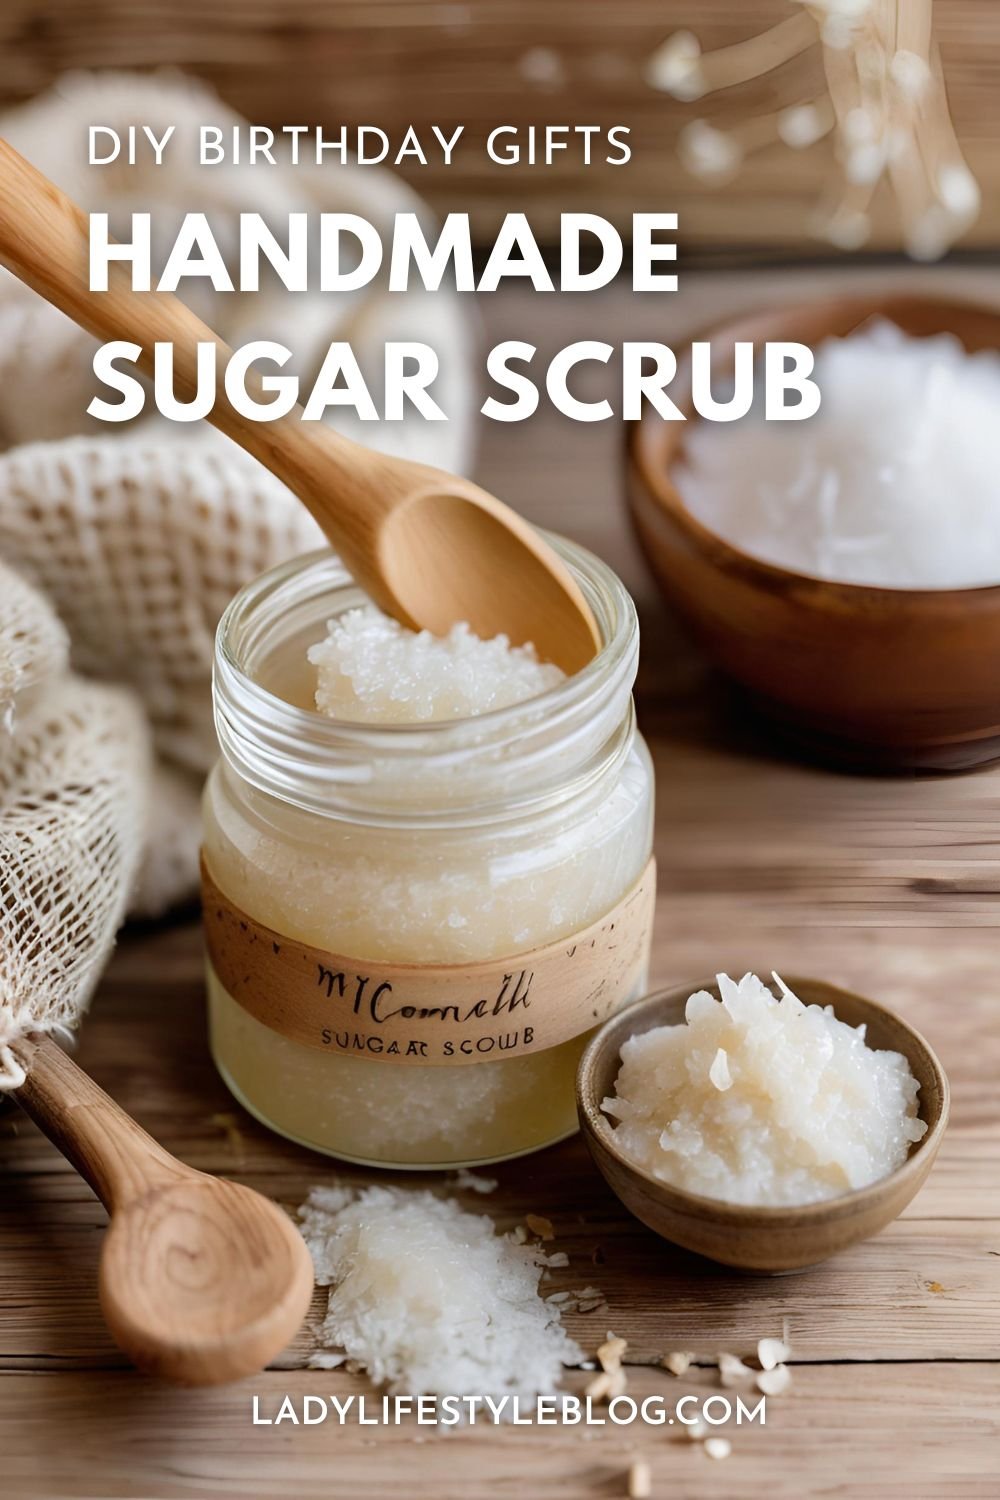
Handmade Sugar Scrub
For the self-care lover, a DIY sugar scrub is a delightful gift they’ll actually use. This sugar scrub is a spa day in a jar!
What You Might Need:
- 1 cup sugar (white or brown)
- ½ cup coconut oil
- 5-10 drops essential oil (lavender, vanilla, citrus, etc.)
- Small glass jar
How to Make It:
- Mix the sugar and coconut oil in a bowl until well combined.
- Add essential oils and mix again.
- Spoon the scrub into a cute jar and add a handwritten label.
Pro Tip: Add a teaspoon of honey for extra moisturizing benefits—perfect for dry skin!
Budget-Friendly Hack: Reuse small mason jars, baby food jars, or even empty candle jars instead of buying new containers.
Common Mistake: Adding too much oil can make the scrub too runny. Stick to the 2:1 sugar-to-oil ratio for the perfect consistency.
Picture This:
A luxe, spa-worthy scrub waiting to make their skin glow, complete with a handwritten note saying, “You deserve this.”
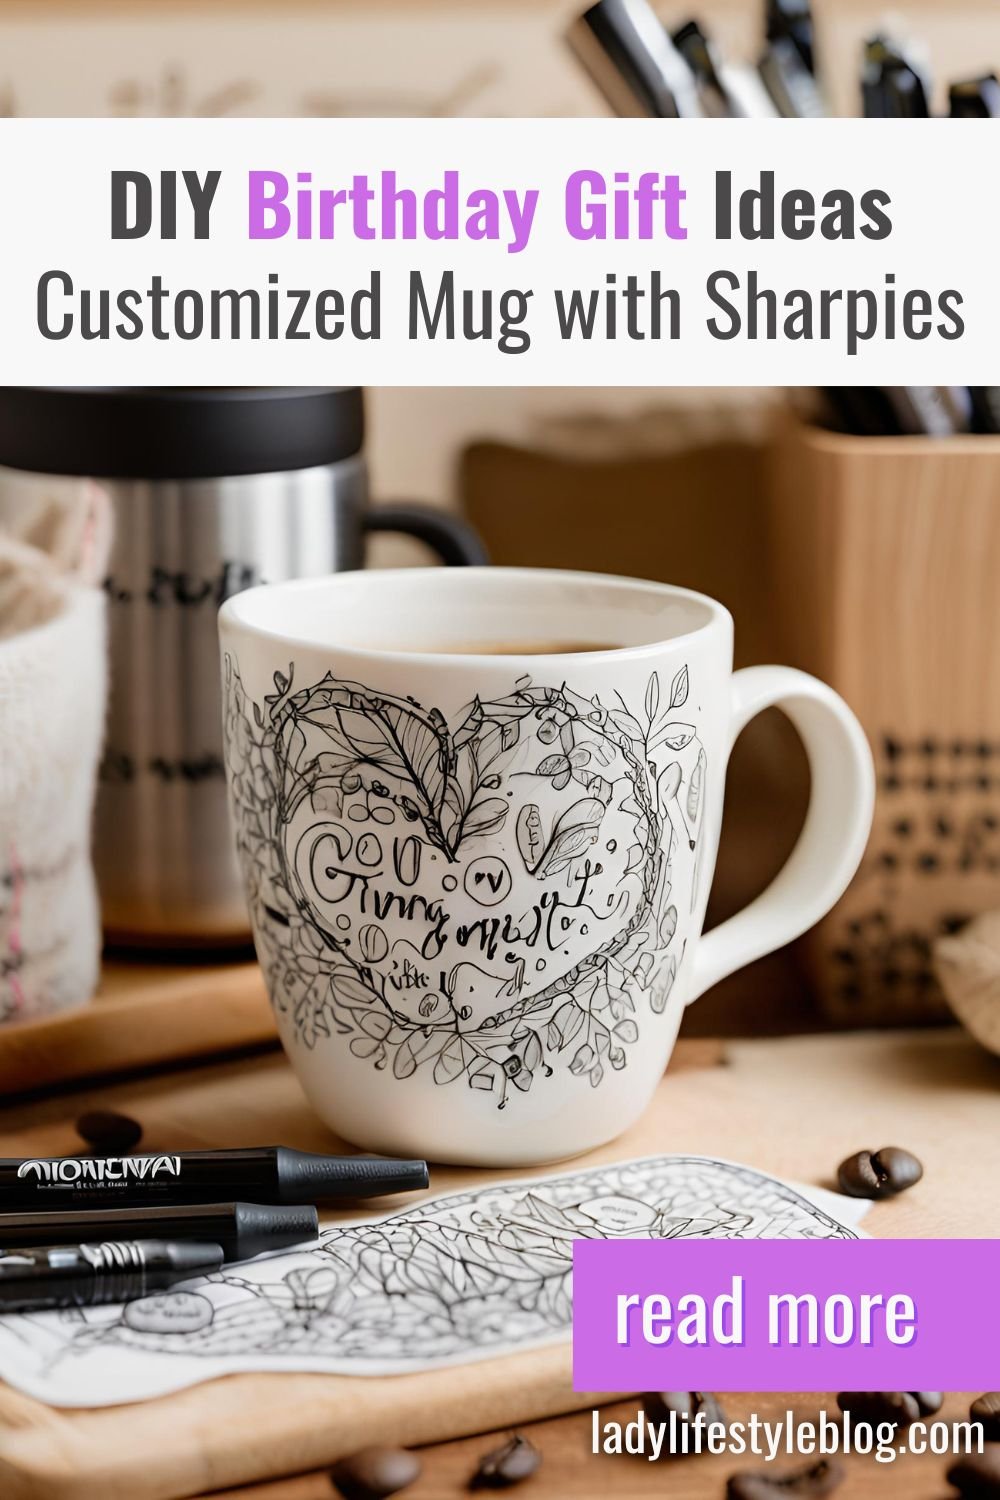
Customized Mug with Sharpies
For me, there’s nothing better than a morning cup of coffee, especially in a mug that means something. I once tried to surprise my mom with a hand-drawn mug but didn’t use an oil-based Sharpie. After one wash, my ‘world’s best mom’ design turned into ‘wo ’s best m .’ Now, I always use the right markers, and my designs actually survive the dishwasher!
What You Might Need:
- A plain ceramic mug
- Oil-based Sharpie markers
- An oven
How to Make It:
- Decorate the mug with doodles, quotes, or their name using the Sharpies.
- Let the design dry for 10 minutes.
- Bake the mug at 350°F (175°C) for 30 minutes.
- Let it cool completely before wrapping.
Pro Tip: Use oil-based Sharpies, not regular ones, so the design lasts longer without washing off.
Budget-Friendly Hack: Buy mugs at a dollar store or thrift shop for a budget-friendly, unique selection.
Common Mistake: Not letting the mug cool down slowly after baking can cause cracks. Turn the oven off and let the mug sit inside as the oven cools.
Picture This:
A cute, hand-drawn mug filled with their morning coffee, reminding them of your sweet gesture.
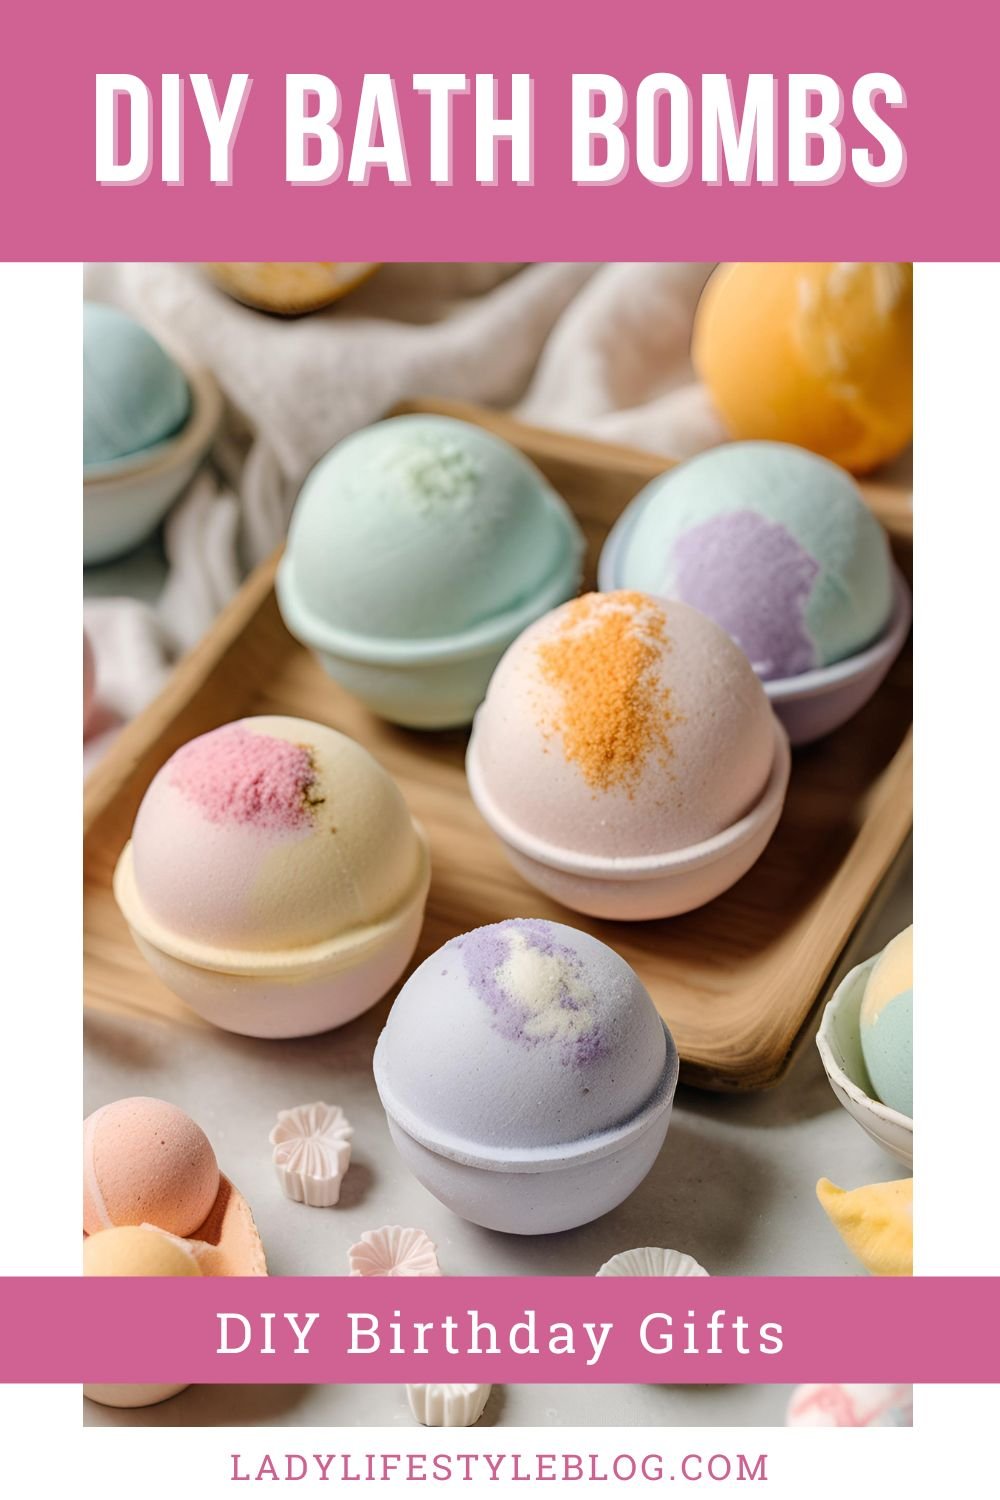
DIY Bath Bombs
I love a good bath bomb, and the best part? They’re so easy to make and gift!
What You Might Need:
- 1 cup baking soda
- ½ cup citric acid
- ½ cup Epsom salts
- ½ cup cornstarch
- Essential oils & coloring
- Water spray bottle
- Molds (silicone or bath bomb molds)
How to Make It:
- Mix all dry ingredients in a bowl.
- Slowly add essential oils and coloring.
- Lightly mist with water while stirring until the mix holds together.
- Pack into molds and let set for 30 minutes.
Pro Tip: Add a few drops of coconut or almond oil for extra skin hydration when the bath bomb dissolves.
Budget-Friendly Hack: Use silicone cupcake molds instead of buying bath bomb molds—bonus, they make cute shapes!
Common Mistake: Adding too much water makes bath bombs fizz prematurely. Lightly mist while stirring to get the right consistency.
Picture This:
A fizzy, colorful bath bomb turning an ordinary bath into a dreamy spa escape.
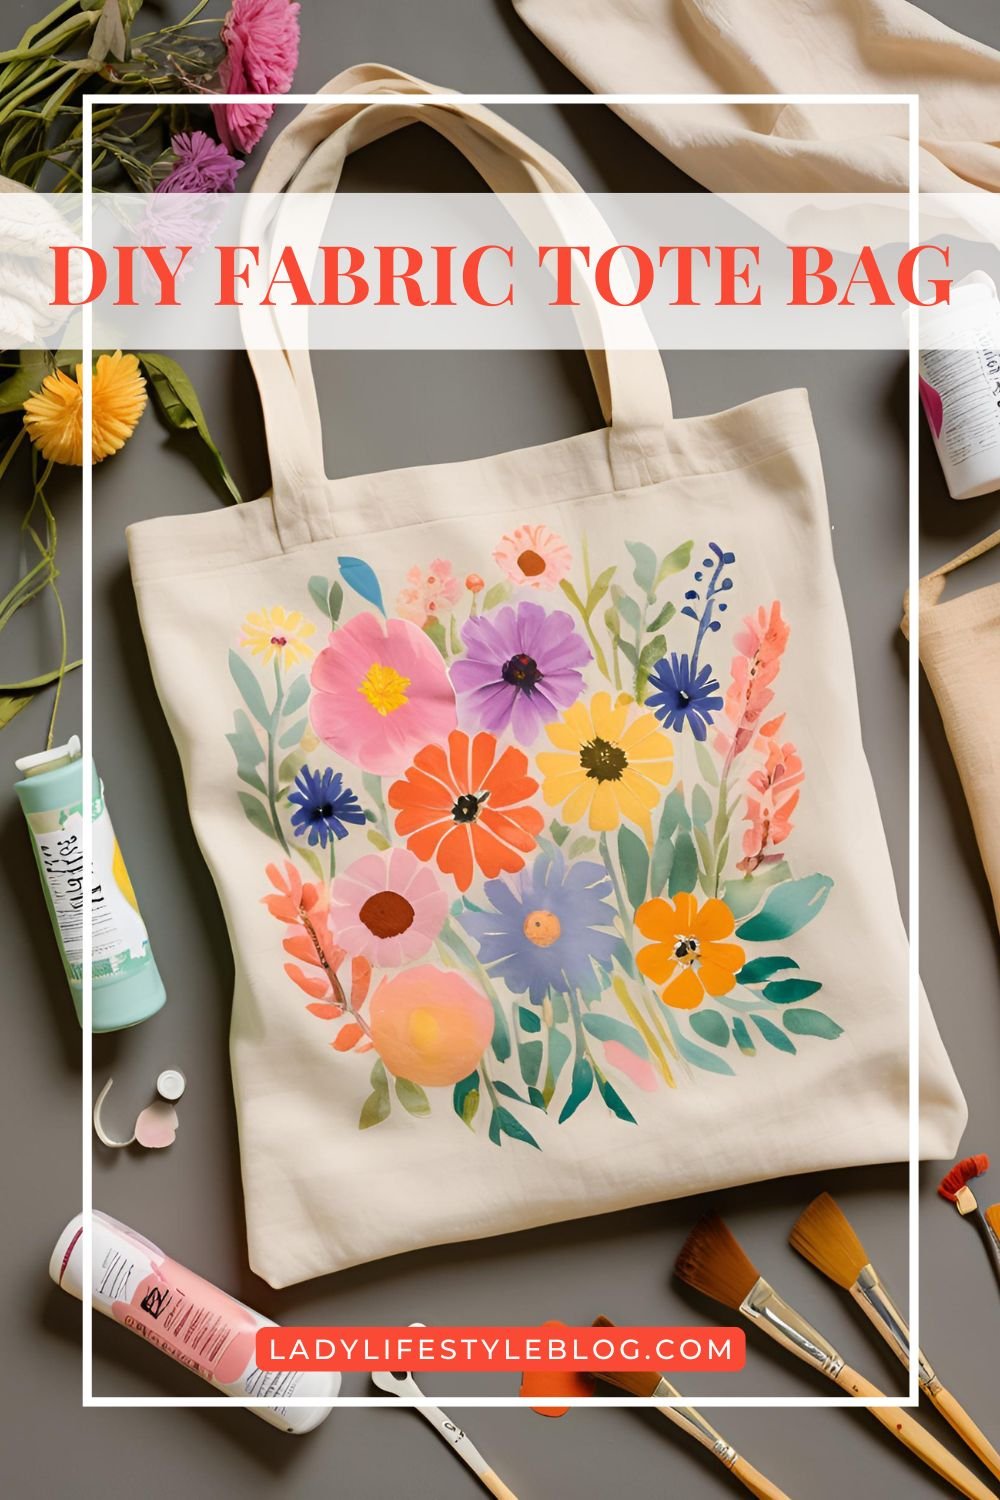
DIY Fabric Tote Bag
I’ve been obsessed with reusable tote bags lately—why not gift one with a personal touch?
What You Might Need:
- Plain canvas tote bag
- Fabric paint or markers
- Stencils (optional)
How to Make It:
- Design your pattern on the tote using fabric markers or paint.
- Let it dry for 30 minutes.
- Gift it with a cute note inside!
Pro Tip: Personalize it with fabric patches, iron-on transfers, or hand-painted initials for a unique touch.
Budget-Friendly Hack: Buy blank tote bags in bulk—they’re cheaper and perfect for future DIY projects!
Common Mistake: Not letting the paint dry completely before handling the bag. Let it dry for at least 24 hours to prevent smudging.
Picture This:
A trendy, hand-designed tote slung over their shoulder, proudly showing off your artistic touch.
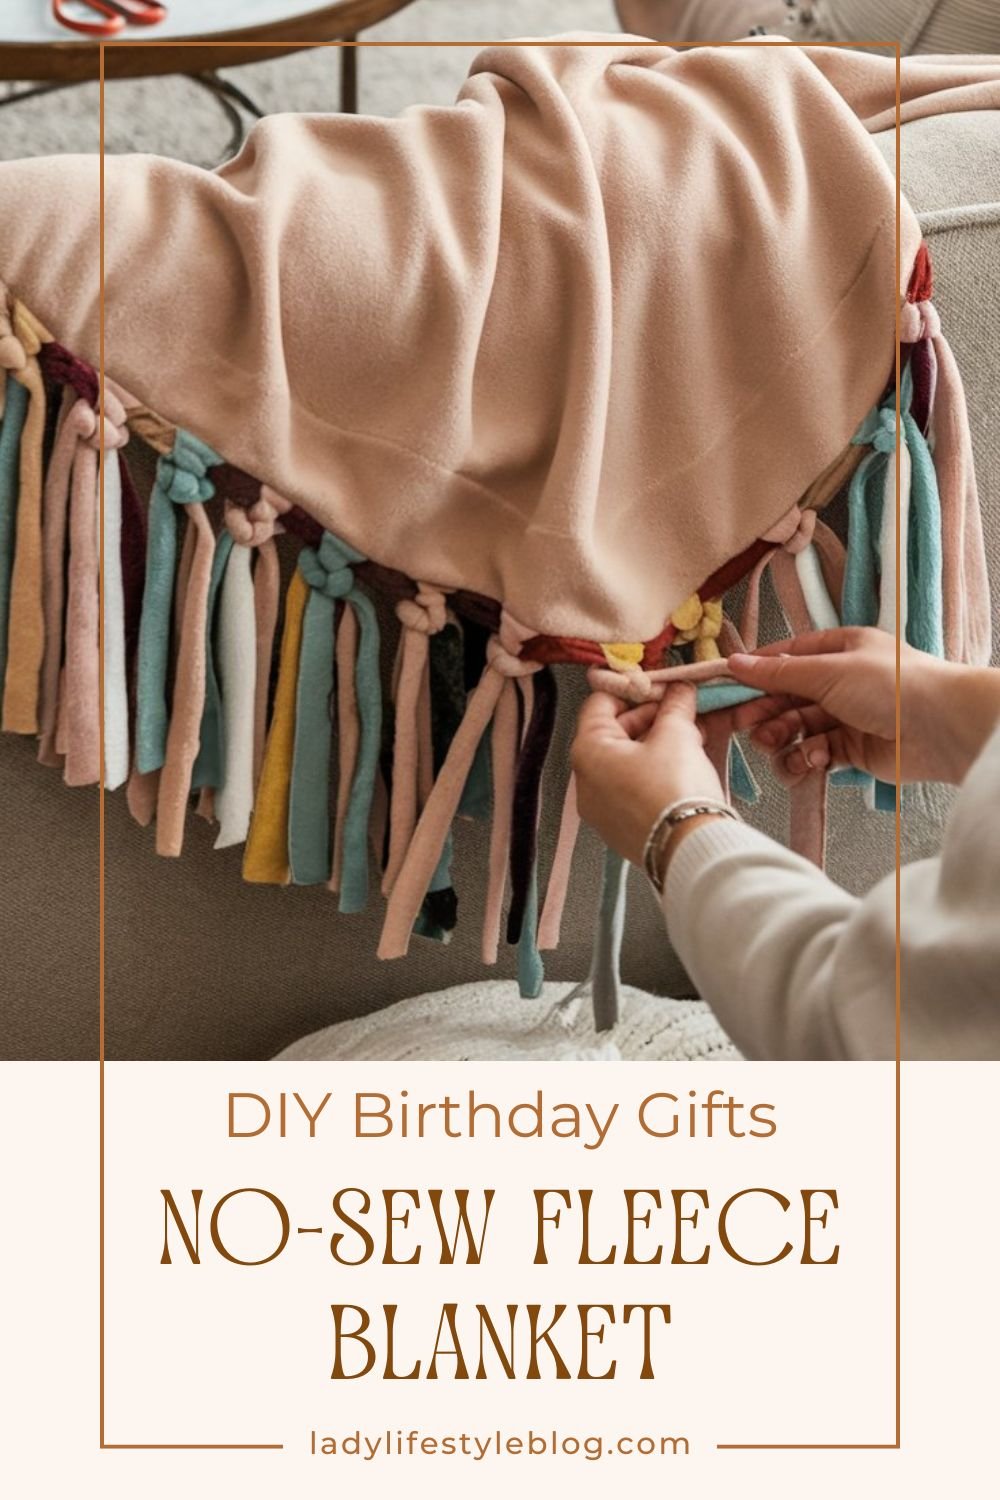
No-Sew Fleece Blanket
I love gifting something cozy, and this no-sew fleece blanket is my go-to! I made this for my niece, thinking she’d use it for naps. Instead, she turned it into a superhero cape and wore it to the grocery store. Either way, it was a hit. Cozy and fashionable!
What You Might Need:
- Two pieces of fleece fabric (same size)
- Scissors
How to Make It:
- Lay the two fleece pieces together and cut fringes along the edges.
- Tie matching fringes together in knots.
- Wrap it up for a cozy surprise!
Pro Tip: Layer two different colors or patterns of fleece for a reversible, extra-cozy look.
Budget-Friendly Hack: Look for fleece on clearance at fabric stores—seasonal patterns go on sale after holidays!
Common Mistake: Cutting the fringes too short makes it hard to tie knots. Aim for at least 5 inches long for easy tying.
Picture This:
A soft, warm blanket wrapped around their shoulders while they enjoy a movie night.
DIY Beaded Bracelets
I was looking for an easy, stylish gift, and these bracelets are perfect! I once bought a friendship bracelet that snapped the first time I wore it. That’s when I decided to make my own, triple-knotting them like my life depended on it.
What You Might Need:
- Elastic cord
- Assorted beads (glass, wood, or metal)
- Scissors
How to Make It:
- Cut the elastic cord to the desired length.
- String beads in your chosen pattern.
- Tie a secure knot and trim excess cord.
Pro Tip: Use a stretchy elastic cord for an adjustable fit that’s easy to slip on and off.
Budget-Friendly Hack: Upcycle old, broken jewelry by reusing beads and charms instead of buying new ones.
Common Mistake: Not tying a double or triple knot when finishing the bracelet. Secure it with a dab of clear nail polish to prevent unraveling.
Picture This:
A dainty bracelet stacked on their wrist, handmade with love and their favorite colors.
You can find more DIY Bracelet Ideas in this article: Step-by-Step: How to Make Beautiful DIY Bracelets at Home

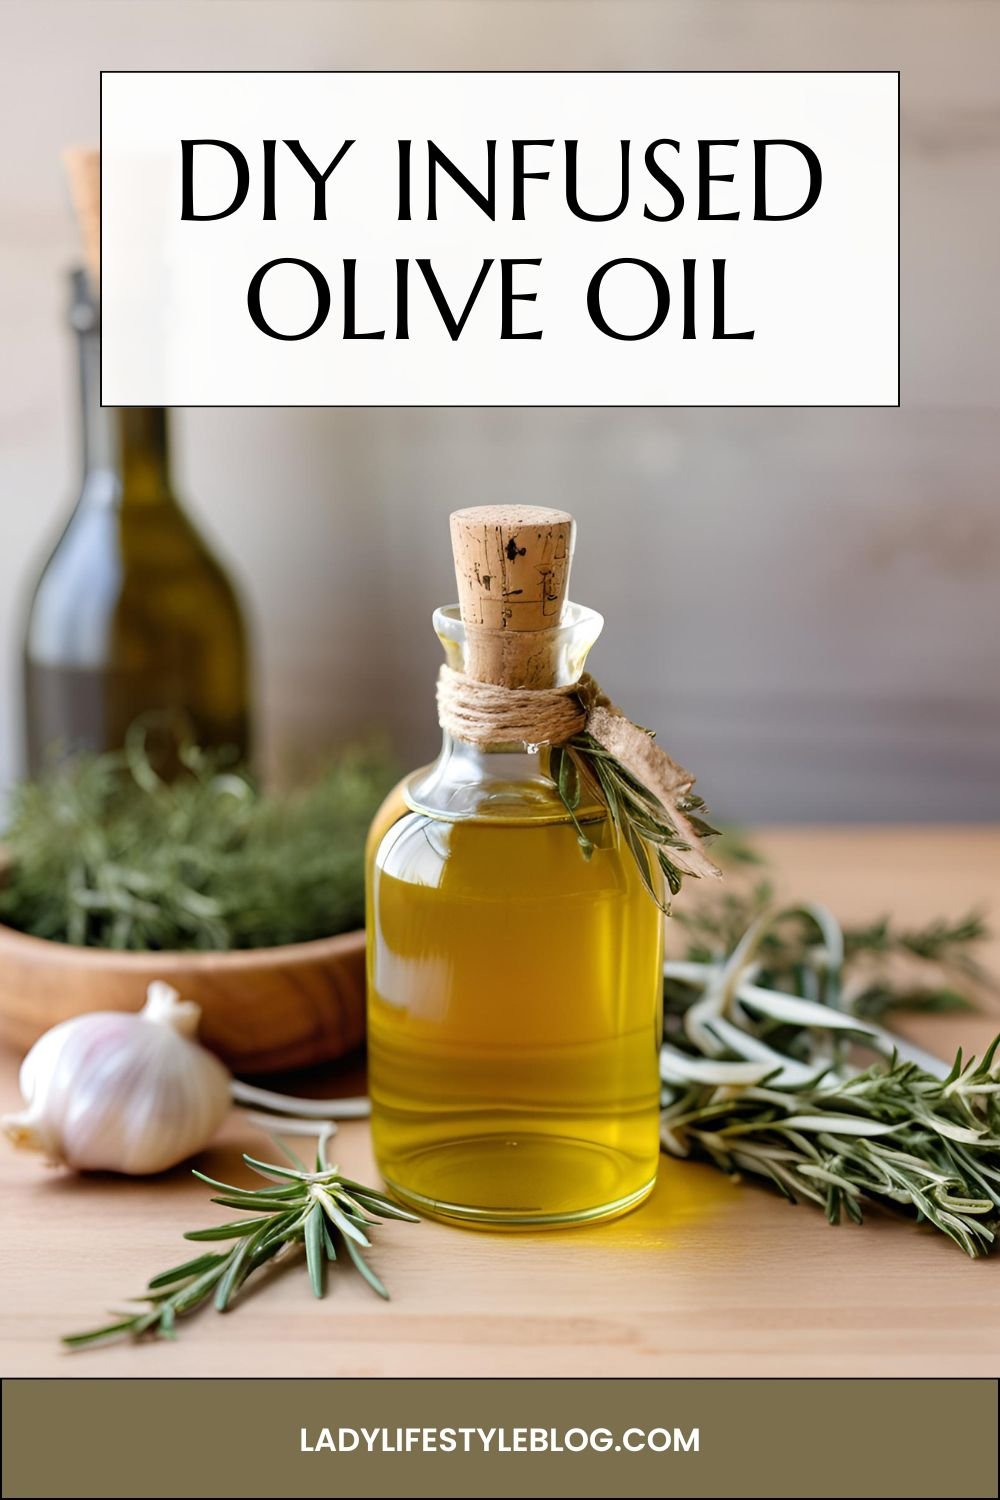
Infused Olive Oil
I love adding a gourmet touch to my gifts, and this infused olive oil is so easy to make! I once spent way too much money on a fancy bottle of infused olive oil, only to realize I could make it myself for a fraction of the cost. Now, my friends think I’m some kind of gourmet chef when really, I just threw some rosemary in a bottle.
What You Might Need:
- Olive oil
- Fresh herbs (rosemary, thyme, or basil)
- Garlic cloves (optional)
- Glass bottle
How to Make It:
- Lightly heat olive oil and pour into a glass bottle.
- Add fresh herbs and garlic cloves.
- Seal and let it infuse for 24 hours.
Pro Tip: Lightly warm the olive oil before adding herbs—it helps release their flavors faster.
Budget-Friendly Hack: Reuse glass bottles from other kitchen items (like vinegar or soy sauce) to store the infused oil.
Common Mistake: Using fresh garlic without drying it properly can cause botulism. Stick to dried herbs or store it in the fridge if using fresh ingredients.
Picture This:
A beautifully bottled oil sitting on their kitchen counter, ready to drizzle over their next meal.
DIY Bookmark Set
I’ve realized that book lovers always appreciate a cute bookmark!
What You Might Need:
- Cardstock or thin wood slices
- Paint, markers, or stickers
- Ribbon or tassels
How to Make It:
- Cut cardstock or wood into bookmark-sized strips.
- Decorate with designs or quotes.
- Punch a hole and tie a ribbon or tassel.
Pro Tip: Laminate paper bookmarks for extra durability—especially if they’ll be used often!
Budget-Friendly Hack: Instead of buying cardstock, use paint swatches, cereal boxes, or magazine covers for a sturdy base.
Common Mistake: Skipping the hole punch reinforcement when adding a ribbon. Use a small piece of clear tape around the hole before punching to prevent tearing.
Picture This:
A lovely bookmark peeking out of their favorite book, reminding them of your thoughtfulness.

Conclusion
I hope this list of DIY birthday gifts inspires you to get creative the next time you need a thoughtful, last-minute present. Whether it’s a candle, a mug, or a cozy blanket, there’s something magical about gifting something made with love. So grab those craft supplies and make someone’s day extra special!
At Lady Lifestyle Blog, I use AI as a tool to assist with research, idea generation, and content refinement. While much of my content is shaped with AI’s help, I personally review and adjust each post to ensure it aligns with the blog’s style and purpose. My focus is on providing stylish, creative, and practical inspiration for every modern lady!