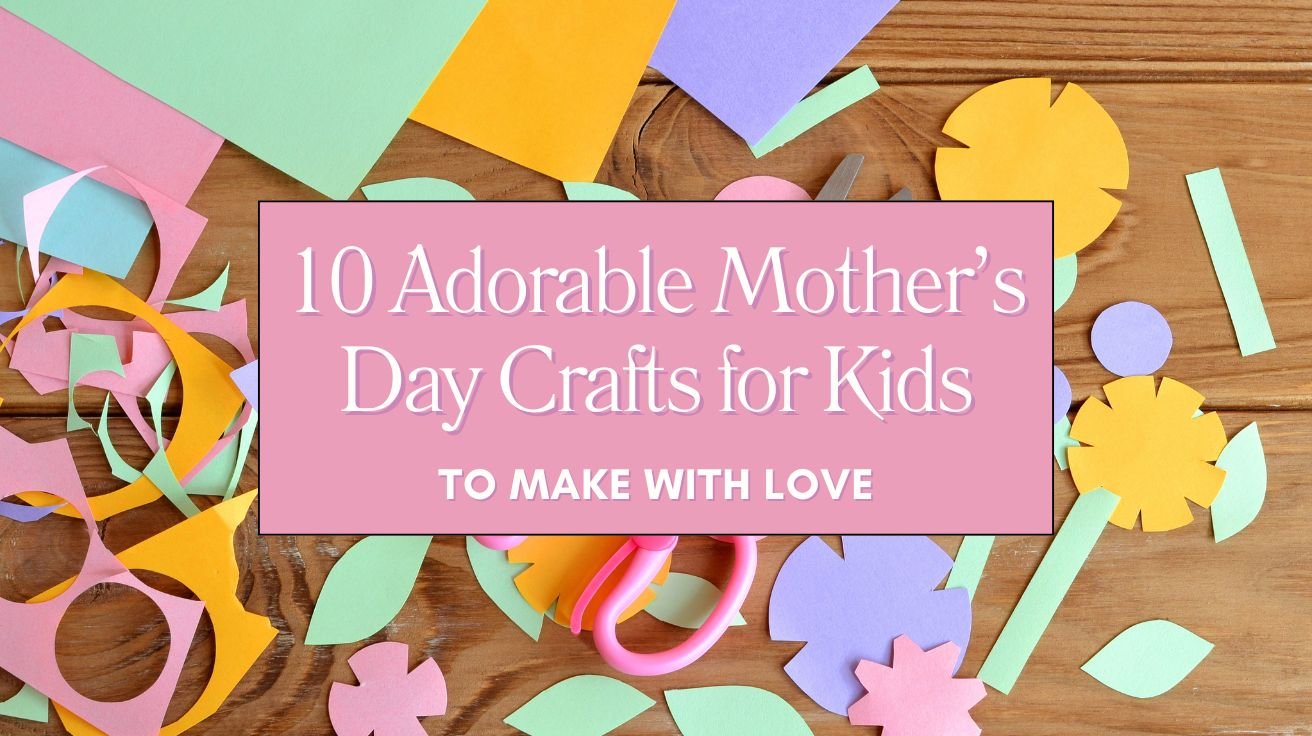
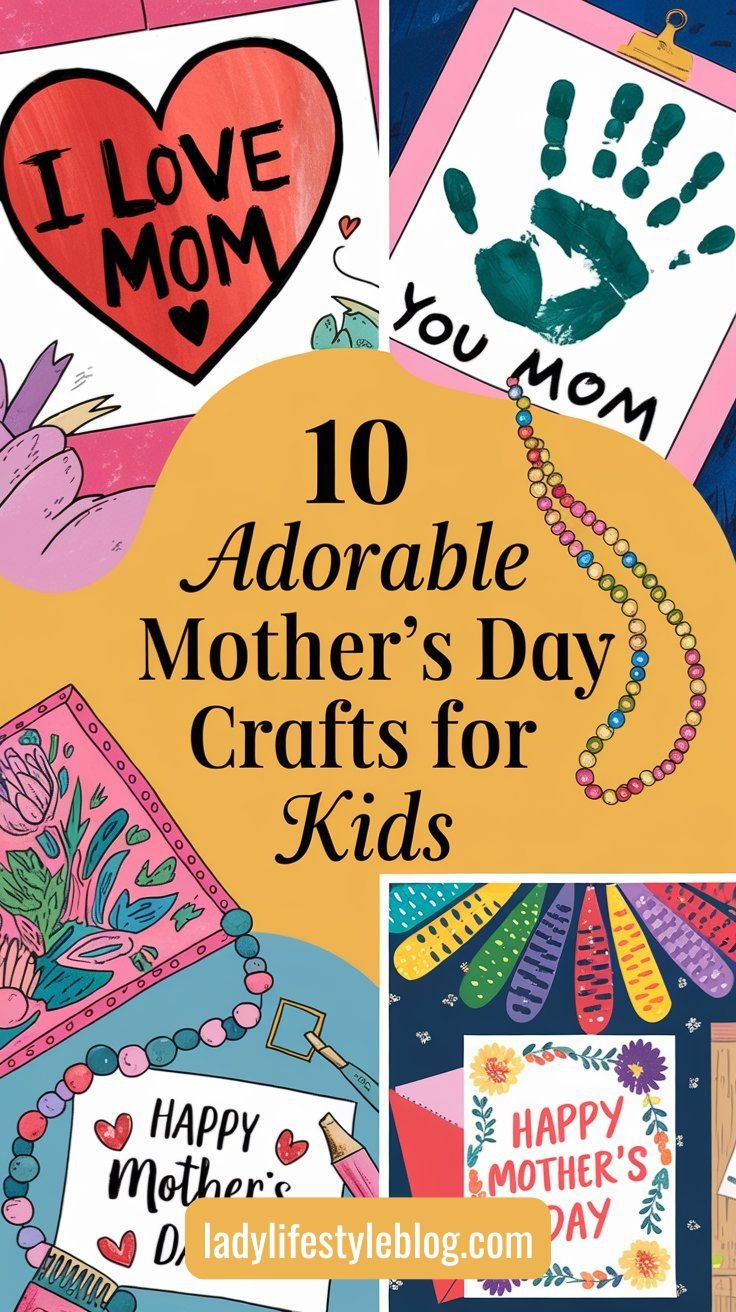
Welcome to your ultimate guide on mothers day crafts for kids! If you’re ready to dive into a world of creativity with your little ones, you’re in the right place. In this post, we’ll explore 10 unique craft projects that are not only fun to make but also result in a cherished keepsake for Mom. So grab your craft supplies, roll up your sleeves, and let’s create some magic together!
What You Might Need
Before you start, here’s a quick checklist of supplies that many of these mothers day crafts for kids will require:
- Construction paper and cardstock
- Non-toxic paints and brushes
- Glue, scissors, and tape
- Decorative stickers, sequins, and ribbons
- Markers, crayons, or colored pencils
- Recycled jars, boxes, or fabric
- Basic craft tools like a hole punch and stickers

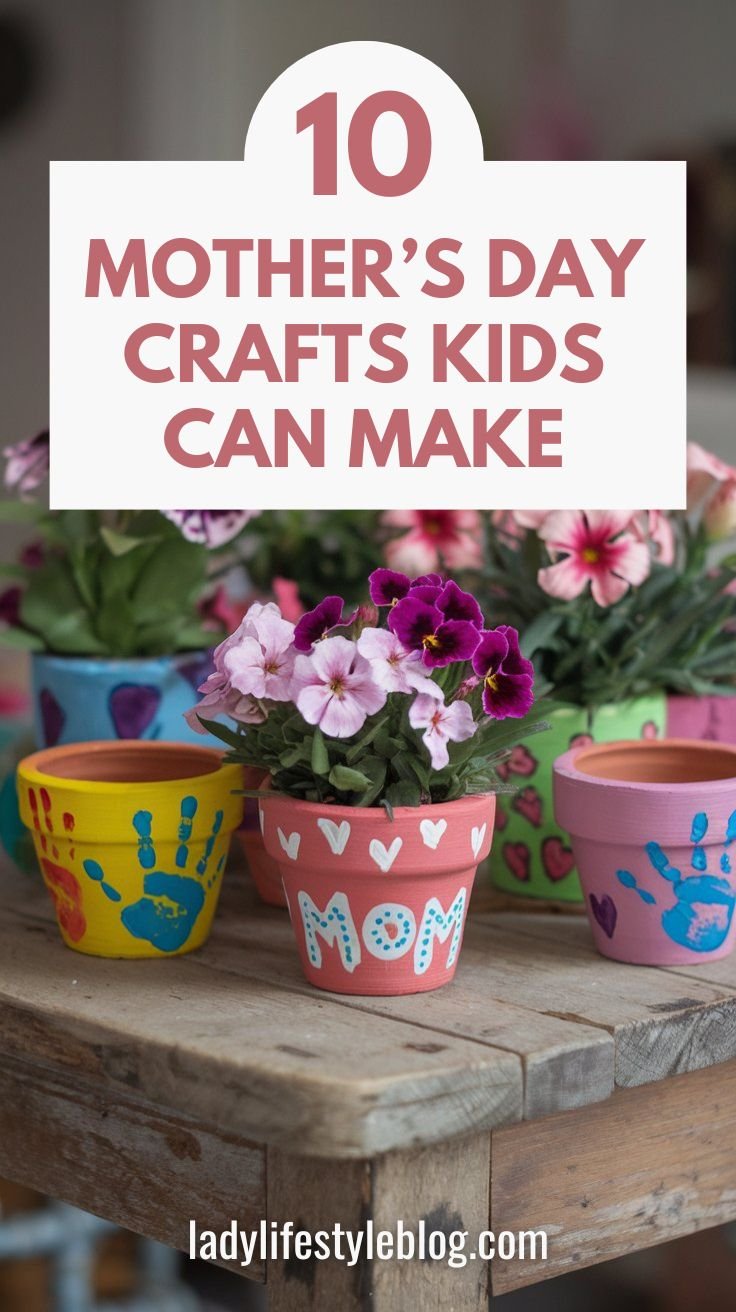
Personalized Flower Pots
Get ready to brighten up any space with a splash of color and creativity! This craft lets your kids personalize small flower pots into vibrant tokens of love.
How to Make It:
- Gather Your Supplies: Find small terracotta pots, acrylic paints, and stencils.
- Prep the Pot: Clean the pots and let your kids choose their favorite paint colors.
- Paint and Decorate: Using stencils or freehand, let your kids paint and decorate the pots with love.
- Finishing Touches: Allow the paint to dry, and then add glitter or stickers if desired.
Pro Tips:
- Use waterproof acrylic paint to ensure the design lasts.
- Let kids use their fingerprints or handprints to make adorable patterns like flowers or hearts.
- Apply a clear sealant to protect the paint and make the pots weather-resistant.
Budget-Friendly Hack:
- Instead of buying new pots, reuse old ones by giving them a fresh coat of paint.
- If you don’t have stencils, use painter’s tape to create clean lines and patterns.
Picture This: Imagine a bright, sunny windowsill featuring beautifully hand-painted pots bursting with cheerful blooms.
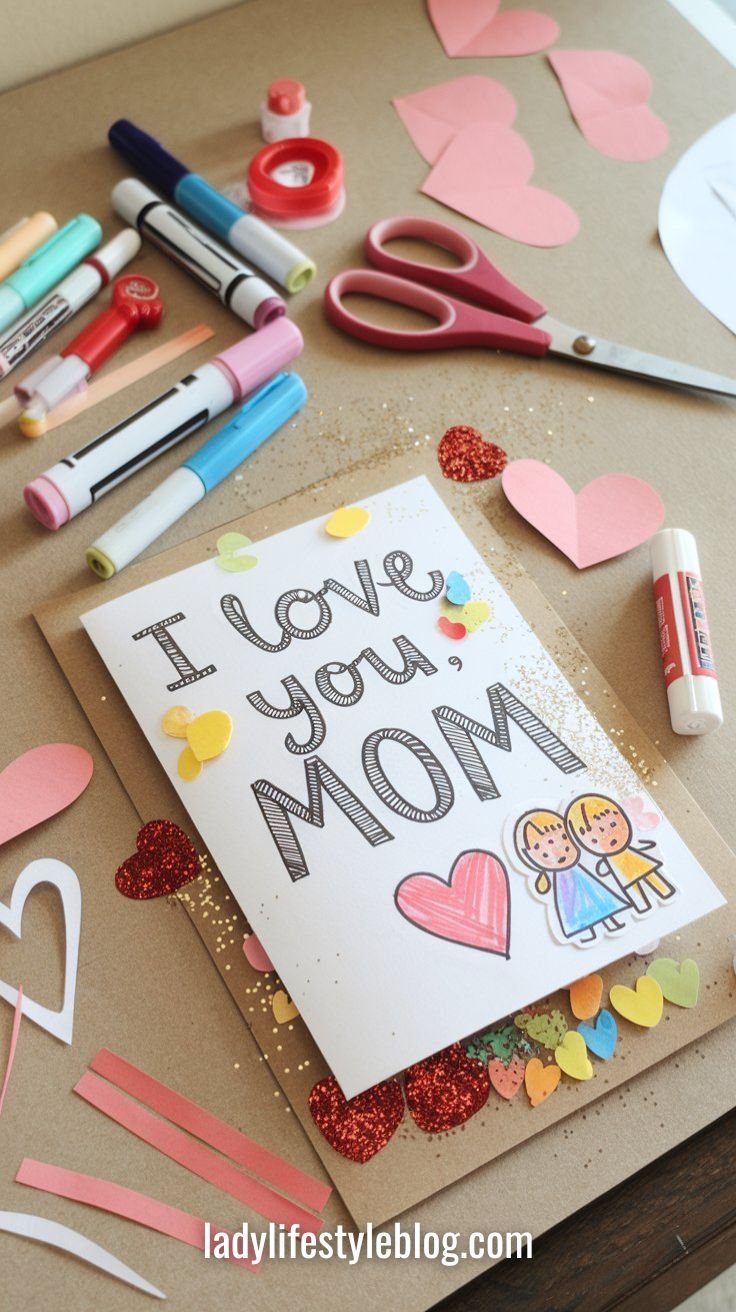
Handmade Greeting Cards
Brighten Mom’s day with a heartfelt message! This craft gives kids the opportunity to express their love through a personalized greeting card.
How to Make It:
- Materials Ready: Grab cardstock, markers, stickers, and any decorative embellishments.
- Design the Card: Fold the cardstock into a card shape and let your kids sketch their design.
- Personalize It: Write a sweet message on the front and inside of the card, adding personal touches with stickers and drawings.
- Seal the Love: Decorate the envelope for an extra special delivery.
Pro Tips:
- Layering different types of paper (construction, scrapbook, or tissue) adds a textured and professional look.
- Let kids add a personal touch with a short poem or a handprint signature.
Budget-Friendly Hack:
- Use leftover wrapping paper, magazine cutouts, or fabric scraps for decorations instead of buying stickers.
- Repurpose old greeting cards by cutting out cute elements and reusing them.
Picture This: Envision a stack of beautifully crafted greeting cards, each telling a unique story of love and care.
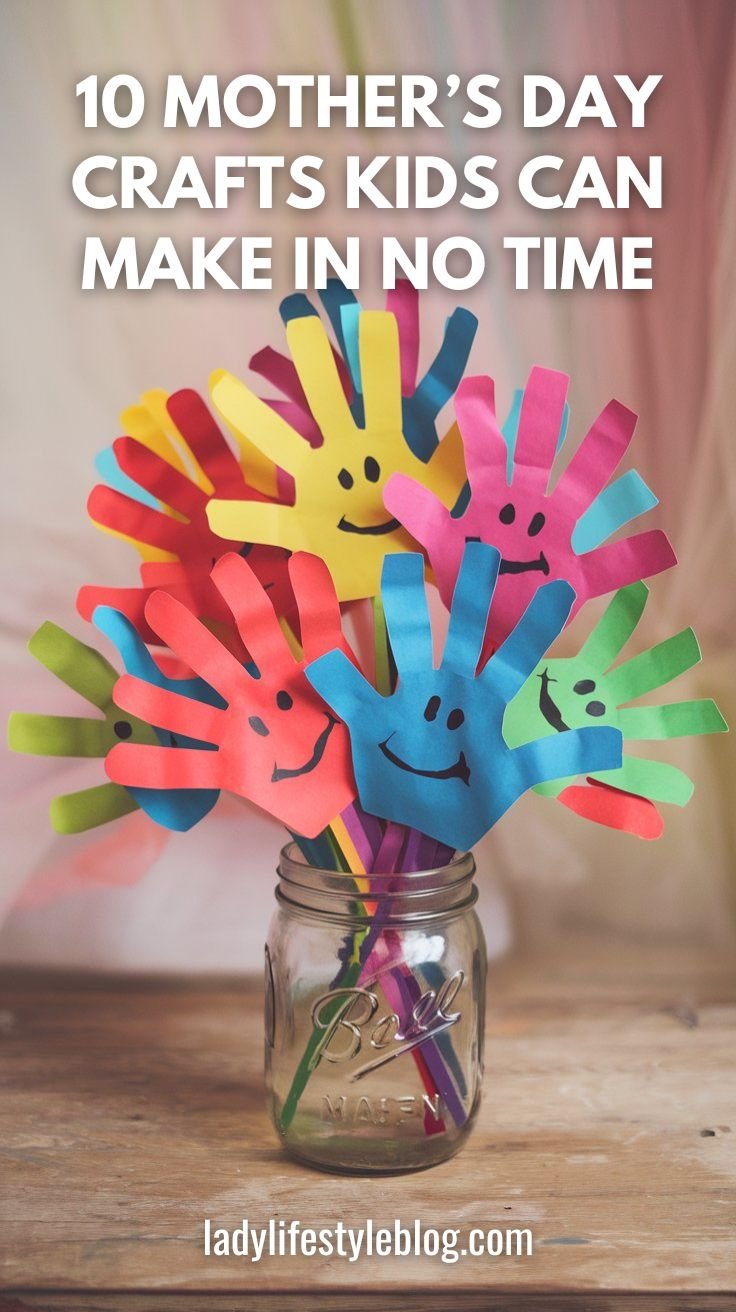
DIY Handprint Bouquet
Celebrate Mom with a bouquet that’s truly one-of-a-kind! This project transforms your child’s handprints into a delightful floral arrangement.
How to Make It:
- Prepare the Materials: Collect colorful paper, non-toxic paint, and a small vase or jar.
- Create the Handprints: Dip each hand in paint and press onto the paper to form flower shapes.
- Assemble the Bouquet: Cut out the handprint flowers, attach them to craft sticks, and arrange them in the vase.
- Add Final Touches: Write little notes on each flower for that extra personal touch.
Pro Tips:
- Use different colors for each handprint to create a vibrant, eye-catching bouquet.
- Add pipe cleaners as stems to make the flowers flexible and fun to arrange.
Budget-Friendly Hack:
- Instead of craft sticks, use real branches or straws as flower stems.
- Collect and reuse tissue paper from past gift bags to add volume to the bouquet.
Picture This: Picture a charming bouquet of vibrant handprint flowers arranged in a cute vase, exuding warmth and love.
Mom and Me Canvas Art
Celebrate the special bond between mom and child with a collaborative art project! This craft invites both to create their own canvas masterpiece that complements each other.
How to Make It:
- Choose Your Canvas: Pick two canvases – one for Mom and one for the child.
- Plan the Artwork: Decide on a theme or message that celebrates the special bond.
- Get Painting: Let your kids paint abstract or themed art on their canvas while you create a complementary piece on the other.
- Display Together: Hang the canvases side by side to create a beautiful duo.
Pro Tips:
- Use a color palette that matches Mom’s favorite colors or home decor.
- Try a simple silhouette design (like a heart split between two canvases) for a touching effect.
Budget-Friendly Hack:
- Instead of buying canvases, paint on thick cardboard or the reverse side of an old framed picture.
- Use kitchen sponges as DIY paint stamps for cool textures.
Picture This: Visualize two canvases side by side, each filled with bursts of color and heartfelt expressions, celebrating a unique connection.

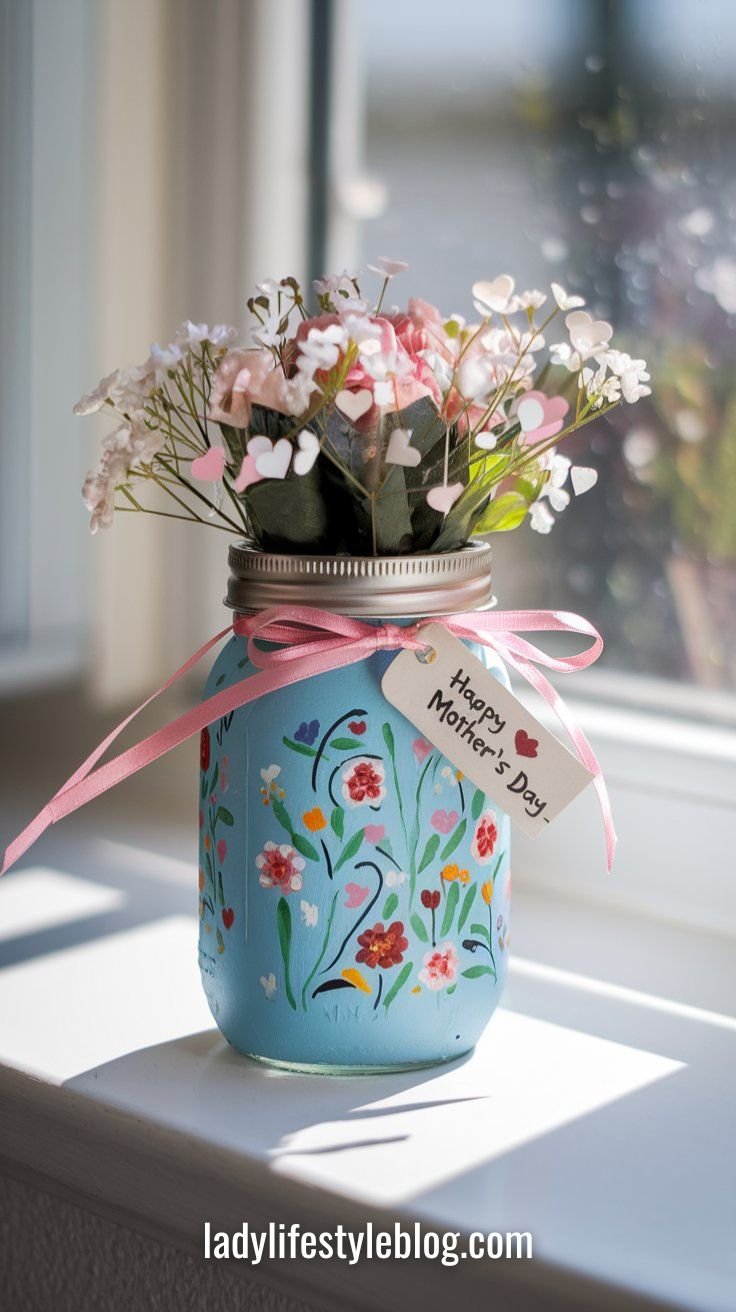
Decorated Mason Jar Vases
Transform ordinary mason jars into stunning decorative vases! This craft is simple yet effective in adding a touch of elegance and personal flair.
How to Make It:
- Gather Materials: Use a mason jar, paints, ribbons, and any decorative embellishments.
- Clean and Prep: Clean the jar and let your kids decide on a color scheme.
- Paint and Decorate: Have your kids paint the jar, then wrap it with a ribbon or add stickers.
- Fill with Flowers: Once dry, fill with fresh or faux flowers to complete the look.
Pro Tips:
- Apply Mod Podge over tissue paper or napkin cutouts for a beautiful decoupage effect.
- Tie a twine or lace bow around the neck of the jar for a rustic look.
Budget-Friendly Hack:
- Use empty food jars (like pasta sauce jars) instead of buying new mason jars.
- Decorate with pressed flowers or leaves from the backyard instead of stickers.
Picture This: Imagine a row of beautifully decorated mason jars, each a unique token of creativity and love.
Scrapbook Collage
Capture precious memories and turn them into a timeless keepsake! This scrapbook collage is a perfect blend of creativity and nostalgia.
How to Make It:
- Collect Memories: Gather photos, ticket stubs, and other mementos.
- Choose a Scrapbook: Pick a scrapbook that’s sturdy and inviting.
- Design the Pages: Have your kids arrange the mementos on the pages, adding notes and doodles.
- Glue and Finalize: Secure everything with glue or double-sided tape and let it dry.
Pro Tips:
- Encourage kids to write short notes about each photo to make the scrapbook more meaningful.
- Use washi tape for easy, colorful borders.
Budget-Friendly Hack:
- Instead of buying a scrapbook, staple together sheets of cardstock or use an old notebook.
- Print photos in black and white to save ink and give the scrapbook a vintage feel.
Picture This: Envision a vibrant scrapbook page bursting with memories, each element carefully placed to tell a heartfelt story.

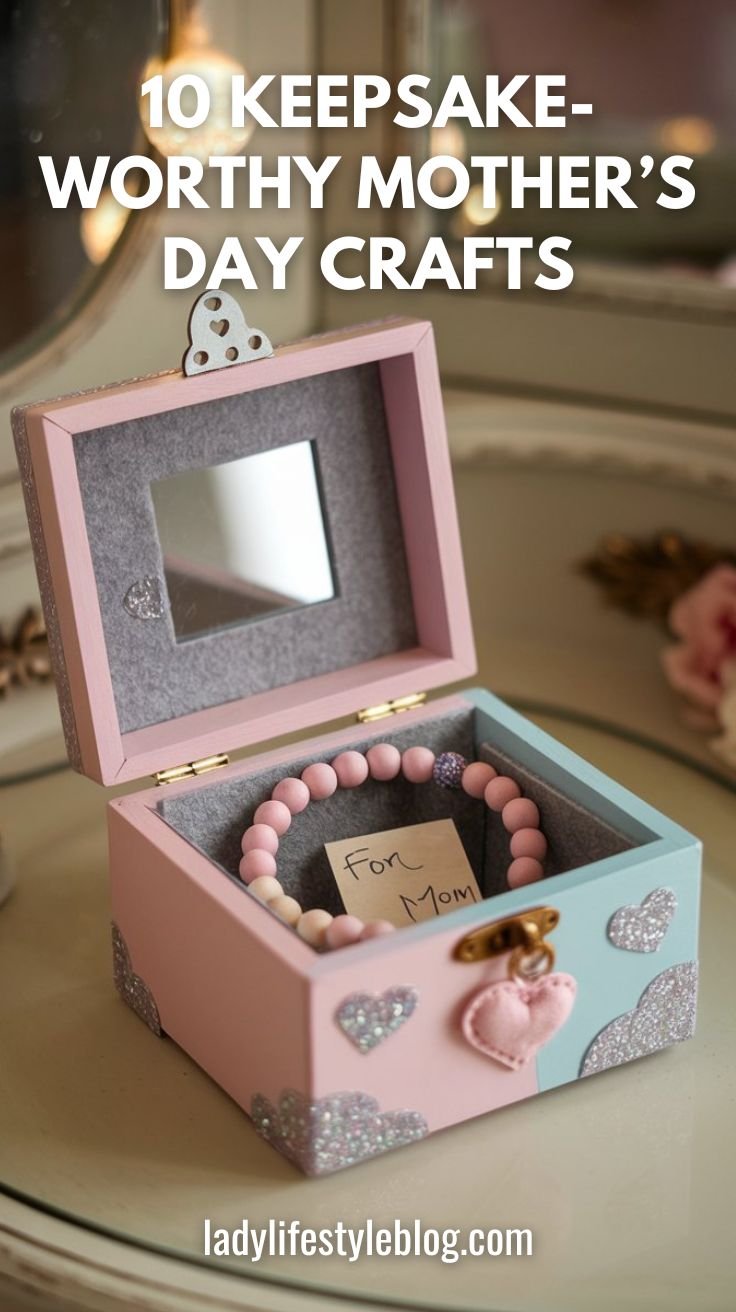
Customized Jewelry Box
Create a personalized treasure chest that’s as unique as Mom herself! This project transforms a plain jewelry box into a cherished keepsake.
How to Make It:
- Materials On Hand: Find a plain jewelry box, paints, glitter, and decorative stickers.
- Prep the Box: Clean the box and let your kids decide on their design inspiration.
- Decorate with Love: Paint and adorn the box with stickers, glitter, and other embellishments.
- Seal Your Masterpiece: Allow the box to dry fully, then add any final touches.
Pro Tips:
- Add a small mirror inside the lid to make it feel like a real jewelry box.
- Let kids use fabric scraps to create a soft, cushiony lining.
Budget-Friendly Hack:
- Use an old shoebox, candy tin, or even a sturdy cardboard box instead of buying a jewelry box.
- Decorate with beads from broken necklaces or leftover craft supplies.
Picture This: Picture a dazzling jewelry box sparkling with customized decorations, a perfect treasure chest made by little hands.
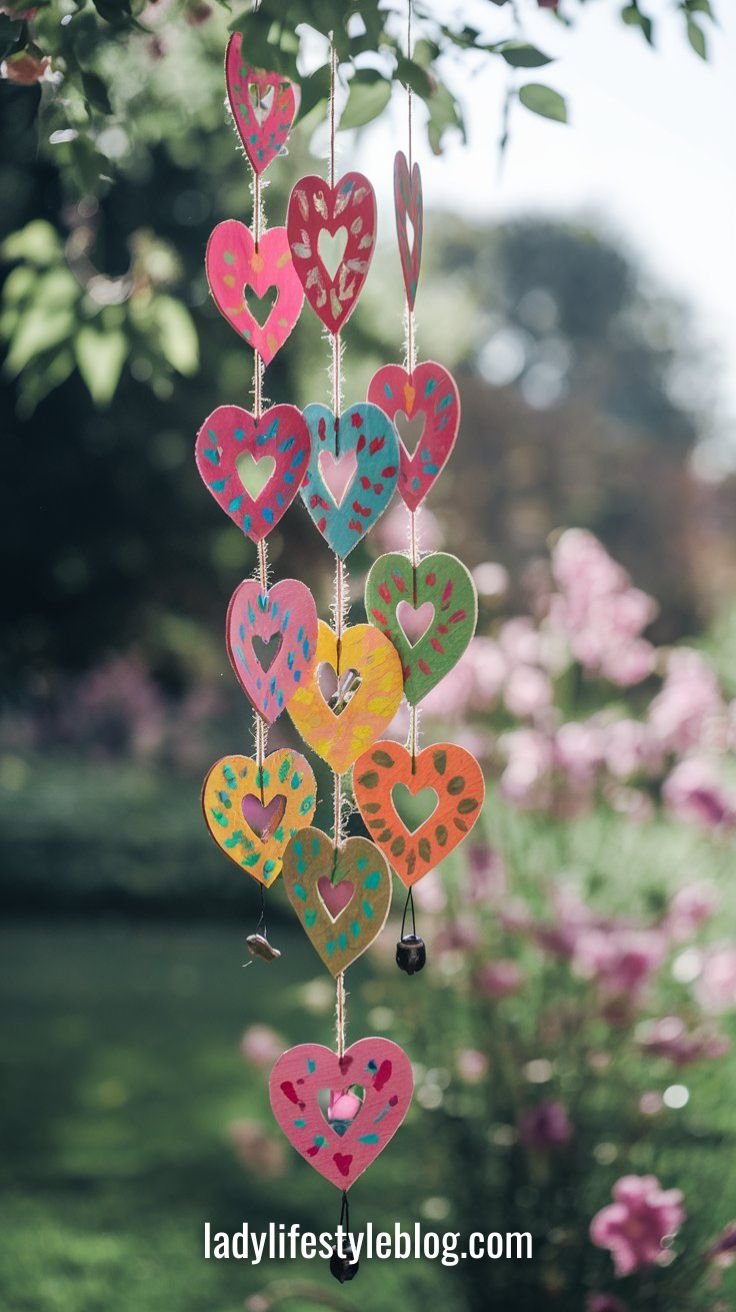
Heart-Shaped Wind Chimes
Bring the gentle music of love to life with a handmade wind chime! This craft lets your kids create a playful and melodic decoration for Mom’s space.
How to Make It:
- Prepare Your Materials: Gather strings, small bells, heart-shaped cutouts, and a sturdy hanger.
- Cut and Decorate: Let your kids cut out heart shapes from cardstock and decorate them with markers and stickers.
- Assemble the Chime: Attach the hearts and bells to the strings and hang them from the hanger.
- Test the Sound: Give the wind chime a little shake to ensure a delightful, tinkling sound.
Pro Tips:
- Paint each heart in a different shade for a gradient effect.
- Use lightweight materials (like plastic bottle cutouts) to make the wind chime sound more delicate.
Budget-Friendly Hack:
- Repurpose old keys, bottle caps, or seashells as chime pieces instead of buying bells.
- Use a sturdy hanger or a thick tree branch as the wind chime base.
Picture This: Imagine a breezy day with a heart-shaped wind chime softly jingling in the wind, a perfect blend of art and nature.
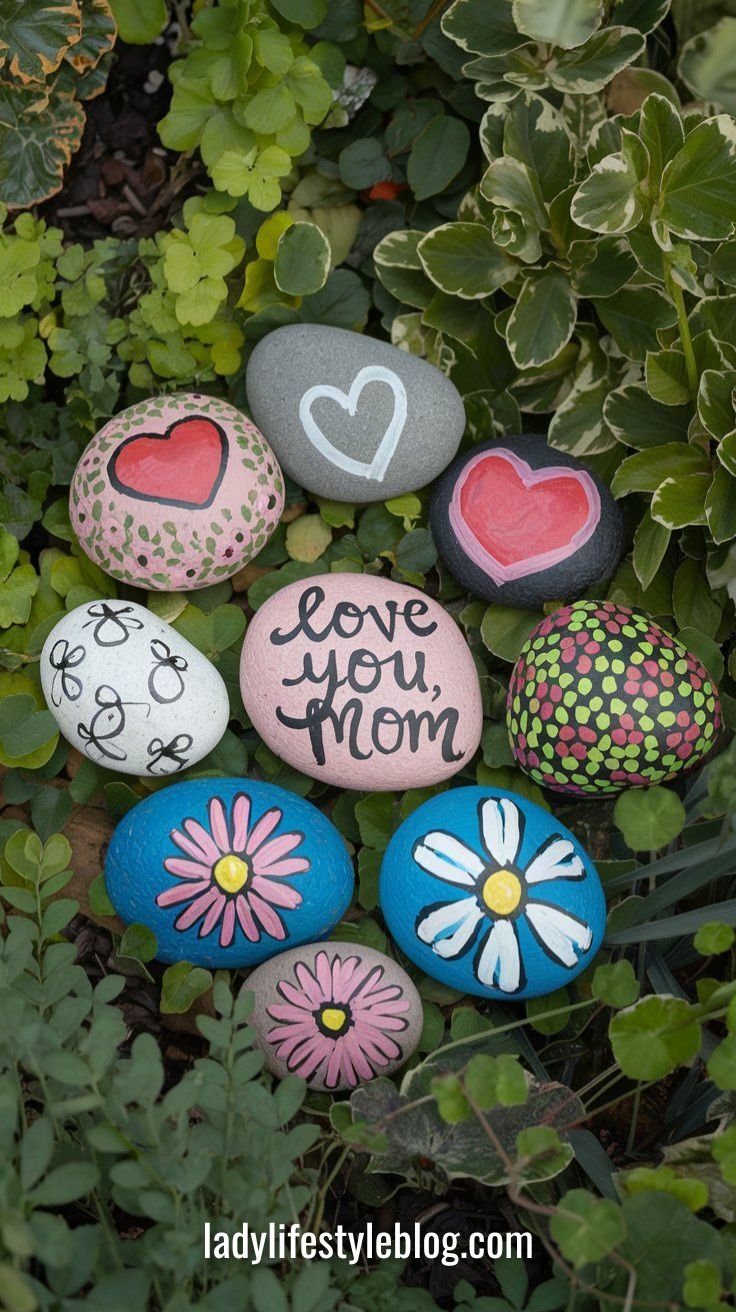
Painted Rocks Garden
Turn ordinary rocks into a whimsical garden of art! This project transforms simple stones into vibrant canvases of creativity and fun.
How to Make It:
- Gather Materials: Collect smooth rocks, acrylic paints, brushes, and sealant.
- Clean the Rocks: Ensure the rocks are clean and dry before painting.
- Paint Your Rocks: Let your kids paint each rock with colorful designs, patterns, or even faces.
- Seal and Display: Once the paint dries, apply a sealant and arrange the rocks in a garden or planter.
Pro Tips:
- Let kids turn rocks into ladybugs, bees, or flowers for a cute garden theme.
- Use a thin black marker to outline designs before painting for better precision.
Budget-Friendly Hack:
- Collect smooth rocks from nature walks instead of buying craft stones.
- Use leftover nail polish instead of acrylic paint for a glossy finish.
Actionable Tip: Mix up different rock sizes and designs to create an engaging, textured garden display.
Picture This: Picture a miniature garden dotted with whimsically painted rocks, each a vibrant burst of color and creativity.
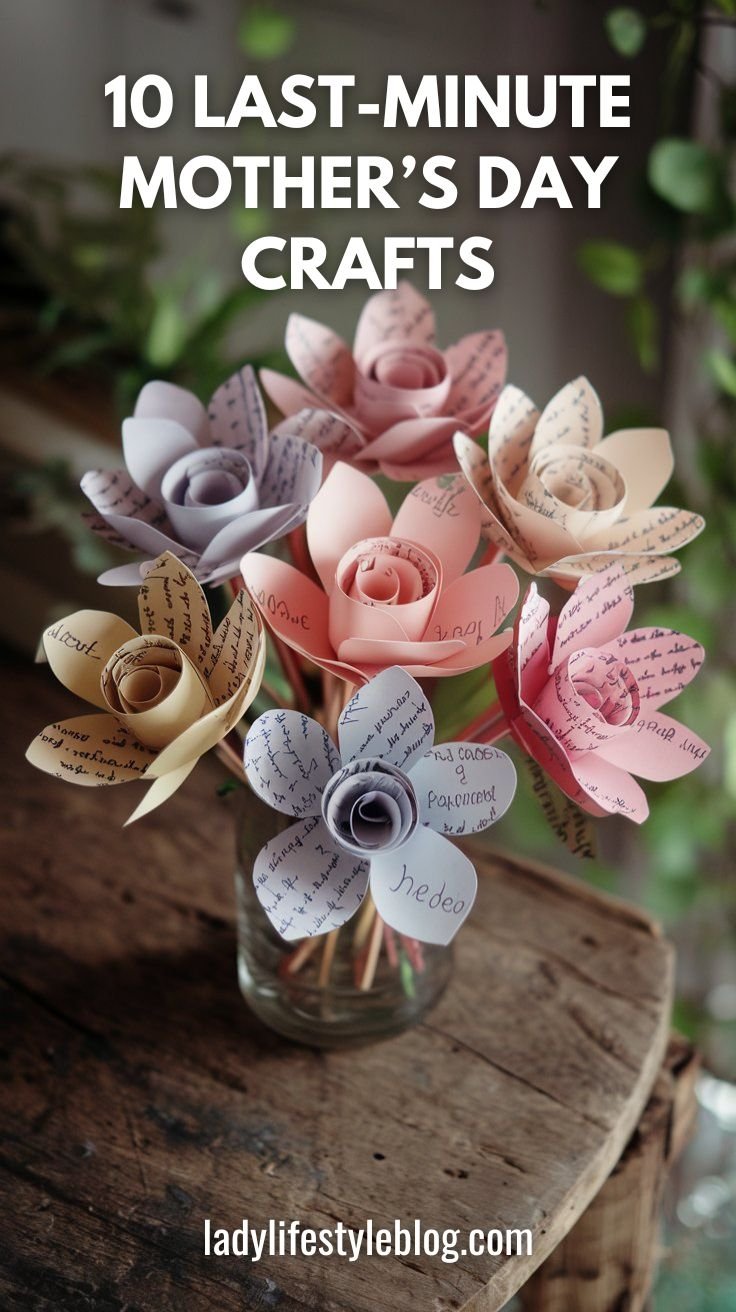
Recycled Paper Flowers
Transform everyday recycled paper into stunning, eco-friendly blossoms! This craft is a fantastic way to combine creativity with sustainability for a thoughtful gift.
How to Make It:
- Materials Ready: Use recycled paper, scissors, glue, and colorful markers.
- Cut Out Petals: Have your kids cut out multiple petal shapes from the recycled paper.
- Assemble the Flower: Layer the petals around a circular base and glue them together to form a flower.
- Finishing Touches: Add a stem made from recycled paper or a craft straw and decorate as desired.
Pro Tips:
- Use different textures of paper (tissue, newspaper, wrapping paper) to create a layered effect.
- Add a light spritz of perfume to the flowers for an extra-special touch.
Budget-Friendly Hack:
- Instead of craft paper, use old newspapers or magazine pages for a colorful, eco-friendly look.
- Use twigs or chopsticks as free, sturdy flower stems.
Picture This: Visualize a delightful bouquet of recycled paper flowers, each one radiating love and creativity—a true symbol of thoughtful mothers day crafts for kids.
Crafting Survival Guide for Parents
Crafting with kids is a magical experience—until the glitter explosion happens, the scissors go missing, and your toddler decides glue is a snack. But don’t worry! With a little prep, you can keep the fun (and your sanity) intact. Here’s how to make crafting with kids smooth, stress-free, and actually enjoyable.
1. Embrace the Mess—But Contain It
Let’s be real: things will get messy. Instead of fighting it, set up a “mess-friendly” crafting zone.
- Cover your table with an old sheet, newspaper, or a plastic tablecloth for easy cleanup.
- Have wipes, a damp cloth, and a mini trash bin nearby to handle spills fast.
- Dress kids in an oversized t-shirt or an apron—crafting is not a fashion show.
2. Choose Age-Appropriate Crafts
Not every craft is a good fit for every age. If your toddler is struggling with tiny beads, frustration will follow.
- For little ones, stick to big, easy-to-handle materials like stickers, sponge painting, and handprint crafts.
- Older kids can take on more detailed projects like cutting, threading, or designing patterns.
- When in doubt, let them experiment—sometimes their random scribbles turn into masterpieces.
3. Set Up a “Yes” Station
Want to stop hearing “Can I use this?” every 30 seconds? Create a crafting space with only safe, kid-friendly supplies.
- Keep blunt-tip scissors, glue sticks, and washable markers within easy reach.
- Pre-cut shapes or set up templates for younger kids to work with.
- Let them have creative freedom—sometimes, the best crafts are the unexpected ones.
4. Keep It Short and Sweet
- Kids’ attention spans are about as short as a commercial break, so plan accordingly.
- Pick crafts that can be done in 10-15 minutes to keep them engaged.
- Break longer projects into small, fun steps so they don’t get overwhelmed.
- Keep an extra “quick craft” (coloring sheets, stickers) on hand for kids who finish early.
5. Say Goodbye to Perfection
Your child’s painted flower might look more like a squashed tomato, and that’s okay.
- Focus on the fun, not the final product—Mom will love it no matter what.
- Avoid “fixing” their work—every wobbly line and uneven sticker placement is part of the charm.
- Take pictures along the way—sometimes the messiest moments make the best memories.
With these tricks in your back pocket, you’re ready for a smooth, fun, and frustration-free crafting session. Now grab the glue, take a deep breath, and let the creativity flow!
Frequently Asked Questions (FAQ)
What are some easy mothers day crafts for kids?
A: These 10 projects are perfect for beginners and experienced crafters alike. Projects like handmade greeting cards, DIY handprint bouquets, and painted rocks garden are all straightforward and fun!
Can these crafts be done with everyday household items?
A: Absolutely! Most of these mothers day crafts for kids use common household items like recycled paper, jars, and paints that you likely already have at home.
How can I make these crafts more personalized?
A: Encourage your kids to add personal touches such as their own drawings, written messages, or even photos. This makes the crafts even more special and unique.
Are these crafts suitable for all ages?
A: Yes, these crafts can be adapted for different age groups. Younger kids may need extra help with cutting and gluing, while older children can handle more intricate details.
How do I display the crafts once completed?
A: Consider creating a dedicated “Mom’s Day Gallery” at home, displaying the crafts on a wall, shelf, or even a special photo board for memories.
Conclusion
In this post, we’ve explored 10 adorable and actionable mothers day crafts for kids that turn simple supplies into heartfelt treasures. Each project not only offers a fun, creative outlet but also creates lasting memories between kids and Mom. Whether you’re painting rocks, crafting a handmade card, or assembling a DIY wind chime, these projects are sure to make this Mother’s Day extra special.
Remember, the joy is in the process as much as the finished product. Enjoy every moment of crafting with your little ones, and don’t forget to snap some photos of your creative journey!
At Lady Lifestyle Blog, I use AI as a tool to assist with research, idea generation, and content refinement. While much of my content is shaped with AI’s help, I personally review and adjust each post to ensure it aligns with the blog’s style and purpose. My focus is on providing stylish, creative, and practical inspiration for every modern lady!