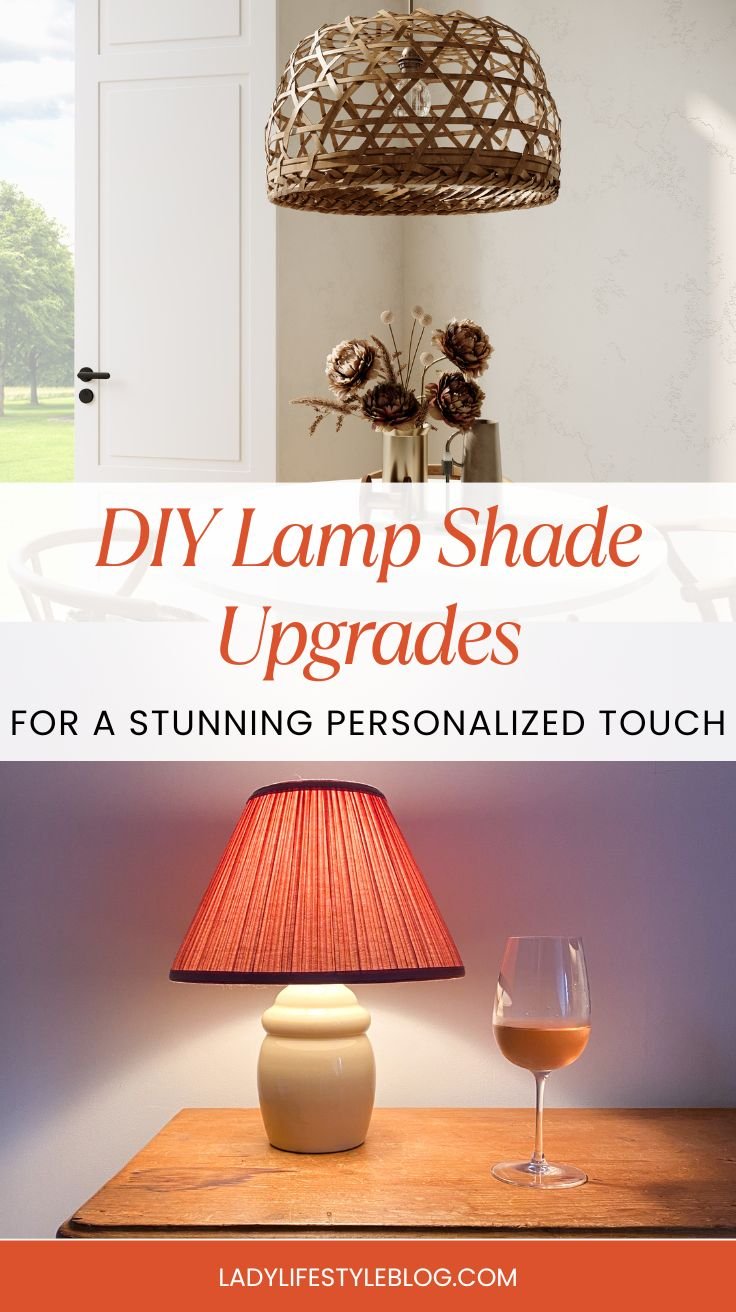
I’ll be honest: I used to think a lamp was just… well, a lamp. But then I started noticing how much a DIY lamp shade can totally transform a room. It’s like the jewelry for your lighting—small but mighty. Once I made my first one, I was hooked. Personalizing a basic lamp shade isn’t just easy; it’s such a fun, low-risk way to experiment with colors, textures, and styles.
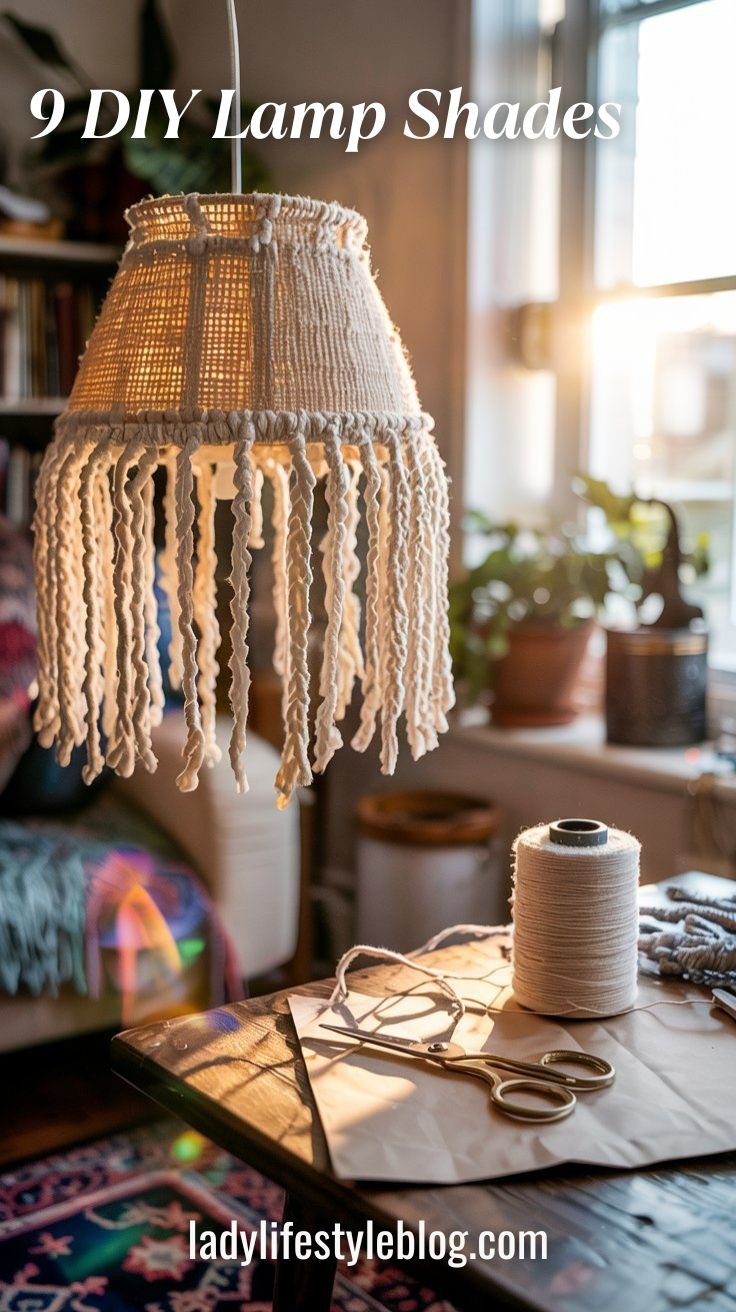
Today, I’m sharing 9 DIY lamp shade ideas I’ve tried (or have on my wish list!) that can help you customize your lighting and add instant personality to any space. Trust me, once you start, you’ll never look at a boring lamp the same way again.
What You Might Need:
- Plain lamp shade
- Hot glue gun + glue sticks
- Fabric (cotton, linen, or specialty textures)
- Paint + brushes
- Beads, fringe, ribbons, or pom-poms
- Scissors
- Mod Podge or fabric adhesive
- Embroidery hoop (for DIY builds)
- Old clothes or scarves (for upcycling fun)
- Wallpaper scraps
- Measuring tape and pencil
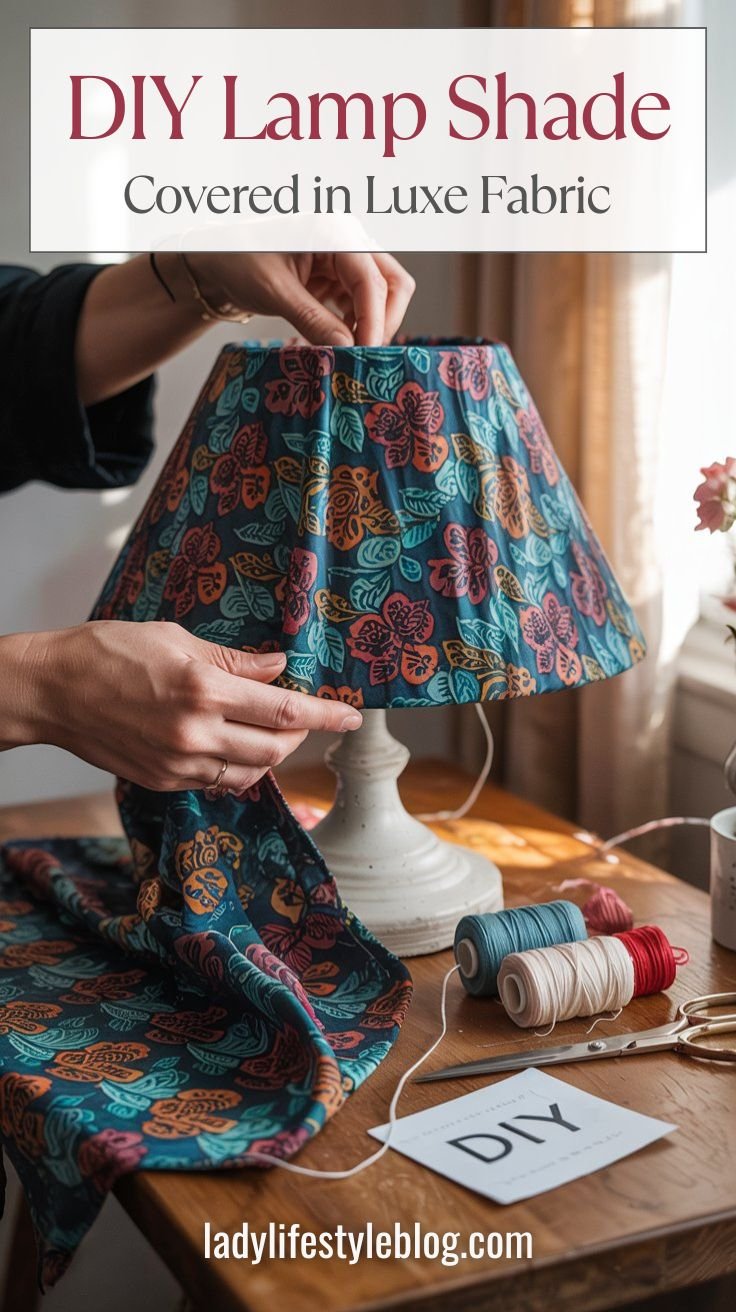
DIY Lamp Shade Covered in Luxe Fabric
For me, there’s something magical about wrapping a lamp shade in gorgeous fabric. It’s such a simple project, but it instantly gives your space a high-end feel.
Step-by-Step:
- Lay your fabric flat and wrap it around the shade to measure.
- Cut fabric, leaving about 1 inch extra on all sides.
- Use spray adhesive or Mod Podge to secure the fabric, smoothing out wrinkles.
- Fold extra fabric over the edges and glue inside the shade for a clean finish.
Pro Tip: Pre-iron your fabric so it lays perfectly flat. Wrinkles = shadowy weirdness when the lamp is on.
Picture This:
A cozy reading nook bathed in warm light from a linen-wrapped lamp shade, creating a serene, inviting vibe.
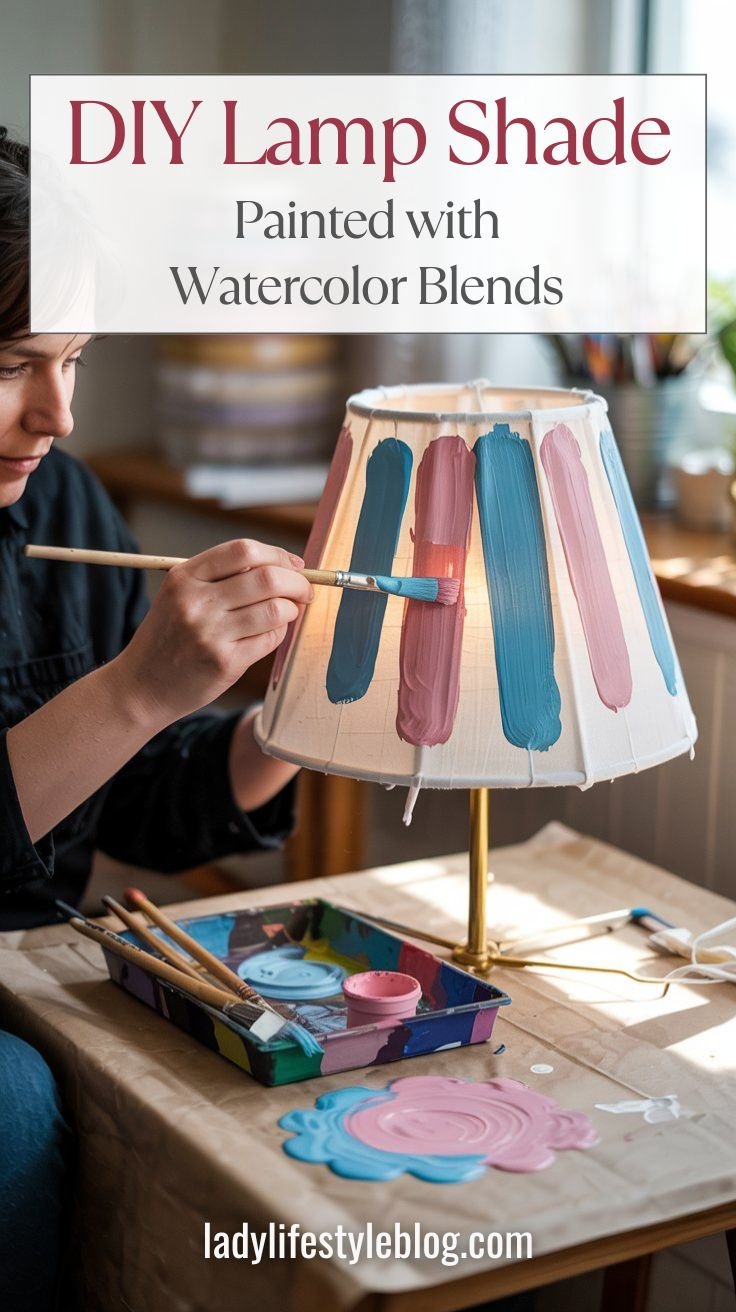
DIY Lamp Shade Painted with Watercolor Blends
I’ve always loved the way watercolor art feels so light and effortless. Painting a DIY lamp shade with soft, blended colors is my go-to when I want something playful but sophisticated.
Step-by-Step:
- Dampen a plain white shade lightly.
- Use watered-down acrylics or fabric paints.
- Lightly brush and blend colors directly onto the damp shade.
- Let dry fully before using.
Pro Tip: Practice your paint blend on paper first to test your color combo before committing to the shade.
Picture This:
A dreamy splash of blues and pinks swirling gently across your bedside table lamp, like a tiny sunset on fabric.
Boho Fringe Magic
I’ve been obsessed with fringe lately. Adding layers of it to a DIY lamp shade gives me those laid-back boho vibes I crave—like my room is about to break into a music festival.
Step-by-Step:
- Measure your fringe or tassel trim around the lamp shade.
- Hot glue the fringe in layers (bottom-up for a layered look).
- Optional: Dye the fringe different colors for an ombré effect.
Pro Tip: Use gold, copper, or blush fringe to catch the light—especially pretty in evening glow.
Picture This:
A flirty, swishy lamp shade giving serious music festival-meets-home office vibes!
DIY Lamp Shade Using Wallpaper Scraps
I started noticing how often leftover wallpaper goes to waste—and using it to revamp a DIY lamp shade? Game changer.
Step-by-Step:
- Measure and cut the wallpaper to fit the shade.
- Apply a thin coat of Mod Podge to both the wallpaper and the shade.
- Wrap carefully, smoothing out bubbles.
Pro Tip: Match your lamp shade wallpaper with the back of a bookshelf or a drawer lining for unexpected cohesion.
Budget-Friendly Hack: Ask a hardware store for wallpaper sample scraps—they’re often free!
Picture This:
A chic lamp that perfectly matches your statement wall—because it literally does.

Wrapped in Chunky Yarn
Snuggly, textured, and seriously trendy—chunky yarn turns any DIY lamp shade into a cozy work of art.
Step-by-Step:
- Dab hot glue at the starting point.
- Wrap yarn tightly around the shade.
- Secure every few inches with glue until fully covered.
Budget-Friendly Hack: Use leftover yarn from a blanket project or look for thrift-store scarves you can unravel.
Picture This:
A chunky knit dream lamp sitting next to a soft throw blanket, basically begging you to curl up with a book.

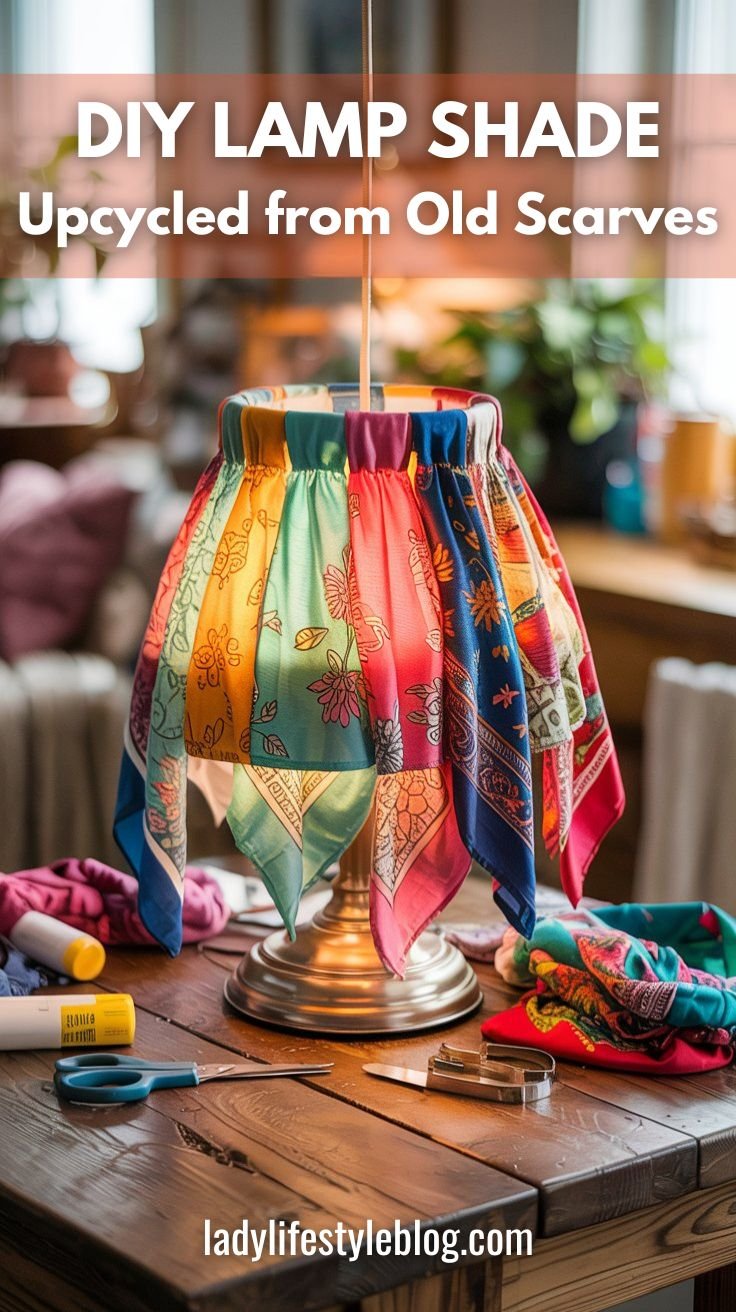
DIY Lamp Shade Upcycled from Old Scarves
I love giving old things a second life, and draping an old scarf over a DIY lamp shade might be one of the easiest and coolest projects ever.
Step-by-Step:
- Drape the scarf around the lamp shade.
- Tuck and pin or glue loosely for a draped effect.
- Trim excess fabric and secure neatly inside.
Picture This:
A globe-trotting vibe with vintage scarves and exotic prints lighting up your travel corner.
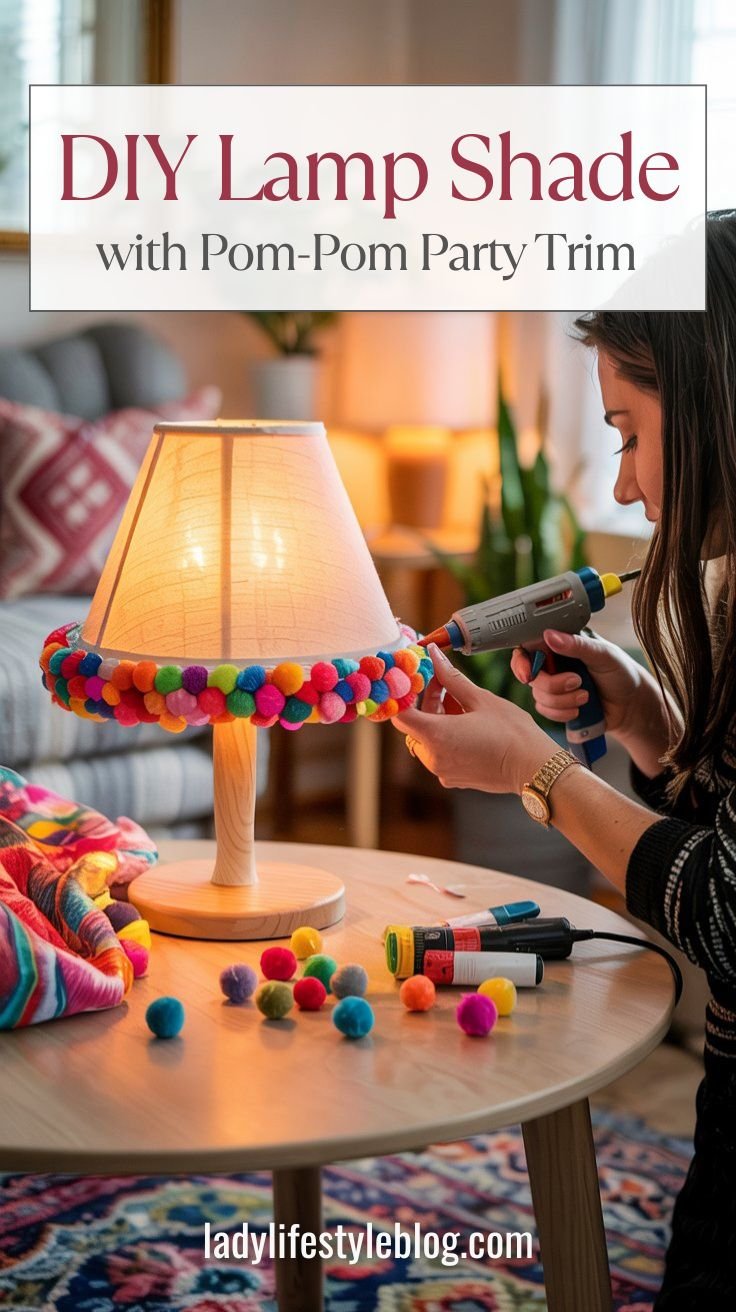
DIY Lamp Shade with Pom-Pom Party Trim
Sometimes you just need a little fun, you know? I love adding pom-poms to a DIY lamp shade when I want to make a space feel a little less serious.
Step-by-Step:
- Hot glue pom-pom trim along the bottom (or top and bottom) edges.
- For extra boldness, scatter individual pom-poms all over the shade.
Picture This:
A playful, colorful lamp perfect for brightening up a kid’s room, creative space, or a bold adult desk setup.
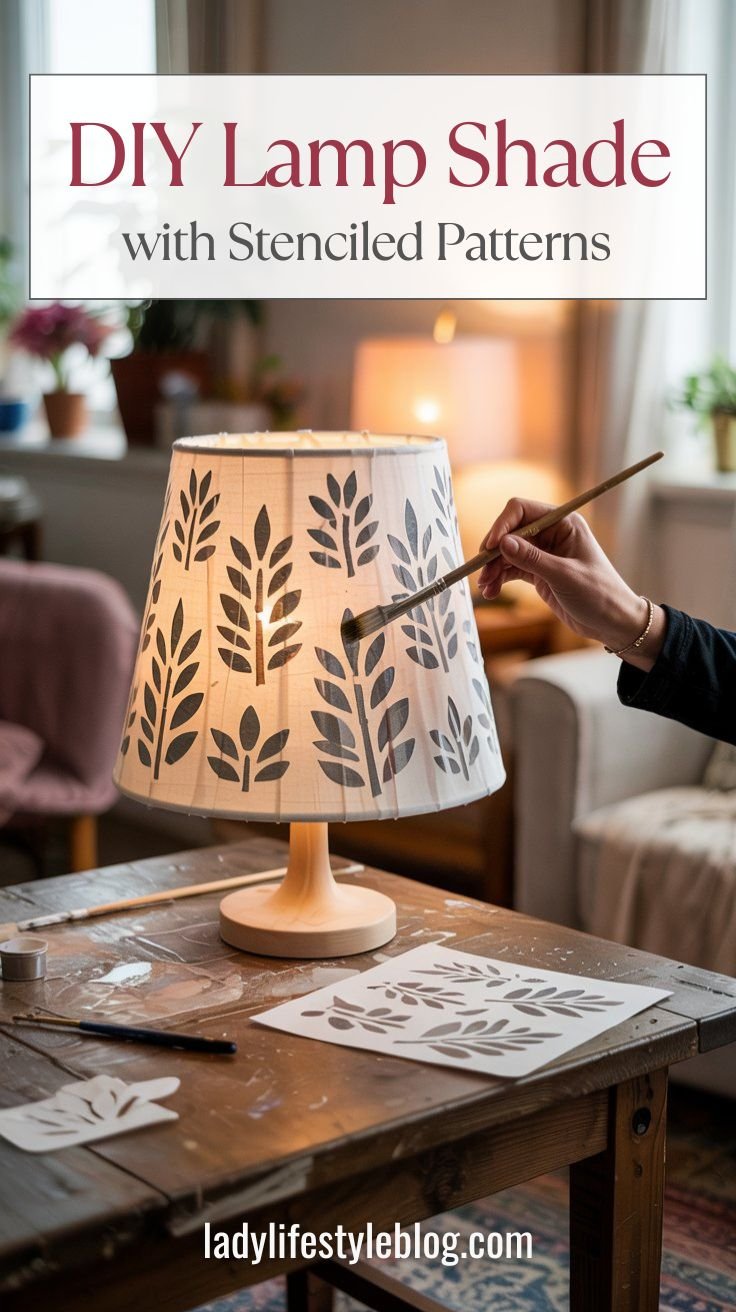
DIY Lamp Shade with Stenciled Patterns
I’ve been playing with stencils a lot lately, and it’s amazing how detailed and professional a DIY lamp shade can look with just a little paint.
Step-by-Step:
- Secure stencil onto the lamp shade with tape.
- Lightly dab on paint with a sponge or brush.
- Carefully lift stencil and let dry completely.
Picture This:
An intricate geometric pattern casting soft, mesmerizing shadows all around the room.
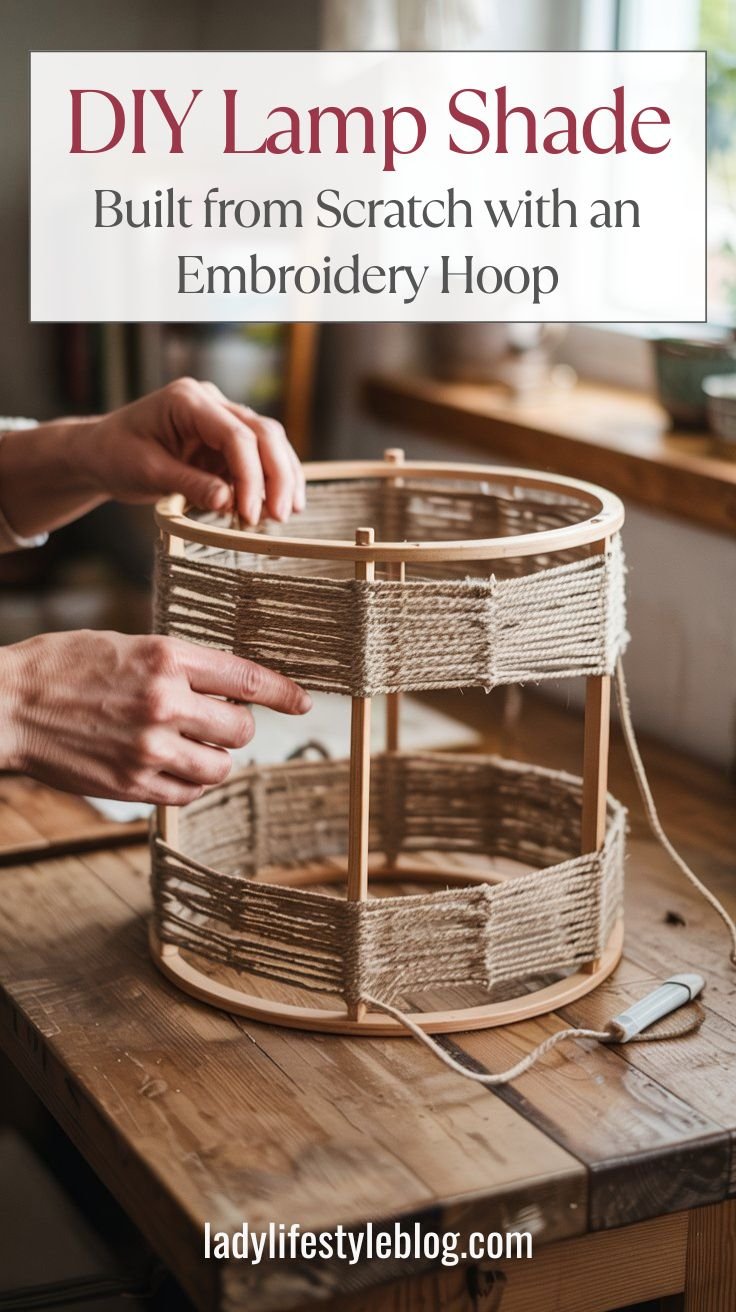
DIY Lamp Shade Built from Scratch with an Embroidery Hoop
This one felt a little intimidating at first, but I hope you’ll try it because it’s surprisingly easy—and insanely satisfying.
Step-by-Step:
- Use two hoops as the top and bottom frame.
- Attach thin dowels or rods vertically between hoops.
- Wrap fabric, yarn, or twine around the structure.
Pro Tip: Try weaving in fairy lights between the rods for a soft glow from the inside out!
Picture This:
An airy, minimalist lamp that’s equal parts modern art and DIY bragging rights.
DIY Lamp Shade Mistakes to Avoid:
- Using regular bulbs with fabric shades (LED = safety + no heat)
- Rushing the glue stage (hello, peeling edges)
- Ignoring the inside of the shade—it shows when the lamp is on!
- Forgetting to match the base to your new design
- Picking fabric that blocks too much light
Pro Tip: Always test your fabric by holding it over a lit shade—some materials look totally different when lit!
Before You Plug It In:
- Fabric fully glued down?
- Paint 100% dry?
- Using a low-heat bulb?
- Looks great in daylight and at night?
- Matches the rest of your room vibe?
Crafting Survival Guide for DIY Lamp Shade Projects
- Always unplug your lamp before working on the shade!
- Let all adhesives and paints dry completely before using.
- Use low-heat LED bulbs to prevent any overheating with fabric or yarn shades.
- Don’t be afraid to layer elements (like paint and fringe!) for extra personality.
FAQ
How do you attach fabric to a DIY lamp shade?
Use Mod Podge or a spray adhesive, smoothing the fabric as you go to avoid bubbles.
Can I use hot glue on a lamp shade?
Yes! Hot glue works great for attaching trims like fringe or pom-poms, just be careful with delicate fabrics.
What types of fabric work best for DIY lamp shades?
I love cotton and linen—they’re easy to work with and let light shine through beautifully.
Is it safe to DIY my own lamp shade?
Absolutely! Just use LED bulbs to keep heat low, and always ensure your materials are flame-retardant or treated.
Can I reuse an old lamp shade frame?
Absolutely. Stripping down an old frame is one of my favorite ways to start a custom project.
Conclusion
If there’s one thing I’ve learned, it’s that a DIY lamp shade project doesn’t have to be perfect to be beautiful. Each one adds a layer of you to your space—your colors, your textures, your vibe. I hope you feel inspired to pick up a paintbrush, a scarf, or a handful of pom-poms and start creating. Your lighting deserves a little magic—and so do you.
At Lady Lifestyle Blog, I use AI as a tool to assist with research, idea generation, and content refinement. While much of my content is shaped with AI’s help, I personally review and adjust each post to ensure it aligns with the blog’s style and purpose. My focus is on providing stylish, creative, and practical inspiration for every modern lady!