Let me tell you—I’ve always had a soft spot for pretty paper and notebooks. It started with me collecting diaries as a teen (mostly filled with dramatic poetry and bubble-letter headers), but somewhere along the way, I realized how much joy there is in making my own.
DIY journal books aren’t just notebooks; they’re little pockets of creativity. I love how they blend memory keeping, mindfulness, and pure crafty fun all into one handmade bundle. And the best part? You don’t need to be a pro or spend big. I’ve been crafting these beauties with scraps, glue sticks, and whatever’s lying around—and they still turn out like something straight from Pinterest.
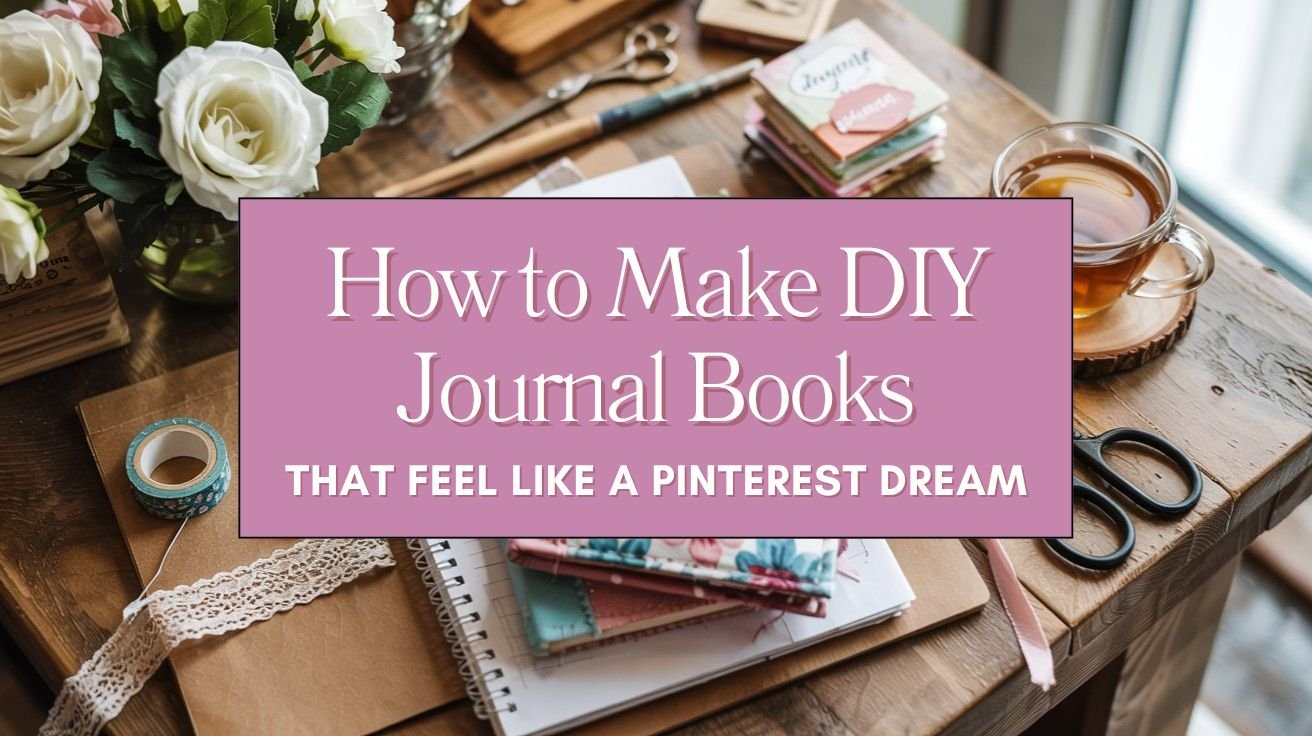
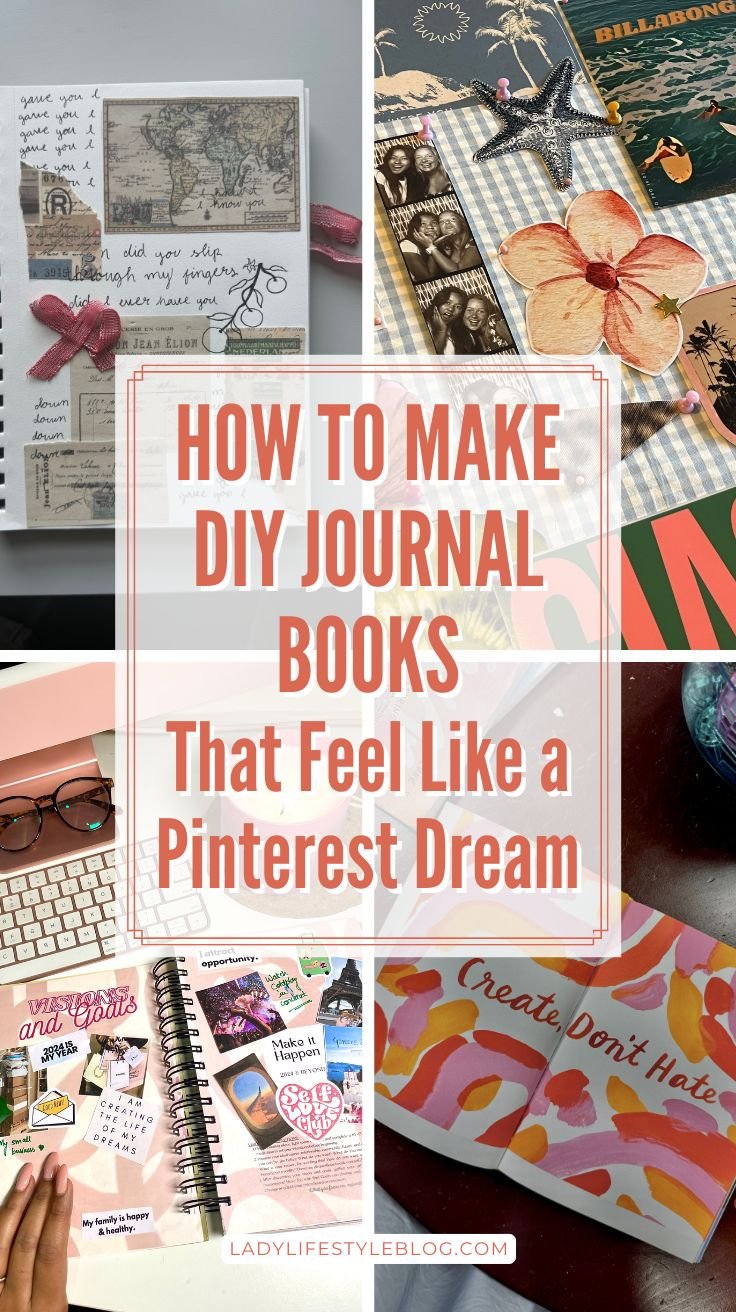
So today, I’m sharing 10 DIY journal books I’ve loved making, each with its own vibe. Whether you’re into clean minimalism, vintage florals, or total scrapbook chaos—I’ve got you covered.
What You Might Need
Here’s what I usually gather before I start. Don’t stress if you don’t have everything—half the magic is making it work with what you’ve got.
- Blank or lined pages (printer paper, watercolor paper, kraft paper—go wild!)
- Cardstock, chipboard, or thick cardboard (for the covers)
- Scrapbook paper or fabric (for covering)
- Scissors and ruler
- Glue stick or hot glue gun
- Decorative tape or washi tape
- Hole punch or awl
- Needle and embroidery thread OR binder rings
- Ribbon, buttons, charms (for embellishing)
- Printable journal pages or quotes (optional)
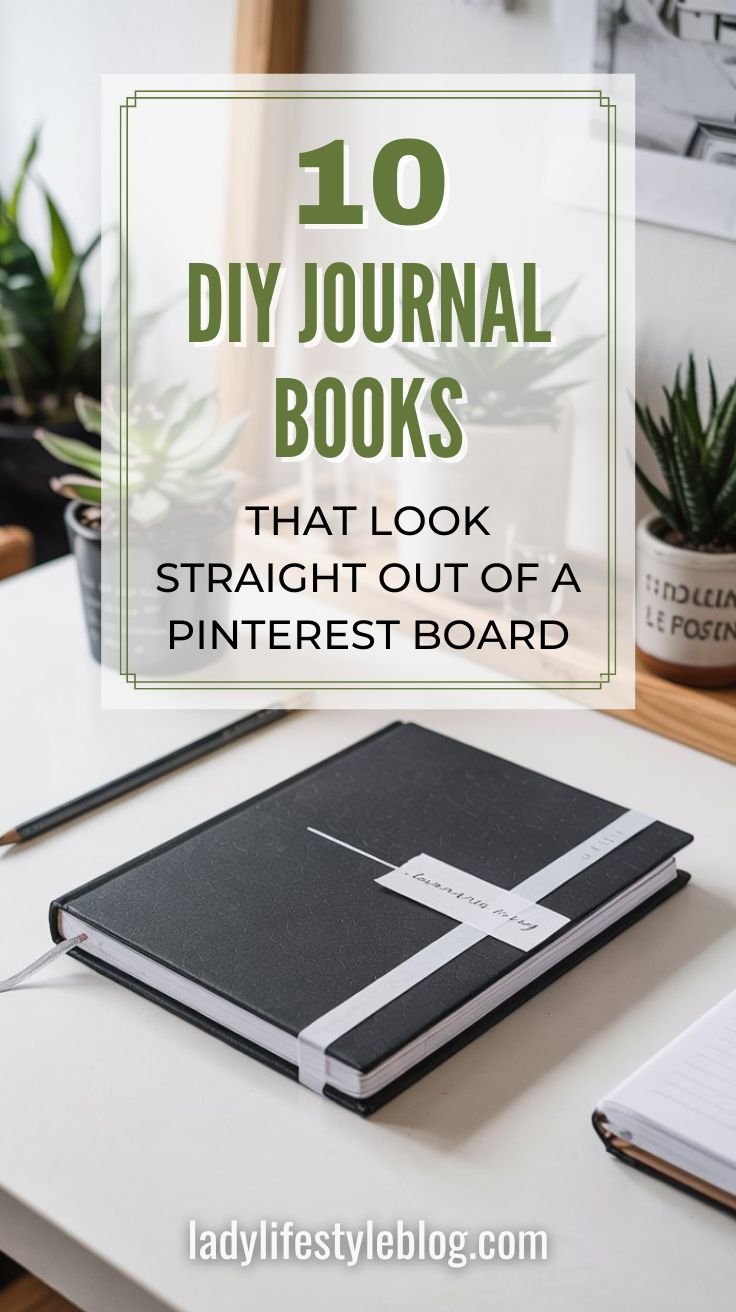
The Minimalist Marvel
I went through a big minimalist phase last year (thank you, Pinterest), and this journal totally captured that clean, Scandinavian calm I was craving.
How to Make It:
- Cut white or kraft paper to your desired size.
- Stack your pages evenly and secure with clips.
- Punch holes along one edge and thread with black embroidery floss in a figure-eight stitch.
- Add a plain white or black cardstock cover and seal the spine with minimal washi tape.
Pro Tip: Stick to a monochrome palette—white, black, or neutral kraft. This creates a high-end, polished look with almost zero effort.
For Beginners: Use binder rings instead of embroidery stitching—they’re easier to work with and let you add or remove pages later.
Picture This:
A crisp, white cover with delicate black thread binding, resting on a Scandinavian-inspired workspace—hello, Instagram!
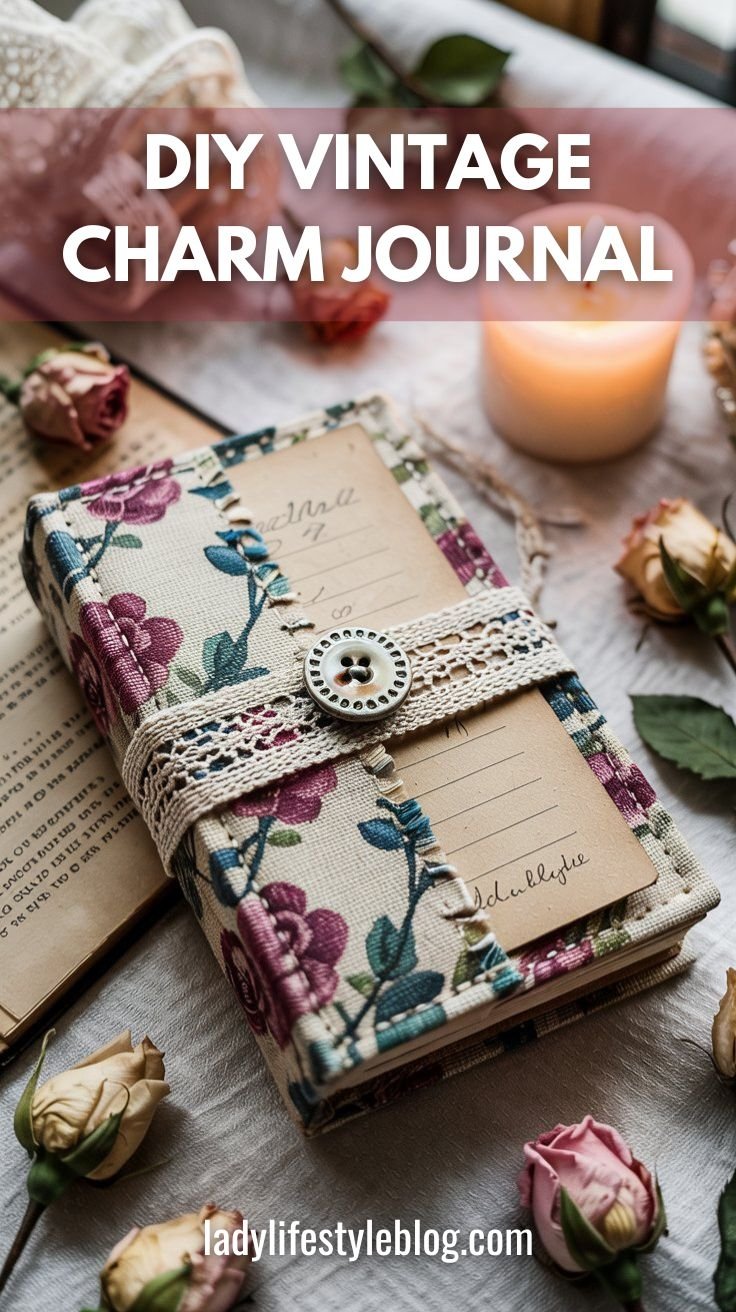
Vintage Charm Journal
For me, there’s something romantic about florals, lace, and yellowed paper. I started making this vintage-inspired journal after falling down a Victorian aesthetic rabbit hole.
How to Make It:
- Use tea-stained paper for that aged look.
- Cover chipboard with vintage floral fabric or lace.
- Bind with twine and glue on a vintage button or brooch.
- Add pockets from old book pages or sheet music.
Pro Tip: Lightly iron your tea-stained paper with a towel on top to flatten and dry it faster without ruining the aged look.
For Beginners: Start with printed vintage scrapbook paper instead of staining your own—instant nostalgia without the mess.
Picture This:
Your journal sits on a lace doily beside a teacup, filled with hand-written letters and pressed flowers. Pinterest, meet Jane Austen.
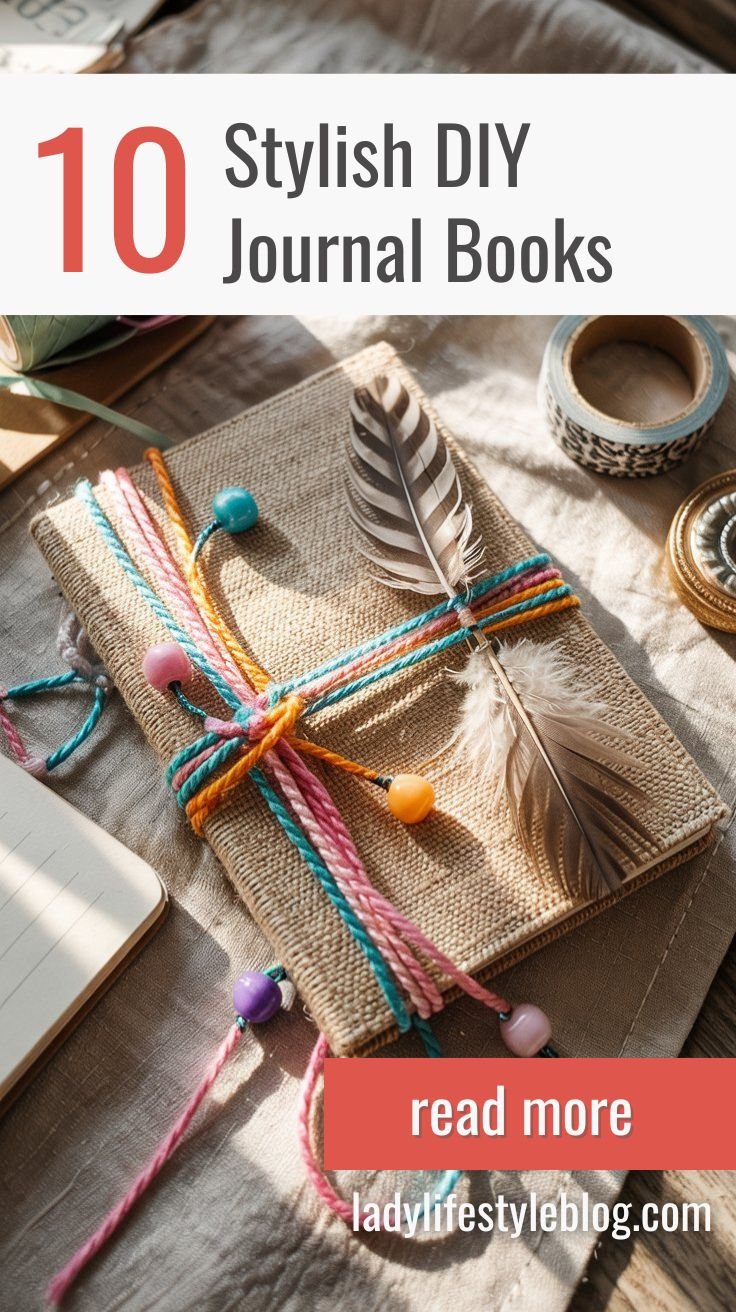
The Boho Bliss Book
Bohemian vibes, here we come! This DIY journal book is bursting with color, texture, and playful detail.
How to Make It:
- Mix and match colorful scrapbook pages for the inside.
- Use canvas or burlap for the cover.
- Stitch it up with rainbow thread and add beaded tassels or feathers.
- Glue on a label made from kraft paper with your name or a mantra.
Pro Tip: Add texture by layering scraps of fabric, old jewelry, or even yarn—you want it to look lived-in and soulful.
For Beginners: If stitching intimidates you, use a glue gun for binding and just glue decorative thread along the spine for the look.
Picture This:
A vibrant explosion of patterns and textures, sitting on your art table with bits of washi tape and brush strokes everywhere.
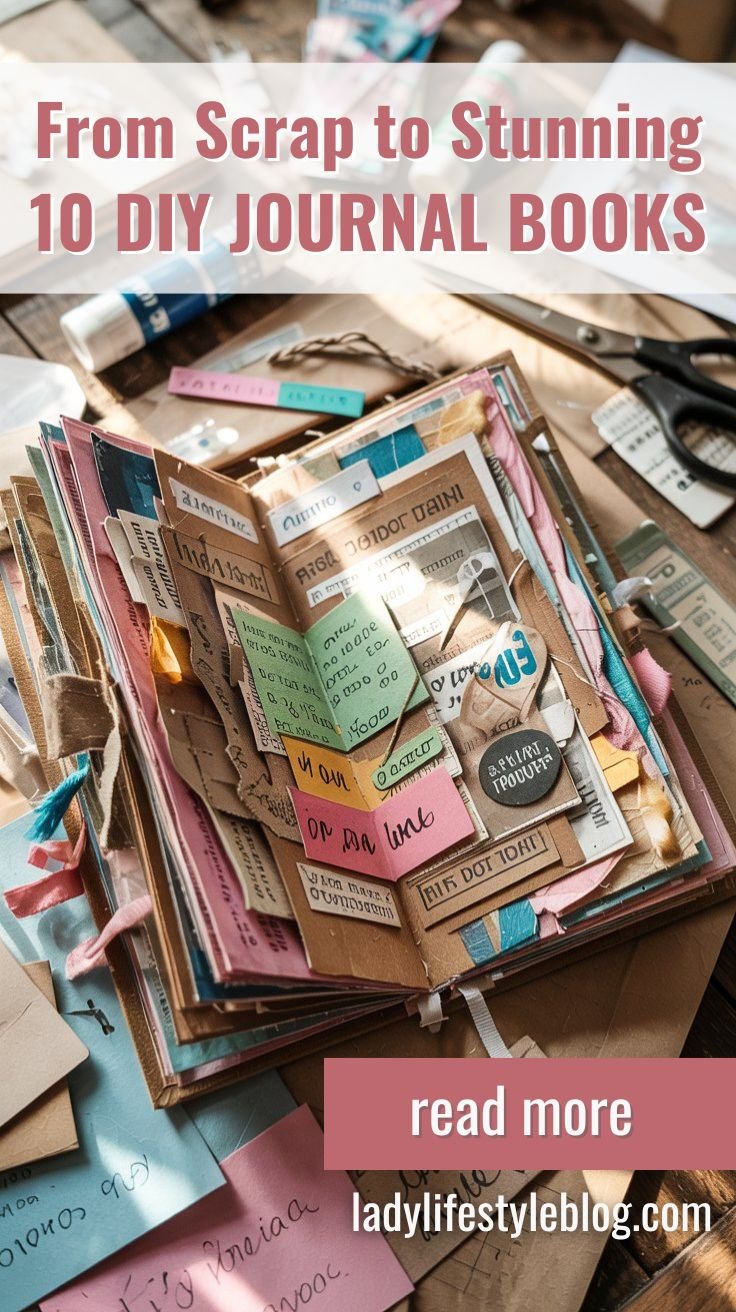
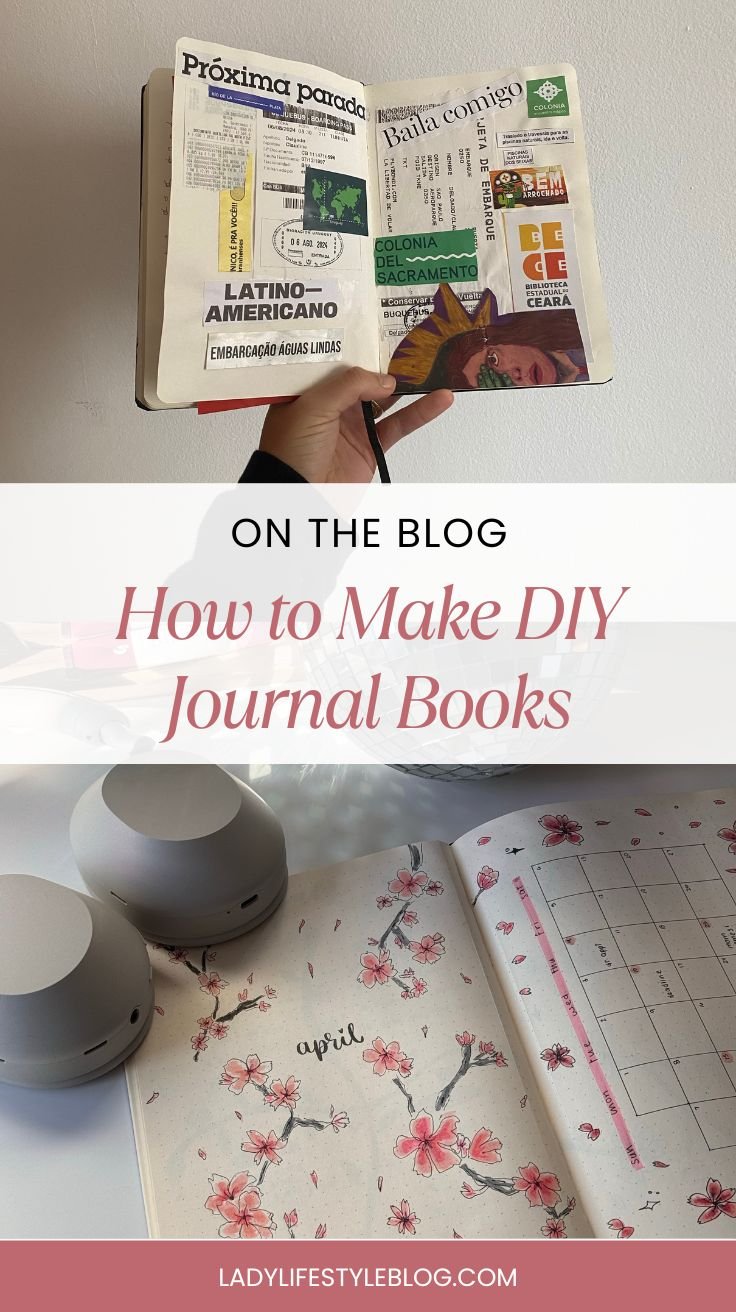
Junk Journal Joy
This one is honestly my favorite. I started noticing how much “junk” I was keeping—receipts, tags, tickets—and decided to turn it into treasure.
How to Make It:
- Gather up old envelopes, postcards, tags, ticket stubs, and wrapping paper.
- Bind everything together with binder rings or string.
- Add fold-outs, tuck spots, and layers upon layers of paper bits.
- No rules here—just organized chaos!
Pro Tip: Use clear packing tape to laminate tiny paper scraps (like receipts or stamps) and make durable flip-ins or tabs.
For Beginners: Don’t overthink it—just punch holes in all your scraps and loosely bind them together. Imperfection is the goal!
Picture This:
A chunky, colorful book bursting with memories, textures, and tiny treasures—a visual adventure on every page.
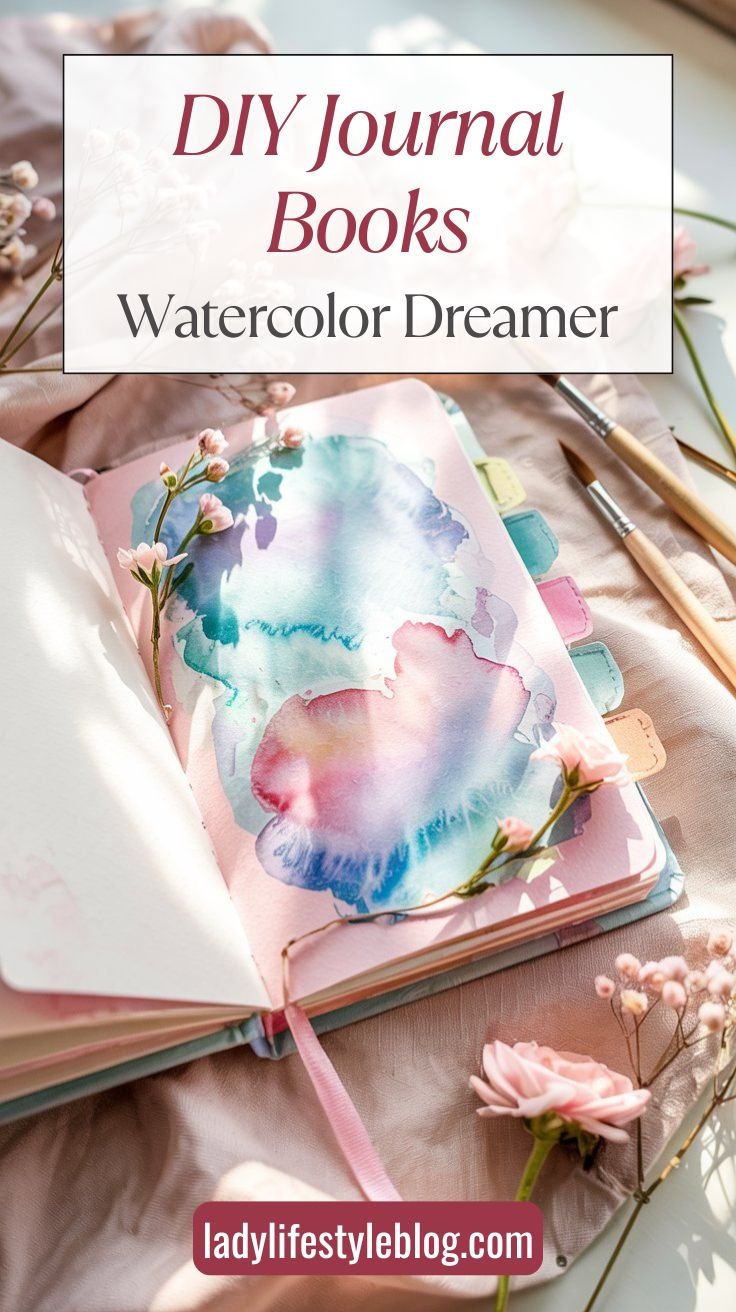
The Watercolor Dreamer
Soft pastels and splashy brush strokes turn this DIY journal book into an artistic escape.
How to Make It:
- Use watercolor paper for your pages.
- Paint soft washes or floral doodles throughout.
- Bind using the Japanese stab-stitch method.
- Add a painted cover or a quote printed on vellum.
Pro Tip: Lightly sketch in pencil before painting to guide your designs. It gives your layout purpose while still feeling freeform.
For Beginners: Use watercolor pencils—they give you control like colored pencils, but you can brush over them with water for a dreamy finish.
Picture This:
A soft, flowing journal that looks like a cloud dipped in color—perfect for sketching and reflection.
The Quote Collector
I started collecting quotes during a tough season. Words helped me process and feel seen. So I made a quote-only journal—and I adore it.
How to Make It:
- Choose thick ivory pages and print or handwrite your favorite quotes.
- Use calligraphy or fancy fonts.
- Bind simply with metal rings and cover with kraft cardstock.
- Add mini envelopes or pockets for quote cards.
Pro Tip: Use transparent sticky notes or vellum overlays to layer quotes on top of soft backgrounds for a dreamy, thoughtful vibe.
For Beginners: Print out your favorite quotes in beautiful fonts from Canva or Pinterest. No calligraphy skills required!
Picture This:
A thoughtful, worn-in book packed with inspiring quotes and tiny pockets of wisdom—perfect for morning journaling rituals.

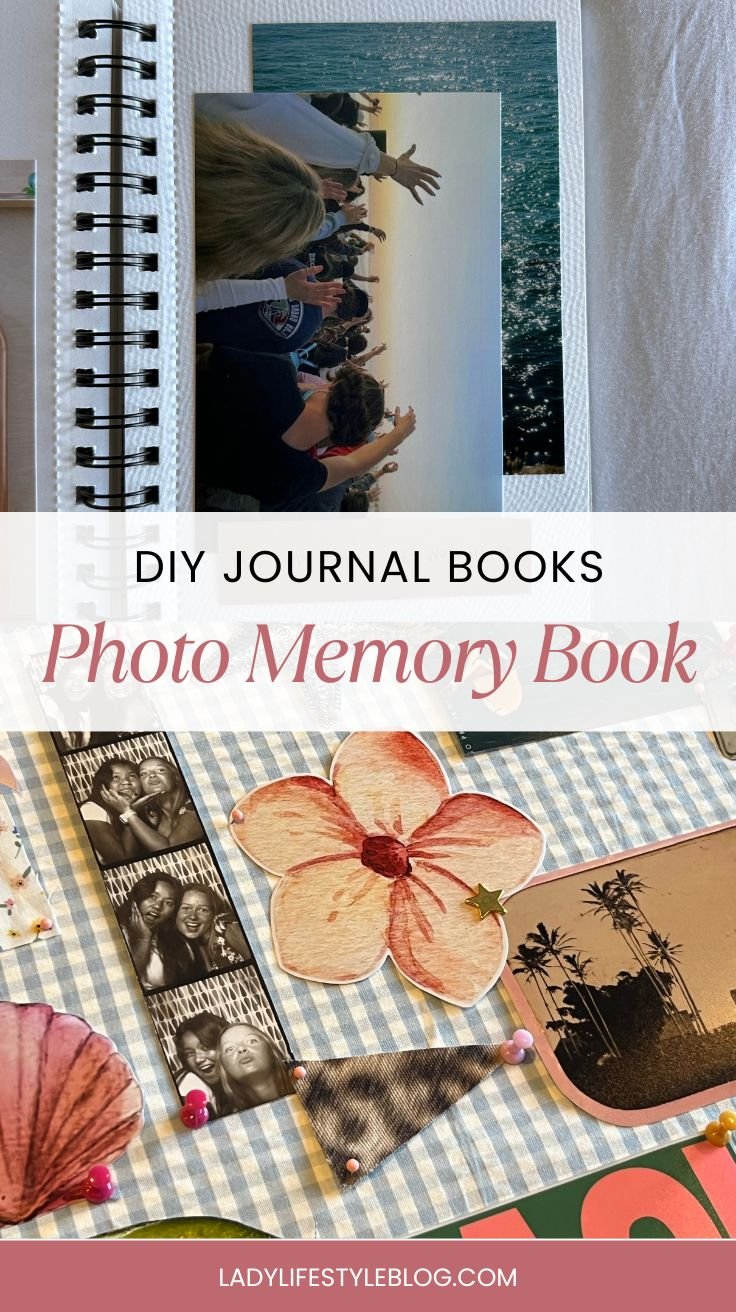
Photo Memory Book
This journal started as a gift—but I loved the process so much, I made one for myself too. It’s like a tiny scrapbook meets diary.
How to Make It:
- Use printed photos and journaling cards.
- Arrange in a mini binder or accordion-fold journal.
- Decorate with stickers, doodles, and washi tape.
- Write little captions or memory blurbs beside each photo.
Pro Tip: Print your photos in a 2×3″ or Polaroid-style layout for a more scrapbook-friendly, aesthetic fit.
For Beginners: Use photo corners or double-sided tape—no fancy tools needed, and you can swap out photos later.
Picture This:
A visual diary of your happiest moments—colorful, heartfelt, and something you’ll keep forever.
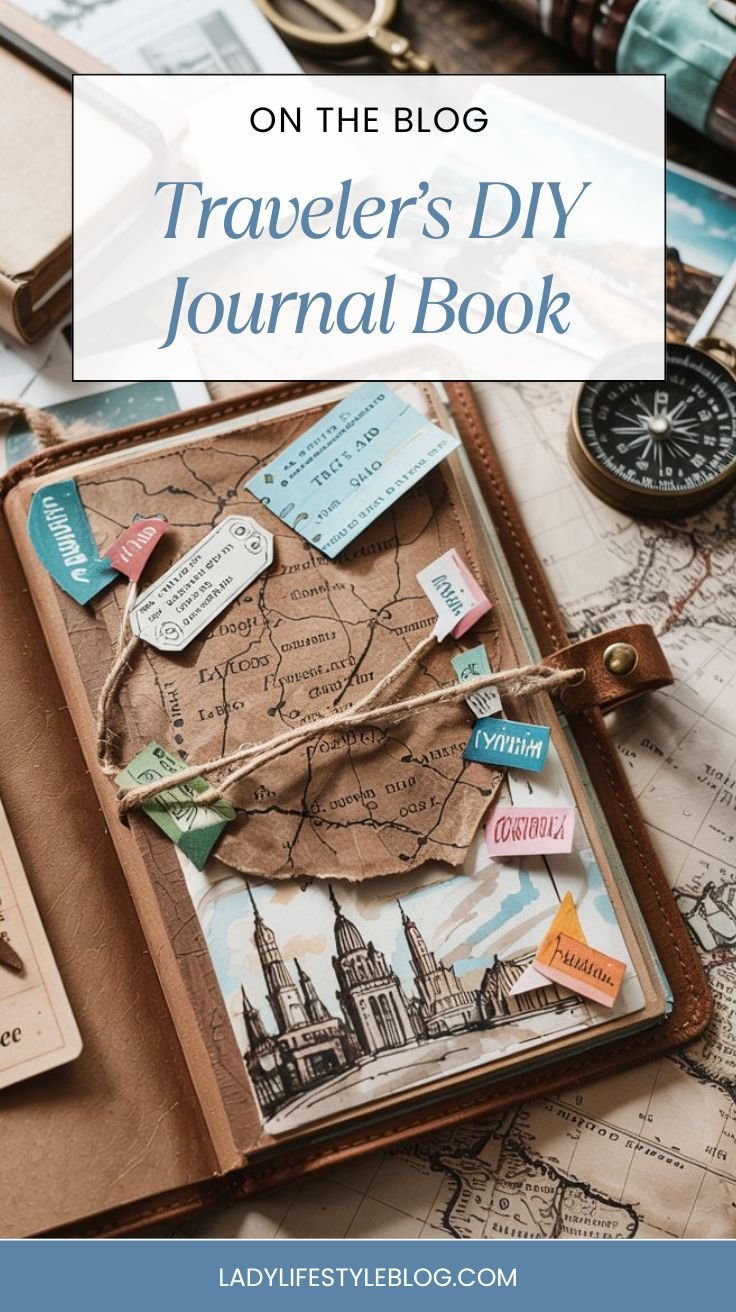
Traveler’s DIY Journal Book
I made this one during a season of wanderlust. Even if I wasn’t traveling much, it gave me a way to dream and reflect on past adventures.
How to Make It:
- Use map pages, tickets, and travel ephemera as inserts.
- Make a leather or faux-leather cover with elastic bands.
- Create mini removable notebooks to slot in and out.
- Add tabs for different countries or trips.
Pro Tip: Save maps from travel magazines, airports, or even Google Maps printouts. They make the best background layers.
For Beginners: Use a simple composition notebook and just decorate each page with travel-themed washi and stickers to start.
Picture This:
A rugged, well-loved travel log packed with stories and destinations. Whether real or imagined, it’s full of exploration.
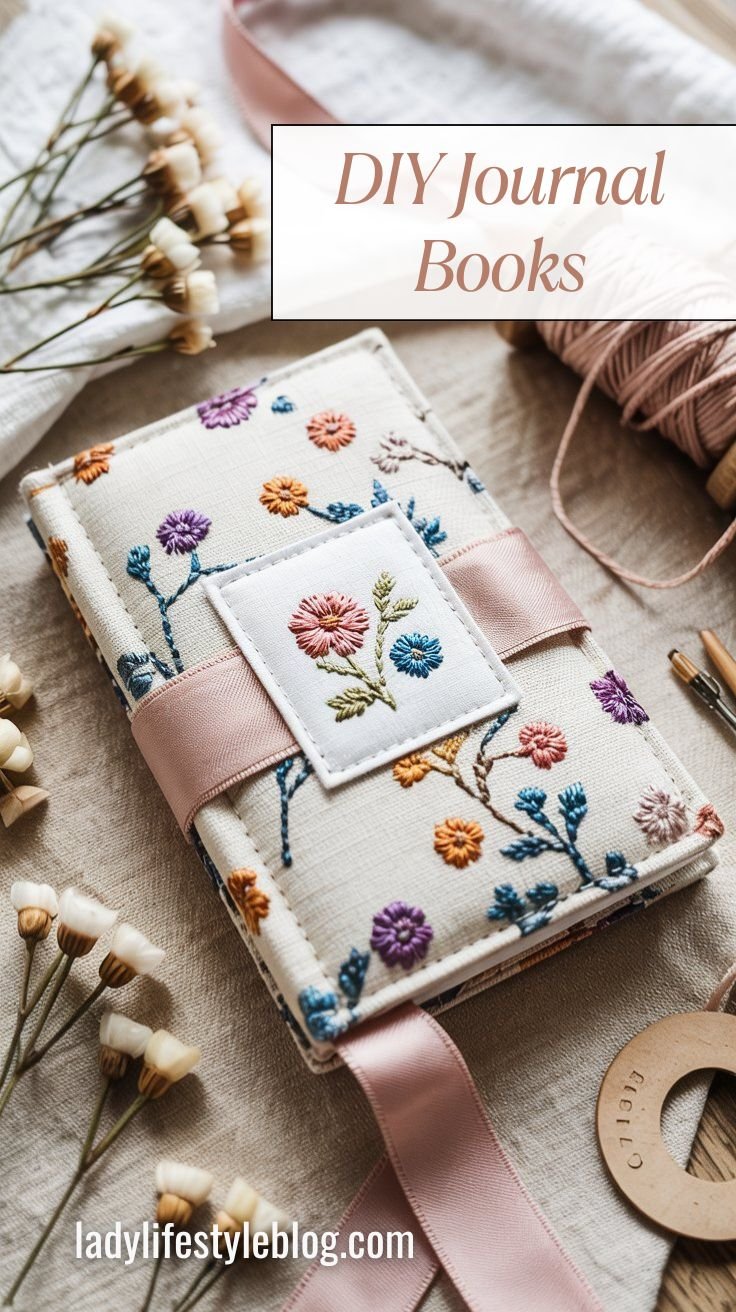
Fabric-Covered Cutie
I found this old floral cotton fabric in my stash and couldn’t resist turning it into something soft and cozy.
How to Make It:
- Wrap your cover in cotton, velvet, or linen fabric.
- Glue and fold the edges neatly on the inside.
- Add a ribbon closure and perhaps some iron-on patches or embroidery.
- Bind with thread or binder rings for easy flipping.
Pro Tip: Iron your fabric before gluing—it gives you a smoother, more professional finish that won’t pucker or wrinkle.
For Beginners: Try felt sheets or thick fabric swatches—they’re easier to handle than slippery fabrics like satin or silk.
Picture This:
A cozy, fabric-covered journal you just want to touch—sitting next to a warm mug and your favorite candle.
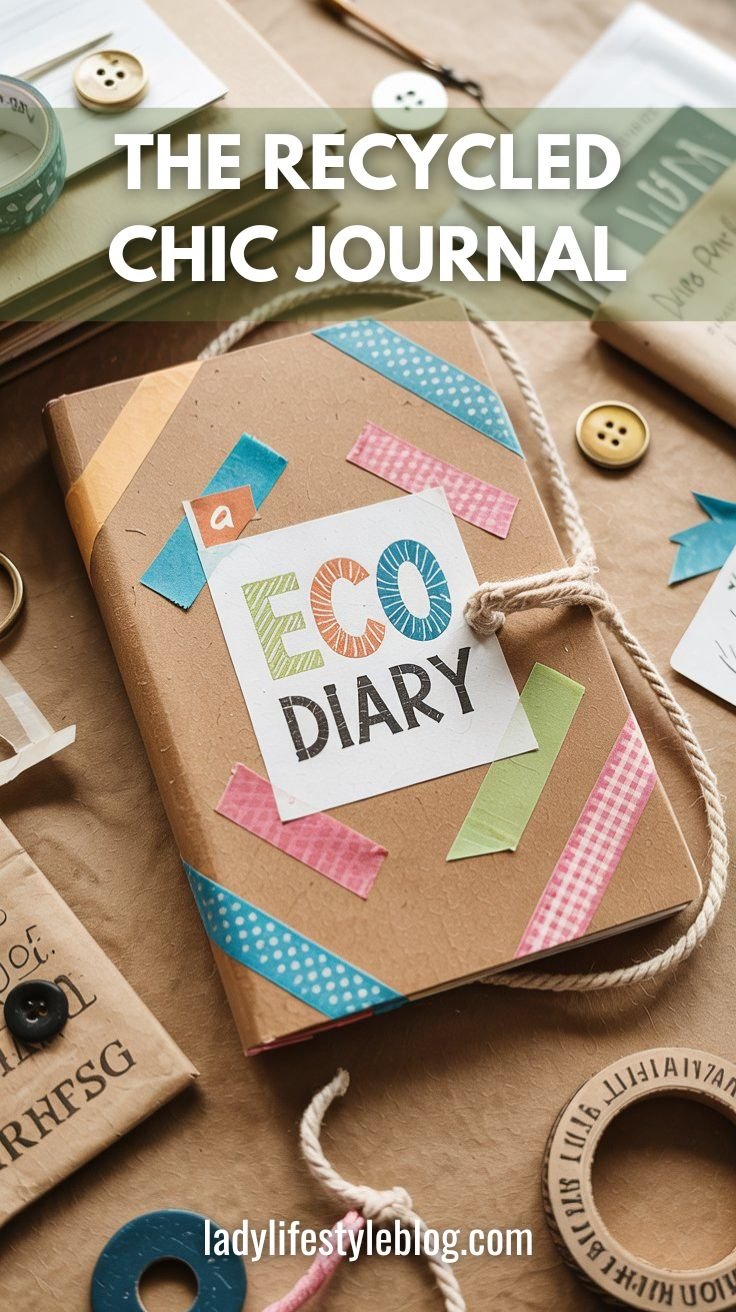
The Recycled Chic Journal
I hope I’m not the only one who saves pretty packaging “just in case.” This journal is where I finally put it all to use!
How to Make It:
- Use cereal boxes or Amazon boxes for covers.
- Fill with old paper bags, magazines, or misprinted paper.
- Decorate with leftover ribbon, tags, or packaging.
- Stitch or staple it all together.
Pro Tip: Score and fold cardboard covers neatly with the back of a butter knife for clean edges—makes everything look more polished.
For Beginners: Don’t try to match everything—embrace mismatched colors and patterns. That’s the charm of this one!
Picture This:
A one-of-a-kind journal that’s good for the planet and your creative soul. Earthy tones, charming chaos, and tons of character.
Crafting Survival Guide for Parents
Got kids underfoot while you craft your dreamy DIY journal books? Here’s how to keep them busy and happy:
- Let them make their own mini journal with stickers and crayons.
- Keep a “safe zone” of scissors, paper scraps, and washi they can dig into.
- Set a timer for “quiet crafting” time together (even if it’s just 20 mins).
- Bonus tip: put snacks within arm’s reach. Trust me.

FAQs About DIY Journal Books
Q: What’s the easiest binding method for beginners?
A: Try binder rings or simple ribbon binding—no sewing required!
Q: Can I make DIY journal books without fancy tools?
A: Totally! Scissors, glue, and creativity are all you need. Even a hole punch is optional.
Q: Where can I get printable pages or templates?
A: I love browsing Etsy and Pinterest—or I make my own with Canva!
Q: How do I make sure my journal holds up over time?
A: Use quality glue, sturdy covers (like chipboard), and secure your binding tight.
Q: Can I gift these?
A: Absolutely! I’ve made so many as gifts, and people always light up when they see something handmade just for them.
Final Thoughts: Go Make Something Beautiful
I hope this inspired you to dive into your paper stash and create something that’s totally you. DIY journal books are more than cute—they’re creative therapy. They’re your voice, your memories, your space.
So go make a mess, try a new style, or finally use that scrapbook paper you’ve been saving for “something special.”Because this? This is the something special.
At Lady Lifestyle Blog, I use AI as a tool to assist with research, idea generation, and content refinement. While much of my content is shaped with AI’s help, I personally review and adjust each post to ensure it aligns with the blog’s style and purpose. My focus is on providing stylish, creative, and practical inspiration for every modern lady!