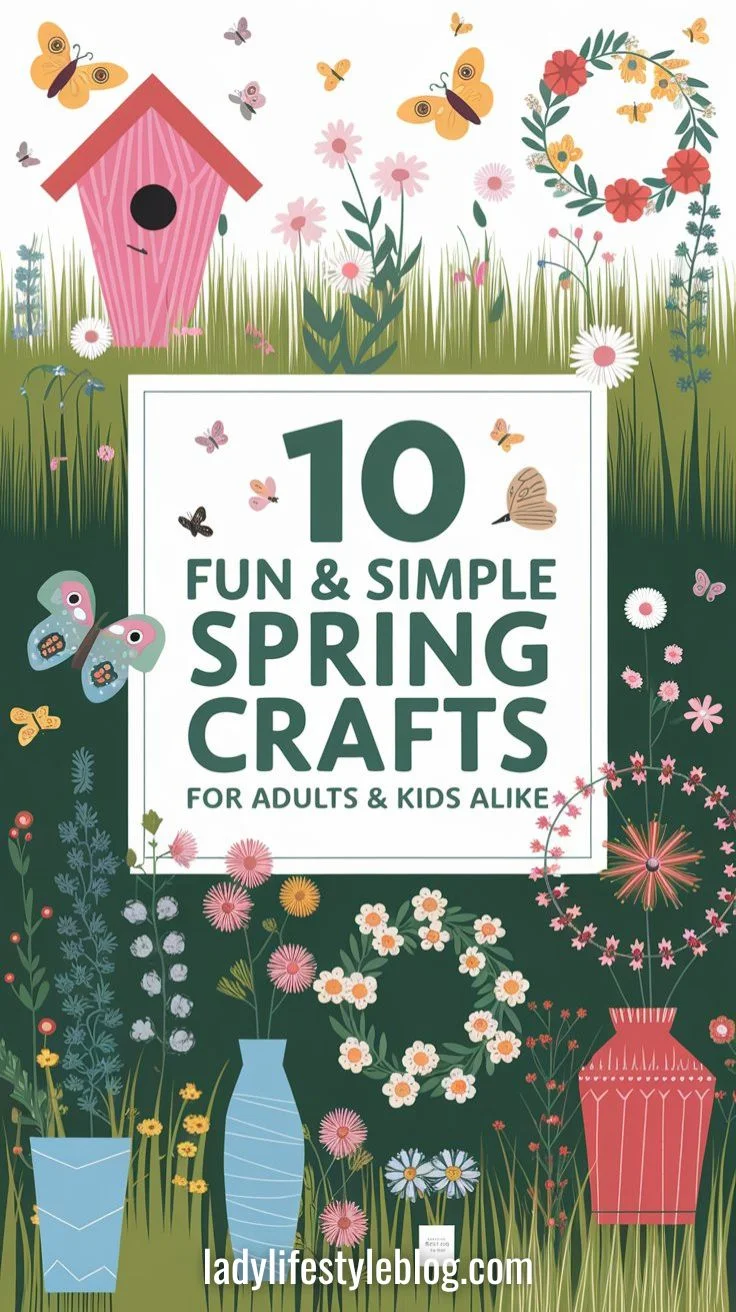
I’ve always found that spring has a way of waking up my creative side. Maybe it’s the fresh air, the blooming flowers, or the extra sunlight, but I’ve realized that this season is the perfect time to dive into some fun and colorful Spring crafts. For me, crafting has always been about more than just making something pretty—it’s a way to bring joy into my home and spend quality time with loved ones. Whether you’re looking for a solo project or something fun to do with kids, these DIY ideas will help you embrace the season with creativity.
What You Might Need
I was surprised by how many crafting supplies I already had at home when I first started making Spring crafts. You might want to check your stash before heading to the store! Here are some common materials you may need:
| Basic Supplies | Decorative Touches | Upcycling Materials |
|---|---|---|
| Scissors & Glue | Faux Flowers & Pressed Flowers | Egg Cartons & Mason Jars |
| Colored Paper & Felt | Twine, Ribbon, & String | Craft Sticks & Wooden Pieces |
| Paints, Markers, & Watercolors | Beads, Buttons, & Pom-Poms | Old Candles & Wax |
| Mod Podge & Clear-Drying Glue | Glitter & Stickers | Smooth Rocks & Fabric Scraps |
Pro Tip: Before buying new supplies, check your recycling bin and old craft drawers—spring crafts are a great way to upcycle!
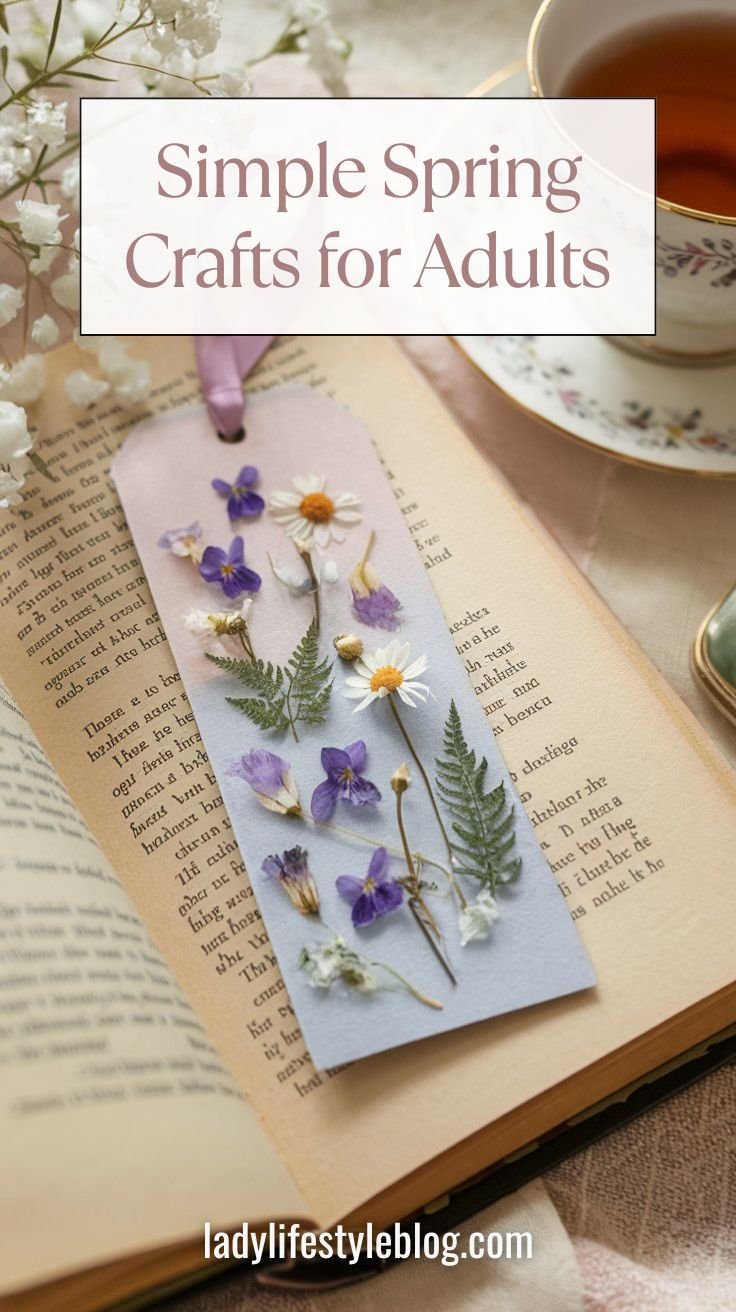
1. DIY Pressed Flower Bookmarks
Preserve Spring’s Beauty in a Bookmark
I started noticing how many beautiful flowers were growing in my backyard, and I didn’t want to let them go to waste. That’s when I realized pressed flower bookmarks were the perfect way to keep a little piece of spring with me all year.
How to Make It:
- Gather small flowers and leaves. Press them between parchment paper inside a heavy book for a week.
- Cut cardstock into bookmark-sized strips.
- Arrange your pressed flowers on the cardstock.
- Seal with Mod Podge or laminate for durability.
- Punch a hole at the top and add a ribbon for a charming touch.
Pro Tip: To speed up the drying process, place flowers between parchment paper and iron on low heat for a quick, pressed look!
Picture This:
A delicate, floral-infused bookmark peeking out of your favorite book, capturing the essence of spring with every turn of the page.
2. Spring-Themed Mason Jar Lanterns
Glow Up Your Spring Nights
I love the way warm lighting can transform a space, and these mason jar lanterns are a simple way to add a little magic to your evenings.
How to Make It:
- Clean and dry mason jars thoroughly.
- Paint them with pastel shades or floral designs.
- Wrap twine around the rim for a rustic touch.
- Insert battery-operated fairy lights or tealights.
Pro Tip: Use glass frosting spray for a soft, glowing effect. It creates a beautiful, diffused light when you add fairy lights inside!
Picture This:
Soft glowing lanterns illuminating your patio or bedside table, casting a dreamy Spring craft ambiance.

3. Paper Butterfly Garland
Fluttering Beauty for Your Home
For me, butterflies have always symbolized transformation and new beginnings, making them the perfect decoration for spring.
How to Make It:
- Cut butterfly shapes from colored paper.
- Fold them slightly in the center for a 3D effect.
- String them onto twine using glue or mini clothespins.
- Hang your garland across a window, mantel, or wall.
Pro Tip: Layer two butterflies on top of each other and gently curl the wings to create a 3D effect!
Picture This:
A colorful array of fluttering butterflies dancing along your walls, bringing a fresh spring vibe to your home.

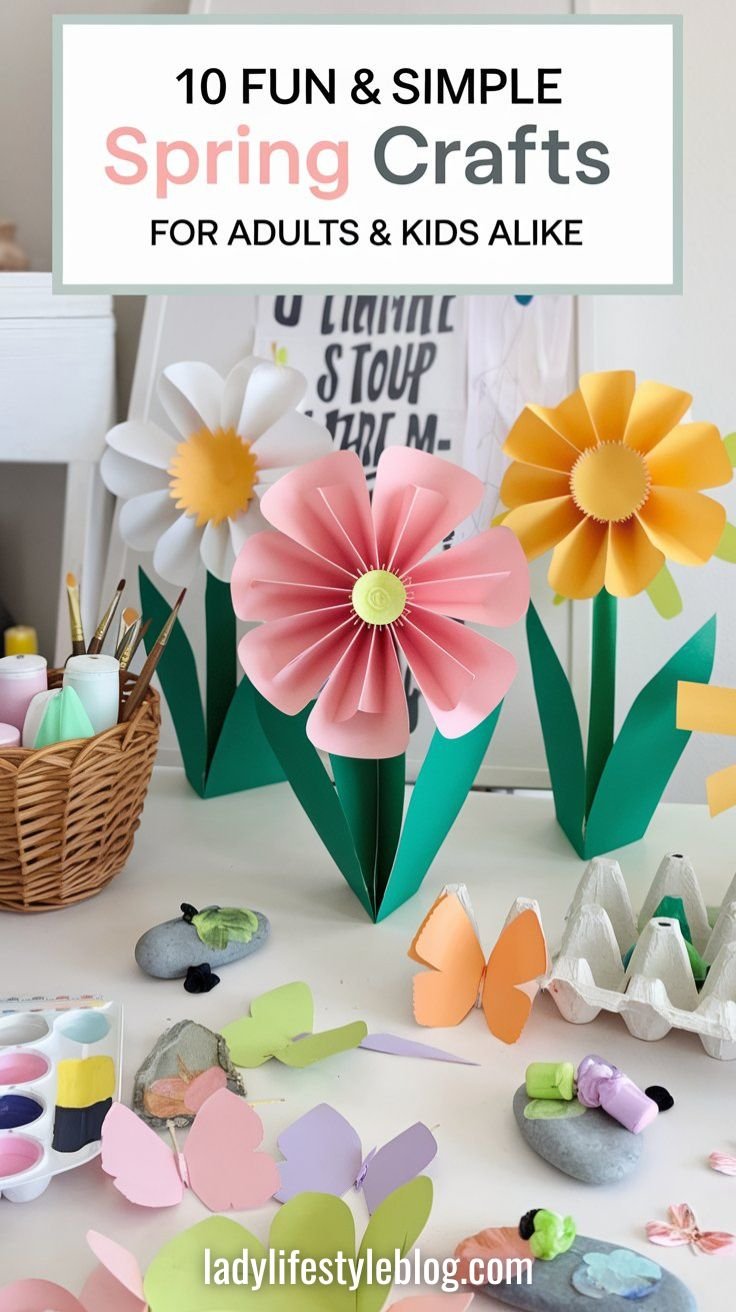
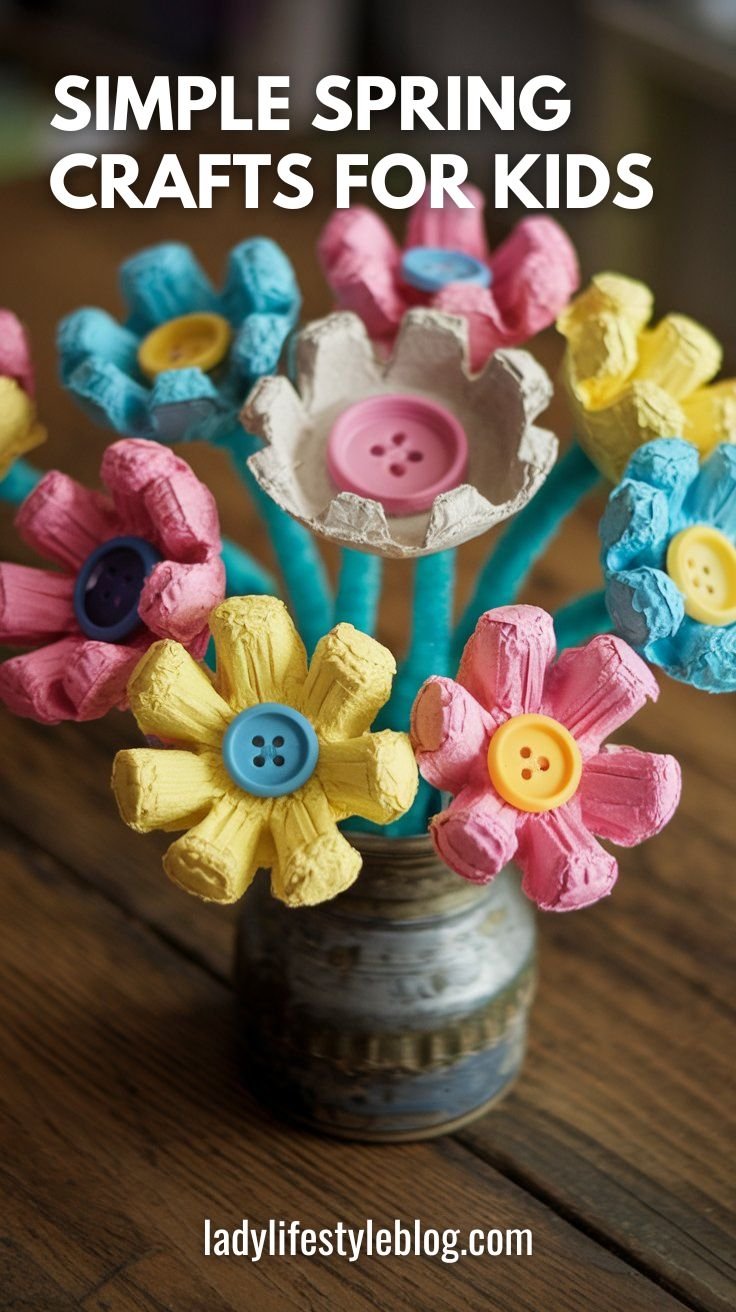
4. Egg Carton Flowers
Upcycled Spring Fun
I’ve been looking for ways to reuse materials instead of tossing them, and I was amazed at how cute egg carton flowers turn out!
How to Make It:
- Cut out individual egg carton cups.
- Paint them in bright spring colors.
- Add buttons or pom-poms in the center as flower middles.
- Glue them onto pipe cleaner stems or a wreath base.
Pro Tip: Use metallic paint or glitter in the center to give your flowers an extra sparkle when the light hits them!
Picture This:
A vibrant bouquet of handmade flowers that never fade, brightening up your desk or kitchen table.
5. Watercolor Spring Art
Unleash Your Inner Artist
I hope you give this one a try—there’s something so calming about watching watercolor blend and swirl into something beautiful.
How to Make It:
- Lightly sketch flowers or birds on watercolor paper.
- Use soft pastel or bold spring colors to paint.
- Let your creativity flow with blending and splatter techniques.
- Frame your art for a personal touch to your decor.
Pro Tip: If you’re nervous about freehand painting, lightly sketch with a watercolor pencil—it blends into the paint!
Picture This:
A dreamy watercolor masterpiece bringing spring’s charm to your gallery wall.

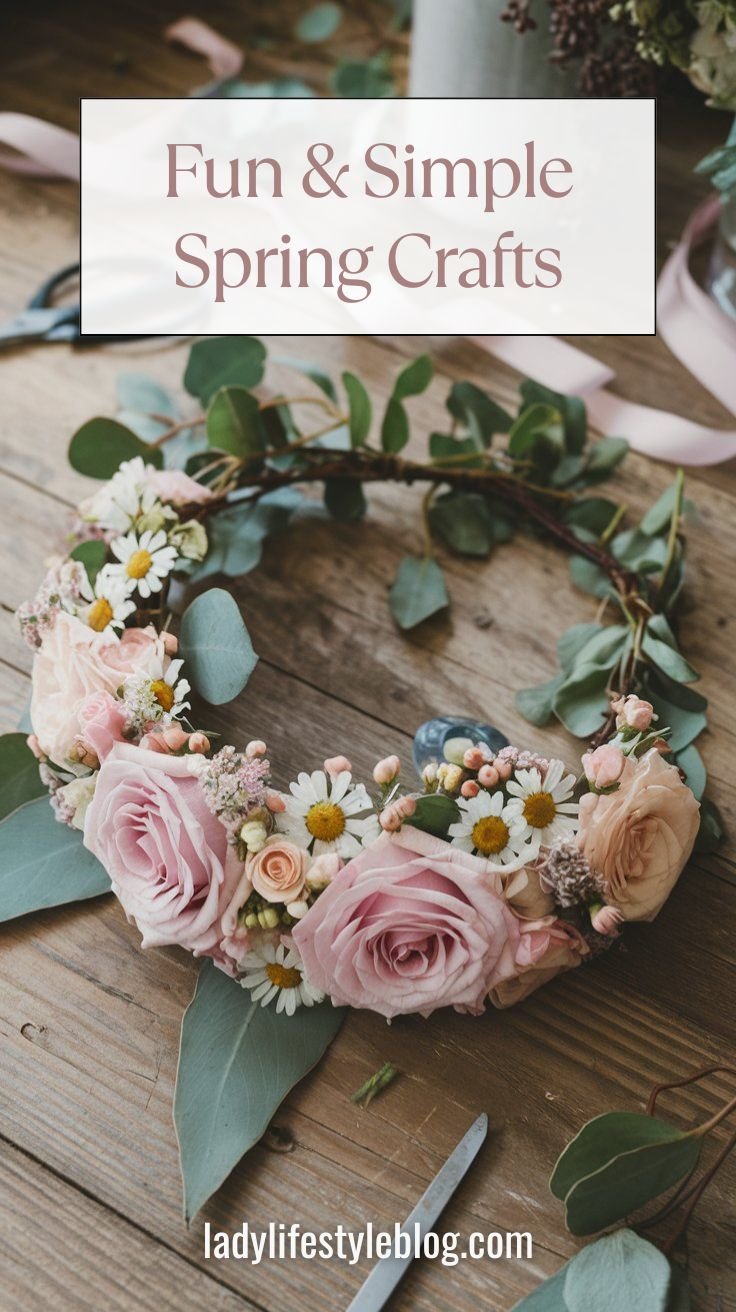
6. Floral Crown DIY
A Whimsical Touch of Spring
I’ve always loved the idea of wearing flowers in my hair, and a DIY floral crown is the perfect way to add a whimsical touch to any spring day.
How to Make It:
- Use floral wire to create a circular base for the crown.
- Attach fresh or faux flowers with floral tape.
- Add greenery for a lush, full look.
- Secure everything with hot glue if needed.
Pro Tip: Use a mix of fresh and faux flowers! Faux ones provide structure, and fresh blooms add a delicate, natural touch.
Picture This:
A beautiful, handmade floral crown resting on your head as you twirl through a field of wildflowers.
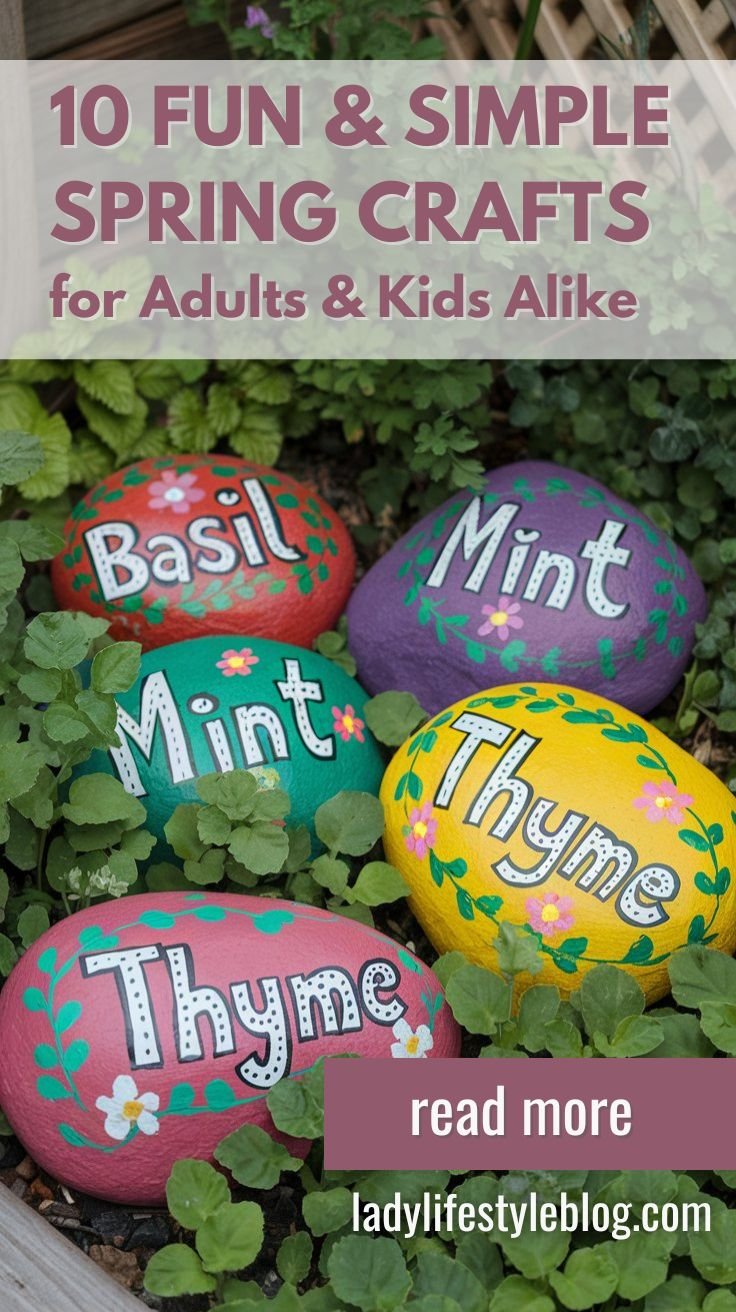
7. Painted Rock Garden Markers
Fun and Functional Garden Decor
I was looking for a creative way to label my herb garden, and painting rocks turned out to be such a fun and easy project!
How to Make It:
- Collect smooth, flat rocks.
- Paint them with bright colors and floral patterns.
- Use a paint pen to write plant names.
- Seal with a clear outdoor varnish.
Pro Tip: Apply a waterproof outdoor sealer so your garden markers last through rain and sun!
Picture This:
Cheerful, hand-painted rocks adding charm and organization to your garden beds.
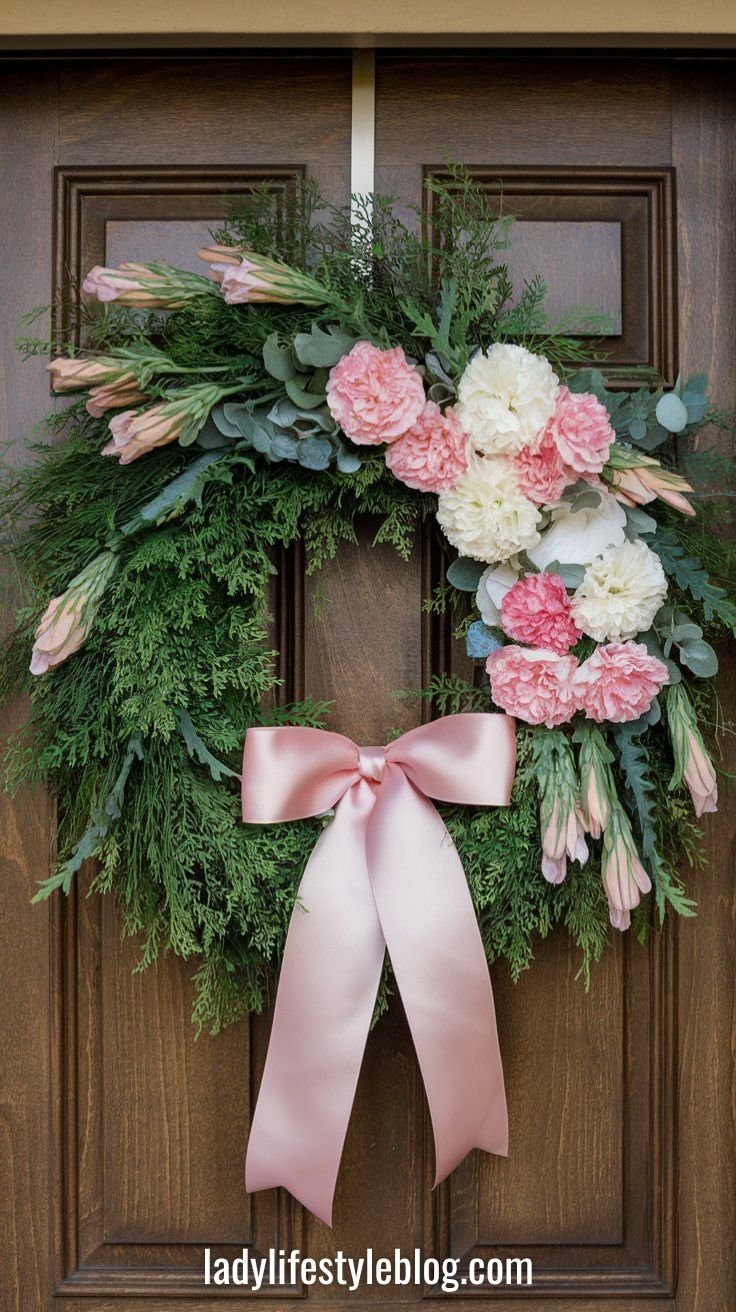
8. Spring Wreath with Ribbon and Flowers
A Welcoming Door Decoration
For me, nothing says “hello, spring” like a gorgeous handmade wreath on my front door.
How to Make It:
- Use a grapevine or foam wreath base.
- Attach faux flowers and greenery with hot glue.
- Add a big, pastel-colored bow for a finishing touch.
- Hang it on your door to welcome guests in style.
Pro Tip: Attach flowers with floral wire instead of glue so you can swap them out each season for a fresh look!
Picture This:
A cheerful, colorful wreath making your home feel instantly more inviting.
9. Bunny-Shaped Clay Trinket Dishes
A Cute and Practical DIY
I started making these as little gifts, and now I have a collection of adorable bunny trinket dishes all over my house!
How to Make It:
- Roll out air-dry clay and cut out bunny shapes.
- Shape the edges upward to form a shallow dish.
- Let it dry completely, then paint with spring colors.
- Seal with a gloss varnish for durability.
Pro Tip: Add gold or metallic accents around the edges for a high-end, boutique-style finish!
Picture This:
A dainty bunny-shaped dish holding your rings and tiny treasures.

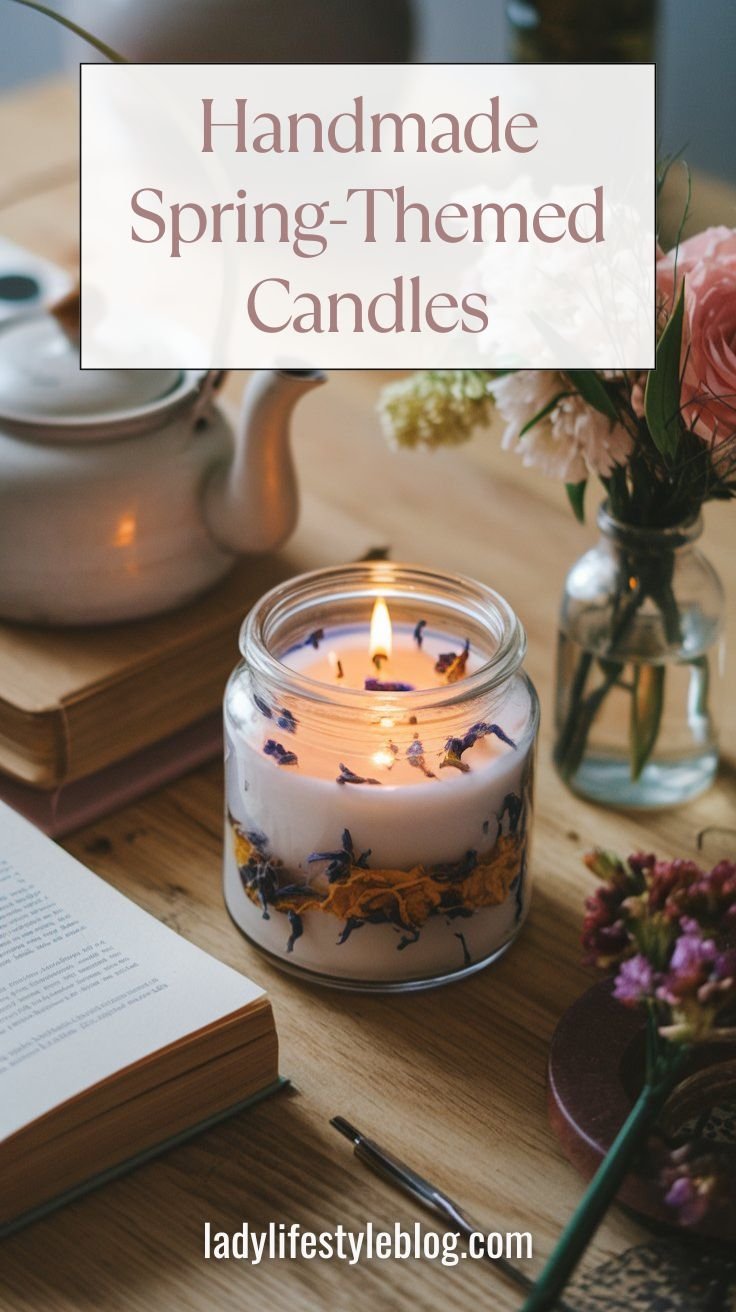
10. Handmade Spring-Themed Candles
Fill Your Home with the Scent of Spring
I love lighting candles that smell like fresh flowers and sunshine—it instantly sets the mood for the season.
How to Make It:
- Melt soy wax and add a floral or citrus essential oil.
- Pour into a jar or mold with a wick.
- Add dried flower petals for a decorative touch.
- Let it set, then light and enjoy.
Pro Tip: If you’re using dried flowers, push them gently against the glass as you pour the wax so they stay visible!
Picture This:
A beautifully scented candle filling your home with the essence of springtime bliss.
Common Mistakes to Avoid
Even the easiest crafts can go sideways if you’re not careful! Here’s how to avoid common crafting pitfalls:
Pressed Flowers Turning Brown?
- Mistake: Not fully drying flowers before sealing them in bookmarks.
- Fix: Let them press for at least one week in a heavy book with parchment paper. For a quicker method, use a low-heat iron between parchment for 30 seconds.
Mason Jar Paint Peeling Off?
- Mistake: Painting directly onto a glass surface without prep.
- Fix: Lightly sand the jar and use a glass primer before painting for better adhesion.
Paper Butterflies Not Holding Their Shape?
- Mistake: Using paper that’s too thin or not folding properly.
- Fix: Opt for cardstock or double-layer your butterflies for a sturdier, more defined shape.
Egg Carton Flowers Falling Apart?
- Mistake: Using weak glue or heavy paint that soaks the carton.
- Fix: Use hot glue for fast, strong adhesion and apply thin layers of paint to prevent sogginess.
Watercolor Blending into a Muddy Mess?
- Mistake: Overworking the colors or using too much water.
- Fix: Let each layer dry fully before adding more color. Work from light to dark to avoid dull tones.
Floral Crowns Falling Apart?
- Mistake: Not securing flowers tightly to the wire base.
- Fix: Wrap floral tape tightly around each stem and reinforce with hot glue for extra hold.
Painted Rock Designs Washing Away?
- Mistake: Using non-weatherproof paint.
- Fix: Always seal rocks with clear varnish to keep designs vibrant, especially for outdoor use.
Wreath Flowers Falling Off?
- Mistake: Using weak adhesives that don’t hold over time.
- Fix: Hot glue + floral wire keeps everything securely in place.
Clay Trinket Dishes Cracking?
- Mistake: Drying clay too fast or rolling it too thin.
- Fix: Keep clay at least ¼ inch thick and let it air-dry slowly in a cool place.
Candles Tunneling or Cracking?
- Mistake: Pouring wax too fast or not trimming the wick.
- Fix: Pour slowly and evenly, and always trim the wick to ¼ inch before lighting for an even burn.
Pro Tip: Always test a small version of your craft before making multiples—this way, you can tweak mistakes early!
Conclusion: Time to Get Crafty!
Spring is the perfect season to let creativity bloom! I love how these Spring crafts bring a fresh, joyful vibe to my home, and I hope they inspire you to do the same. Whether you’re crafting solo or with family, these DIY projects will brighten up your space and welcome the season in style. Which craft are you trying first? Let’s get making!
At Lady Lifestyle Blog, I use AI as a tool to assist with research, idea generation, and content refinement. While much of my content is shaped with AI’s help, I personally review and adjust each post to ensure it aligns with the blog’s style and purpose. My focus is on providing stylish, creative, and practical inspiration for every modern lady!