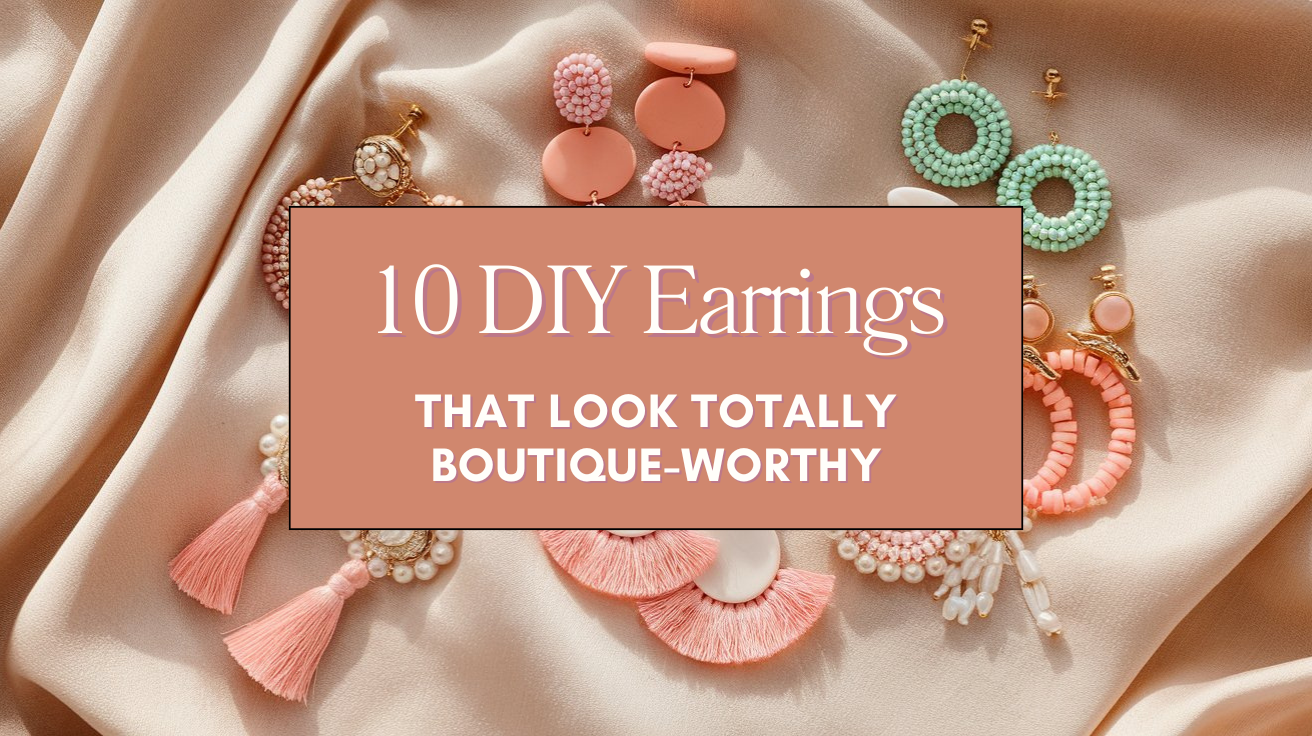
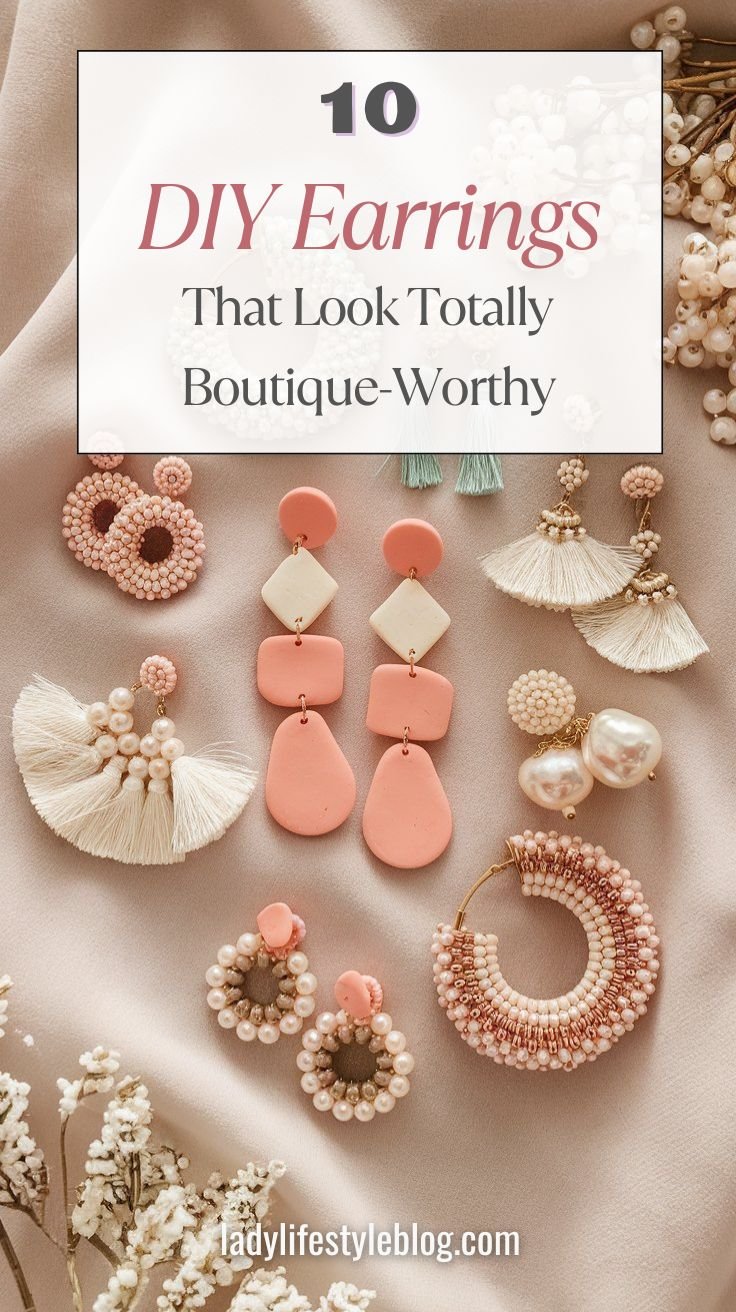
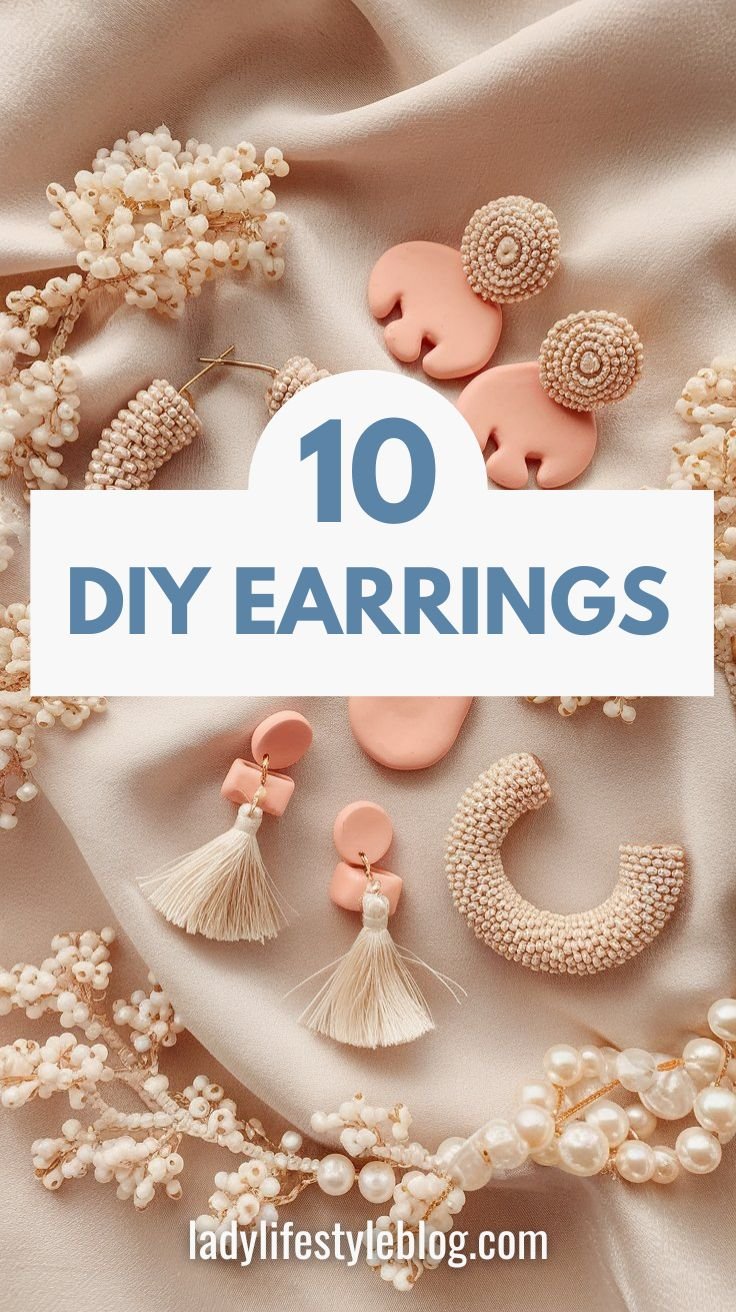
I’ve always loved how a great pair of earrings can transform an outfit. But when I started noticing the price tags on some of my favorite boutique styles, I knew there had to be a better way. That’s when I realized—why not make my own? If you’ve ever wanted to create DIY earrings that look high-end but cost a fraction of the price, you’re in the right place.
These 10 stunning DIY earrings will elevate your accessory game, whether you love delicate studs, bold statement pieces, or boho tassels. The best part? You don’t need fancy jewelry-making skills—just a little creativity and some simple materials. Let’s get started!
What You Might Need
Before we dive into the fun, here are some basic supplies you’ll need to make these DIY earrings:
- Earring hooks or studs
- Jump rings and pliers
- Beads, charms, or pendants
- Wire cutters and jewelry glue
- Embroidery thread or polymer clay (depending on the design)
- Resin or fabric scraps (for creative styles!)
I’ve been making DIY earrings for a while now, and trust me—once you have these basic materials, you’ll be hooked (pun intended!). Now, let’s get crafting!
Jewelry-Making Basics You Should Know
Before you start crafting your boutique-worthy earrings, it’s helpful to understand a few fundamental jewelry-making techniques. These simple skills will make your DIY creations look polished and professional.
Jump Rings 101
Jump rings are the tiny metal loops that connect earring components. To open and close them properly:
- Hold the jump ring with two pliers—one in each hand.
- Twist the ring sideways to open it rather than pulling it apart.
- Slide on your earring piece and twist it back into place.
Pro Tip: A weakly closed jump ring can cause your earrings to fall apart. Make sure the ends meet perfectly to avoid gaps.
Wire Wrapping Made Easy
Wire wrapping is essential for securing beads and creating decorative loops. Here’s how to do it neatly:
- Cut a piece of wire about 3 inches long.
- Thread your bead onto the wire and bend the wire at a 90-degree angle just above the bead.
- Use round-nose pliers to create a loop, then wrap the excess wire around the base for a secure hold.
Common Mistake: Wrapping the wire too loosely can make the earring look messy or unstable. Keep your wraps tight and even for a professional look.
Glue vs. Wire: Which One to Use?
Some materials need glue to hold pieces together, while others require wire wrapping for durability.
- Use jewelry glue (like E6000 or UV resin) for: Resin pieces, fabric elements, and lightweight charms.
- Use wire for: Beads, pearls, and heavier pieces that need a stronger hold.
Pro Tip: If using glue, let it cure for at least 24 hours before wearing your earrings to prevent pieces from falling apart.
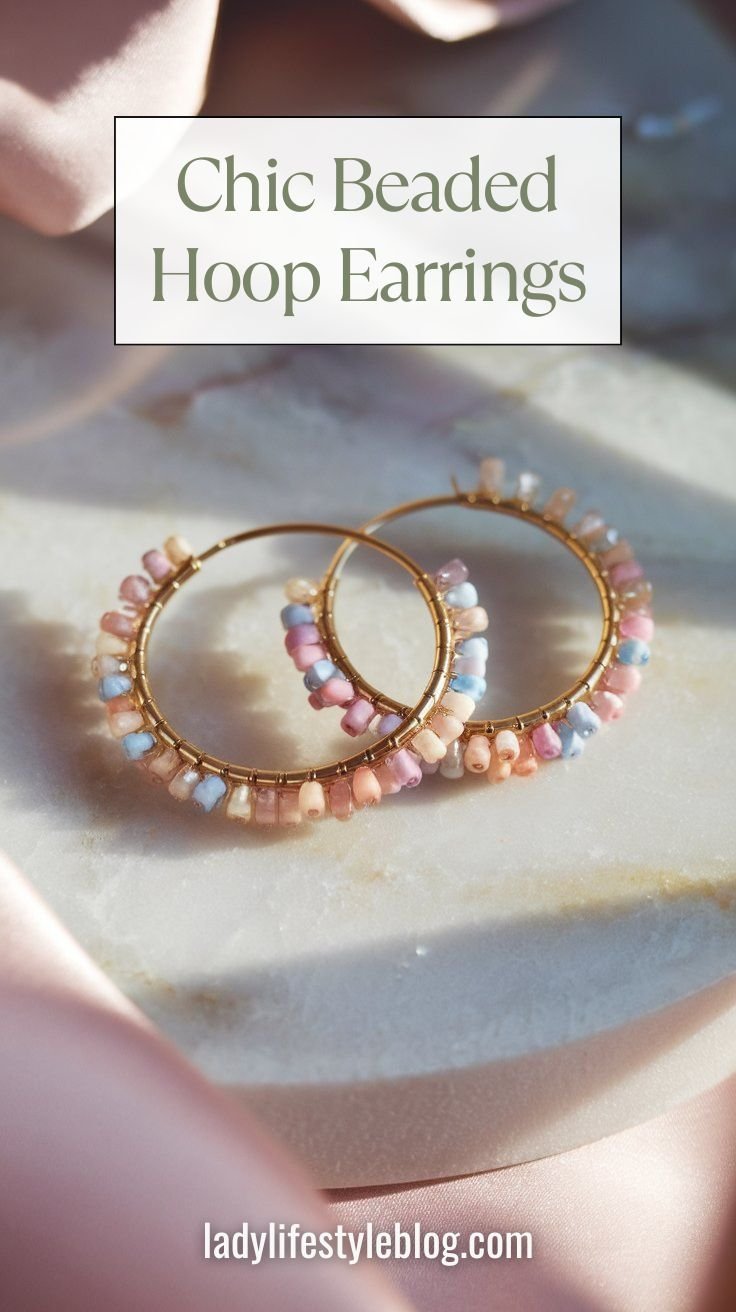
Chic Beaded Hoop Earrings
I was obsessed with dainty beaded hoops I saw in a boutique, so I decided to make my own. These DIY earrings are timeless and elegant, perfect for everyday wear or special occasions.
Steps:
- Use wire cutters to trim a length of thin jewelry wire.
- Thread your chosen beads onto the wire, alternating colors for a stylish look.
- Loop the ends of the wire around earring hoops and secure them with pliers.
- Attach the hoops to earring hooks, and you’re done!
Pro Tip: Use a thin but sturdy wire like 22-24 gauge to keep the beads secure without being too stiff. Experiment with different bead textures for a more dynamic look.
Common Mistake: Overloading the hoop with too many beads can make the earring heavy and cause it to lose shape. Keep it balanced for a refined look.
Picture This:
A pair of shimmering gold hoops lined with dainty pearls, catching the light as you turn your head—effortlessly chic!
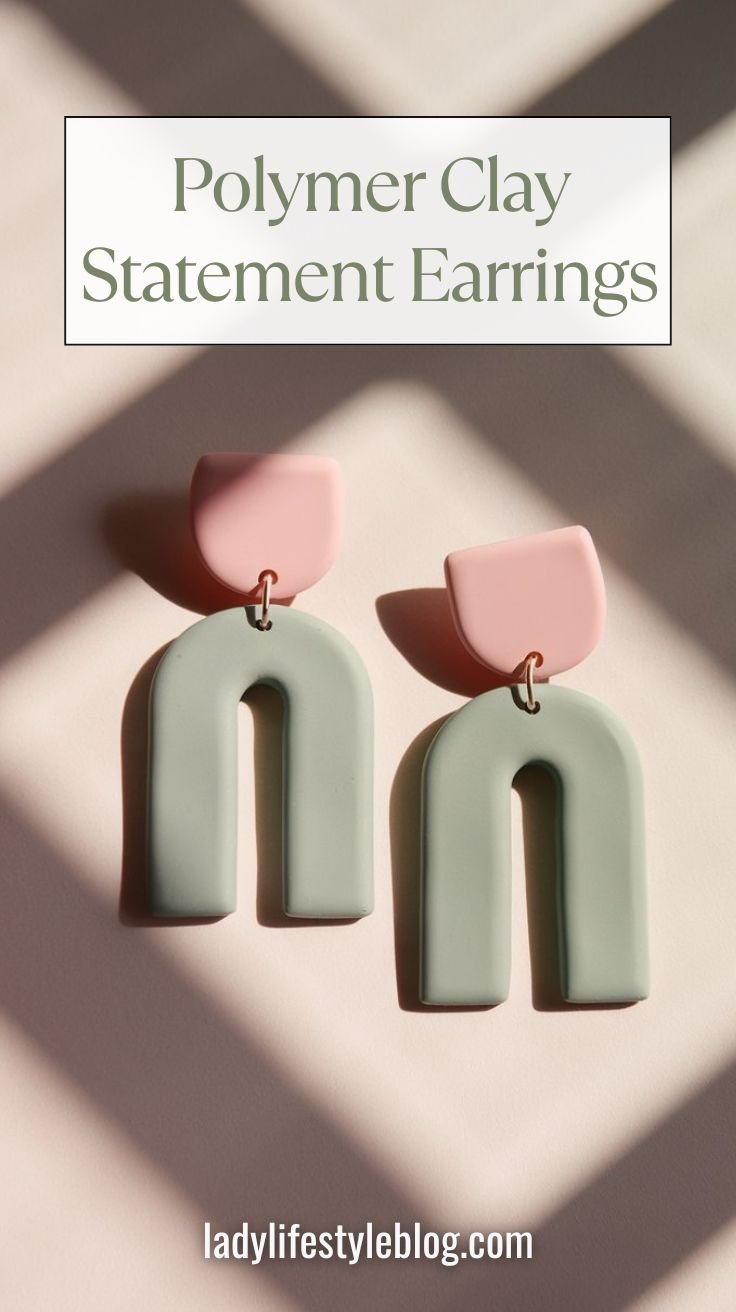
Polymer Clay Statement Earrings
I love how polymer clay lets you create anything you imagine! These lightweight, trendy earrings can be customized with endless colors and patterns.
Steps:
- Roll out polymer clay and use cookie cutters to create fun shapes.
- Poke a small hole at the top for the earring hook.
- Bake according to package instructions and let cool.
- Attach jump rings and earring hooks with pliers.
Pro Tip: Lightly sand the edges after baking for a smooth, professional finish. Adding a thin coat of resin or varnish can also enhance durability and shine.
Common Mistake: Rolling the clay too thin can make it fragile. Aim for at least ⅛ inch thickness to prevent breakage.
Picture This:
Playful pink and blue geometric earrings that look like they belong in a high-end fashion boutique!
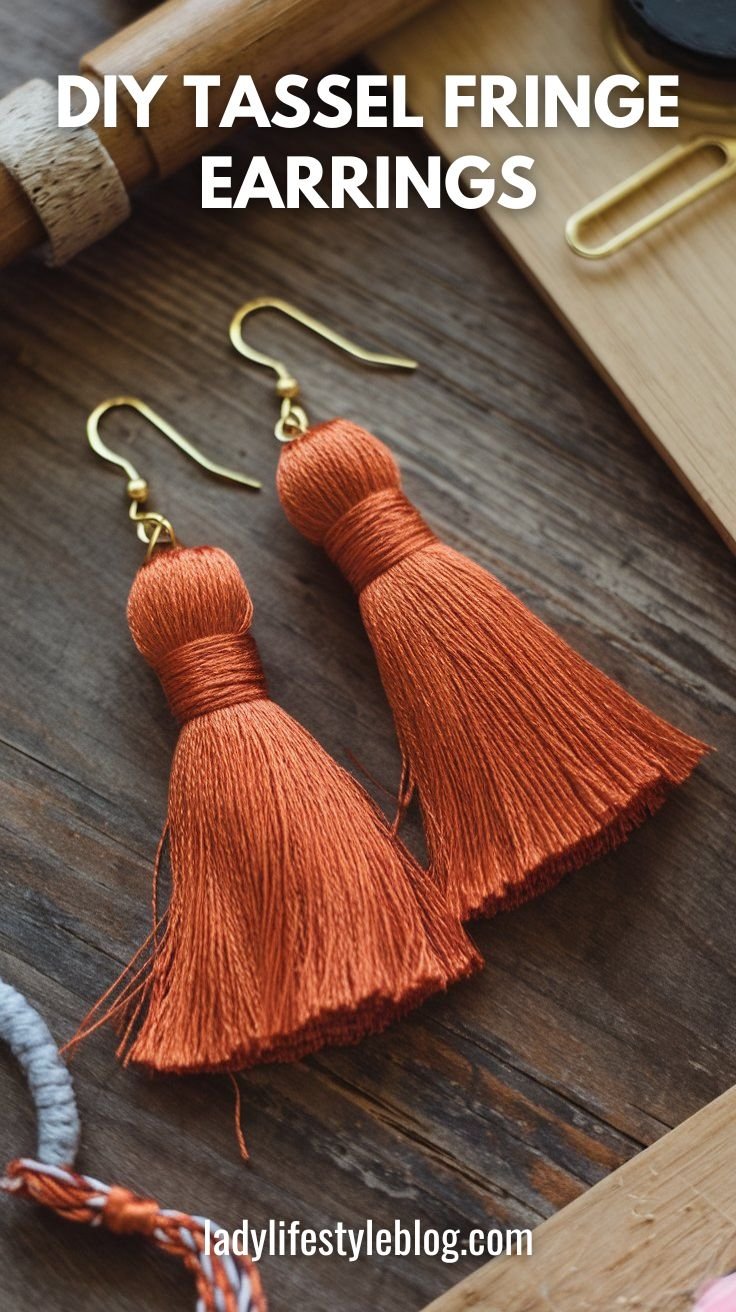
Tassel Fringe Earrings
For me, tassel earrings scream fun and flirty! They add a pop of personality to any outfit and are so easy to make.
Steps:
- Wrap embroidery thread around a small piece of cardboard.
- Slide the thread off and tie a knot at the top.
- Cut the bottom to create a tassel shape.
- Attach a jump ring and earring hook.
Pro Tip: Use a fine-tooth comb to gently brush out the embroidery thread for a fluffier, more polished tassel.
Common Mistake: Cutting the tassel unevenly can make the earrings look sloppy. Trim carefully and evenly for a sleek finish.
Picture This:
Soft, flirty tassels swaying with every step—perfect for date nights or summer vacations!
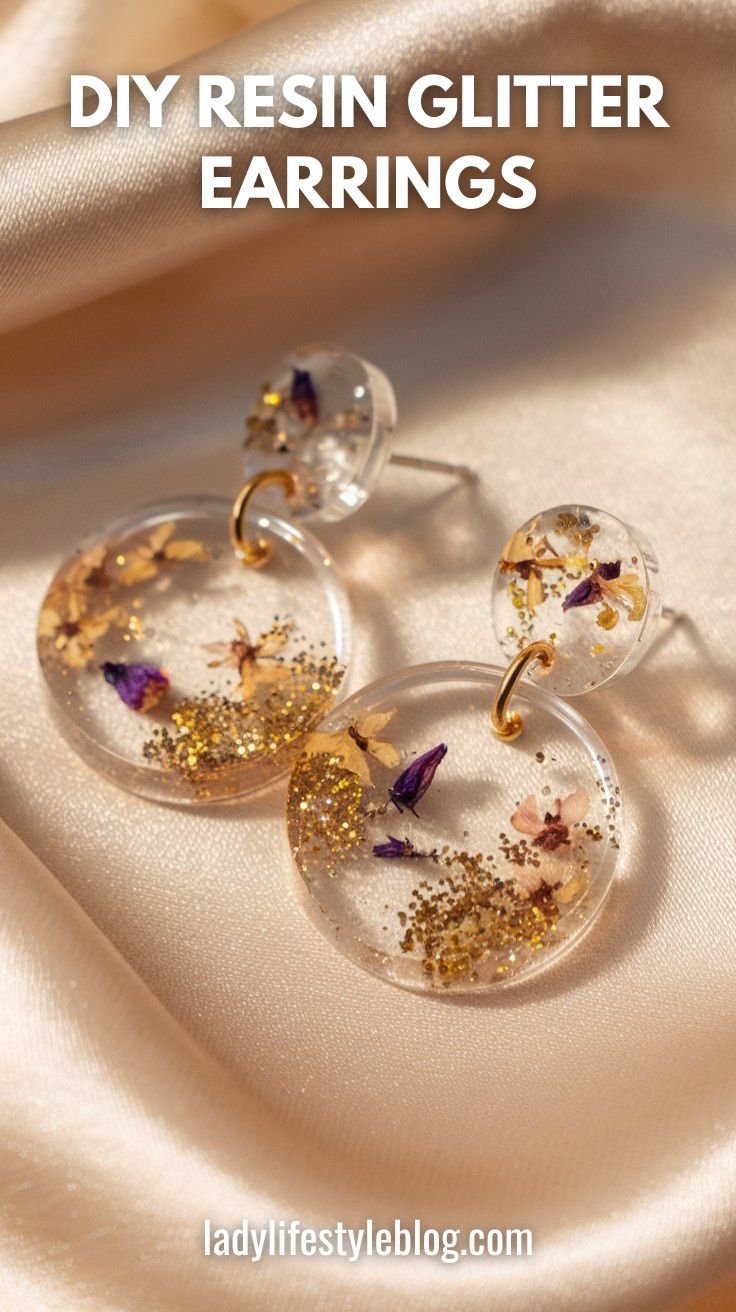
Resin Glitter Earrings
I’ve been fascinated by resin jewelry—it looks so professional yet is incredibly simple to make at home. These DIY earrings will dazzle in the sunlight!
Steps:
- Mix resin with glitter or dried flowers.
- Pour into silicone molds and let cure overnight.
- Drill a small hole for the earring post.
- Secure with jewelry glue.
Pro Tip: Use a heat gun or a lighter to remove air bubbles from the resin before it cures. This will create a clearer, more professional-looking finish.
Common Mistake: Not mixing the resin and hardener thoroughly can result in a sticky or uneven texture. Stir slowly for at least 3 minutes before pouring.
Picture This:
Tiny flecks of gold glitter suspended in clear resin, giving your ears a little magical sparkle!
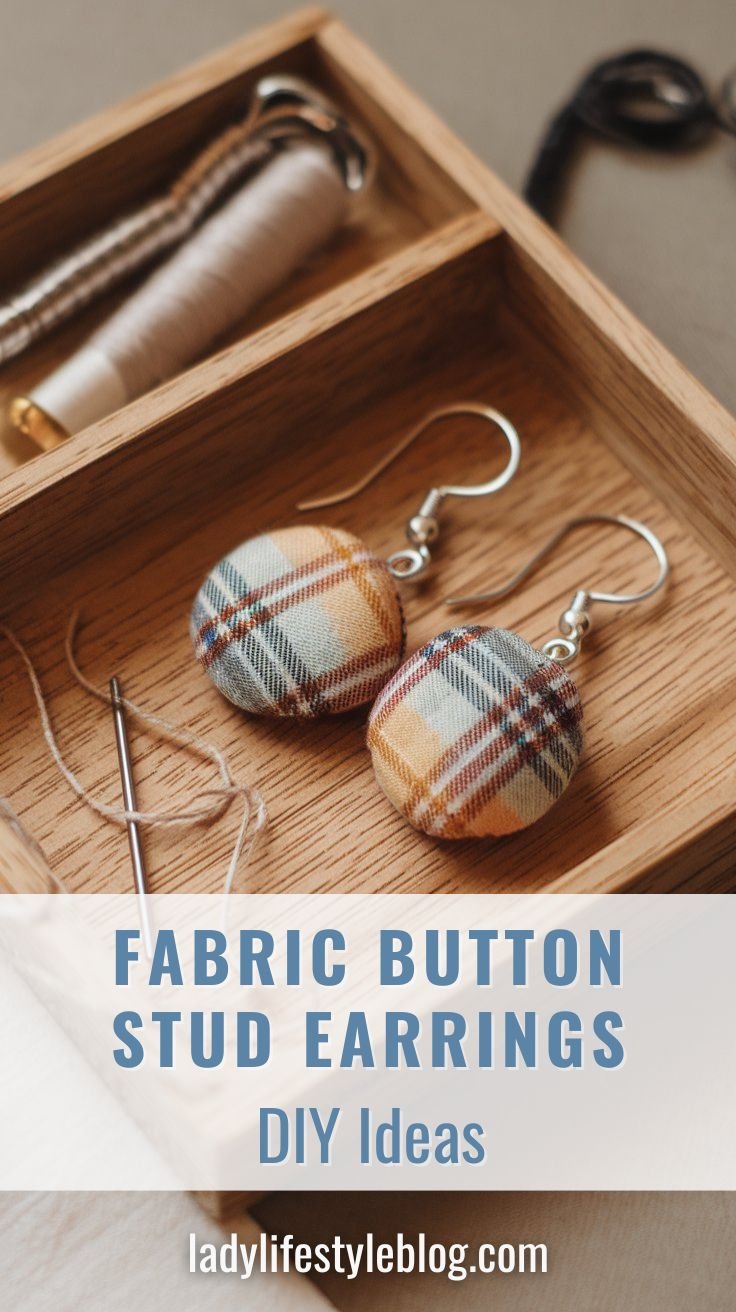
Fabric Button Stud Earrings
I started noticing how many fabric scraps I had lying around, and this project was the perfect way to use them up! These DIY earrings are unique and customizable.
Steps:
- Cut small circles of fabric and wrap them around button bases.
- Secure with strong glue and let dry.
- Attach earring posts to the back.
Pro Tip: Use a fabric stiffener before gluing to prevent fraying and ensure a clean look.
Common Mistake: Using weak glue can cause the fabric to detach over time. Choose a strong adhesive like E6000 for long-lasting results.
Picture This:
Cozy plaid fabric earrings that add a touch of warmth to any fall outfit!
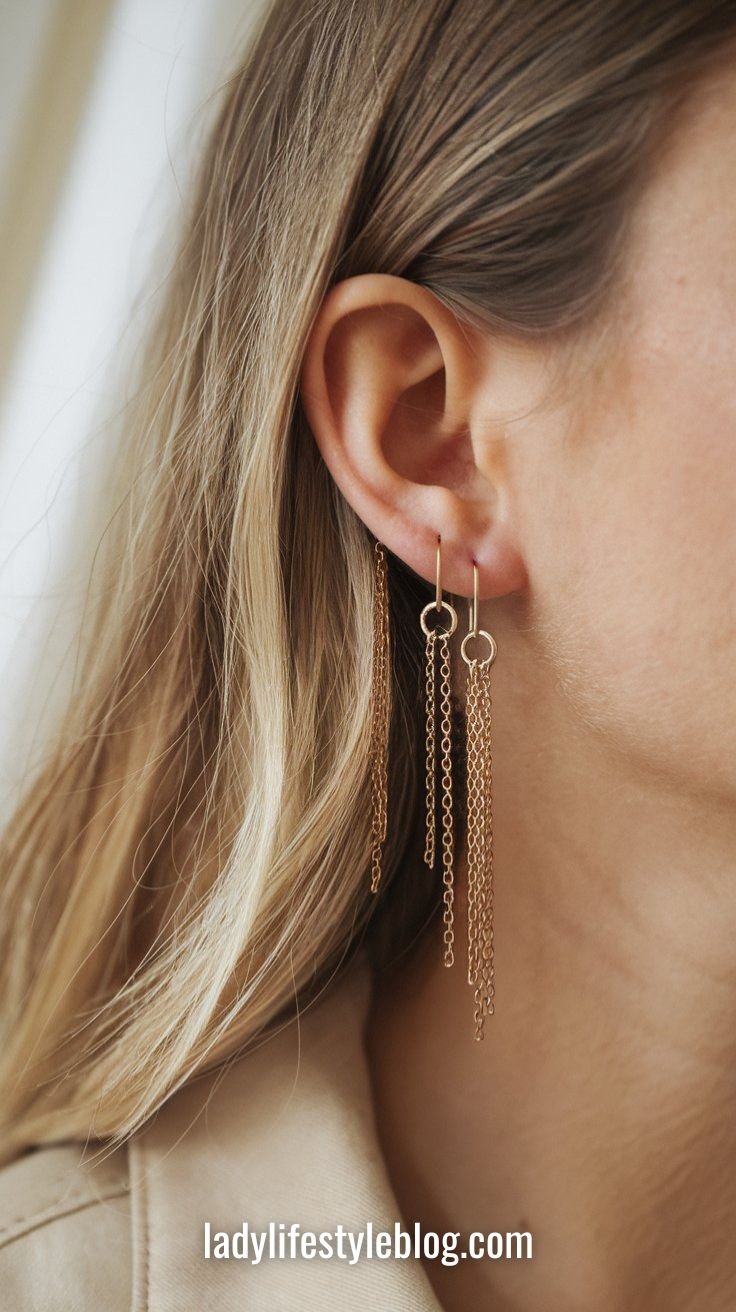
Chain Drop Earrings
These are my go-to when I want something simple yet sophisticated. They’re minimalistic but make a statement!
Steps:
- Cut delicate chains into different lengths.
- Attach them to a jump ring and then to an earring hook.
- Experiment with different chain styles for a layered look.
Pro Tip: Mix chain textures (smooth, twisted, or beaded chains) for a more high-end, layered effect.
Common Mistake: Cutting the chains unevenly can throw off the symmetry. Double-check measurements before attaching them.
Picture This:
Gold and silver chains cascading elegantly down, perfect for a night out!
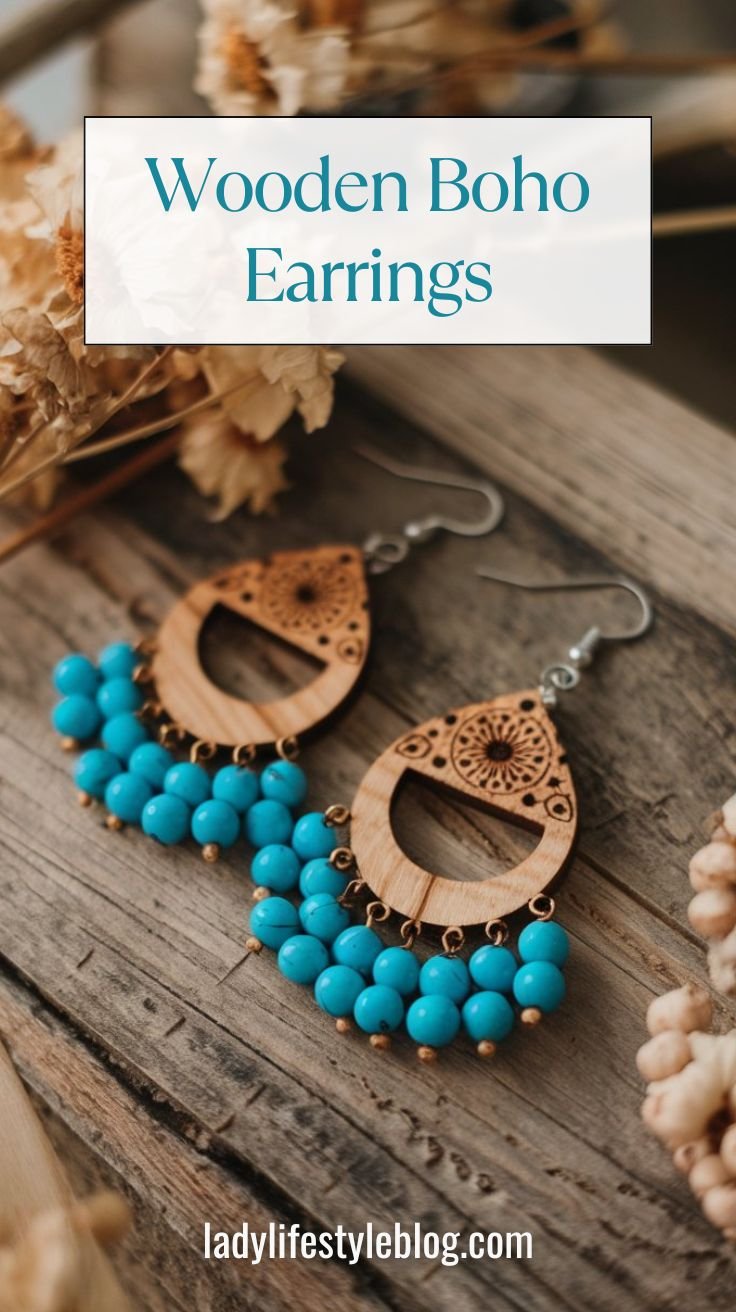
Wooden Boho Earrings
I love the natural, earthy vibe of wooden jewelry. These earrings feel organic yet stylish.
Steps:
- Paint or stain wooden beads or shapes.
- Drill a small hole for the jump ring.
- Attach to earring hooks and let dry completely.
Pro Tip: Seal wooden pieces with a thin coat of clear varnish or wax to protect against moisture and extend their lifespan.
Common Mistake: Drilling holes too close to the edge can cause the wood to split. Place holes at least ¼ inch from the edge for better durability.
Picture This:
Warm wooden accents paired with turquoise beads for the ultimate bohemian statement!
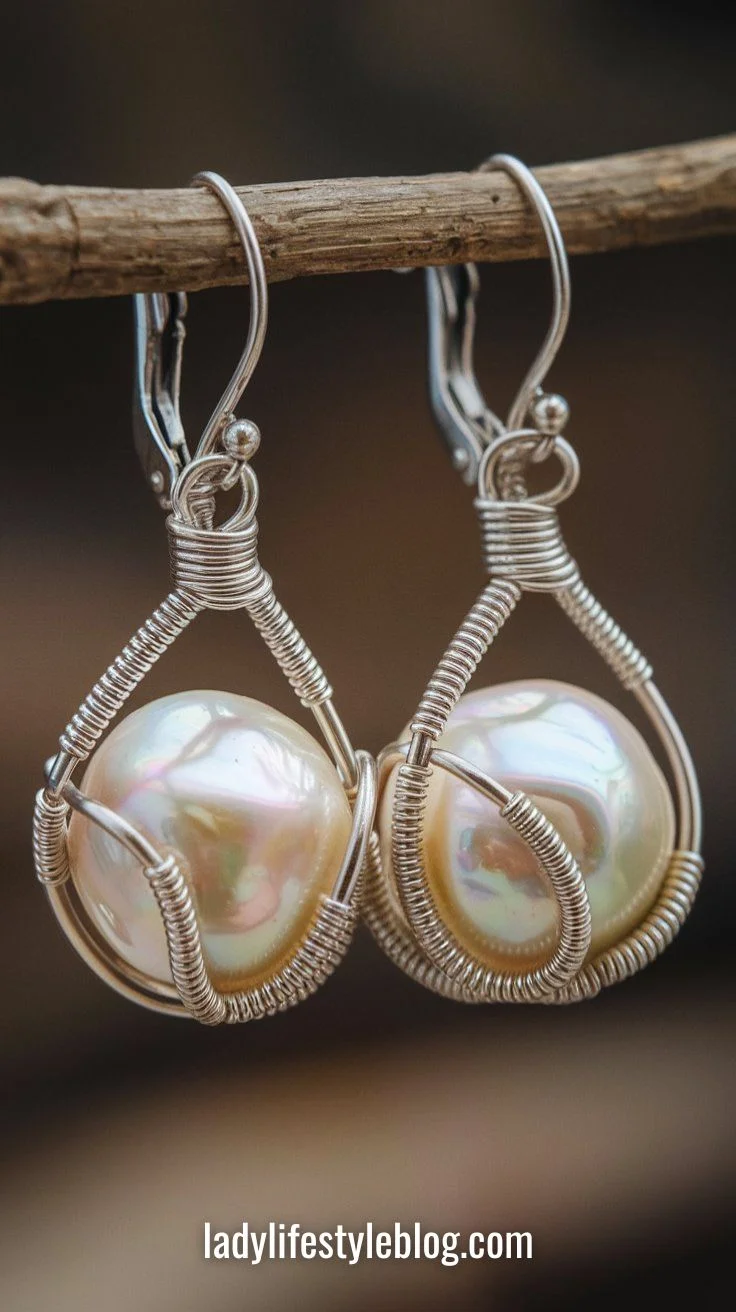
Pearl Wire-Wrapped Earrings
For me, pearls are the definition of timeless elegance. This wire-wrapped style adds a modern twist.
Steps:
- Thread a pearl onto jewelry wire.
- Wrap the wire creatively around the pearl.
- Attach to an earring hook.
Pro Tip: Use half-hard jewelry wire for better control and structure when wrapping around the pearl.
Common Mistake: Wrapping the wire too tightly can crack delicate pearls. Leave a little space for a softer, more elegant wrap.
Picture This:
A delicate, handcrafted pearl nestled in swirling gold wire—pure sophistication!
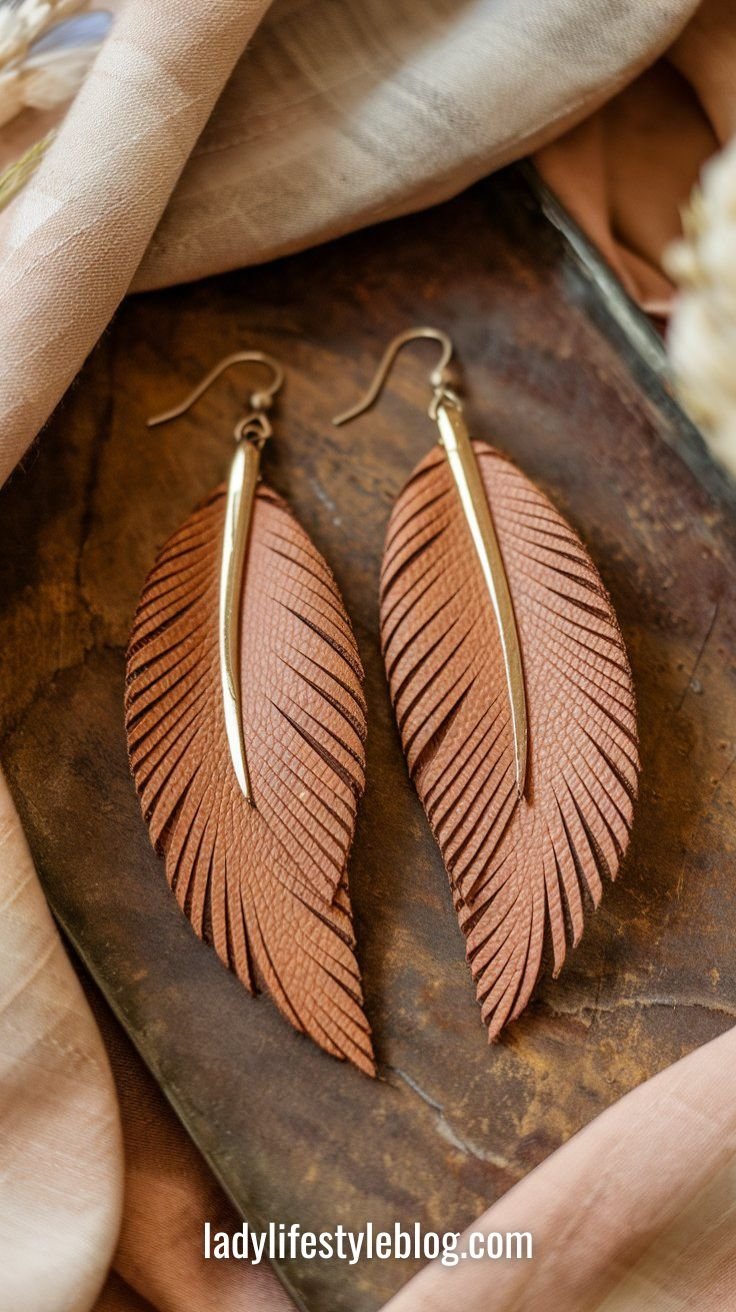
Leather Feather Earrings
If you love a mix of edgy and boho, these DIY earrings are for you!
Steps:
- Cut leather into feather shapes.
- Use a craft knife to add fine details.
- Punch a hole at the top and attach to earring hooks.
Pro Tip: Use a craft knife or fine scissors to create realistic feather details in the leather for a more high-end finish.
Common Mistake: Skipping edge sealing can make the leather fray over time. Use an edge finisher or clear glue to keep it looking sharp.
Picture This:
Soft suede feathers in neutral tones, swaying gently as you move!
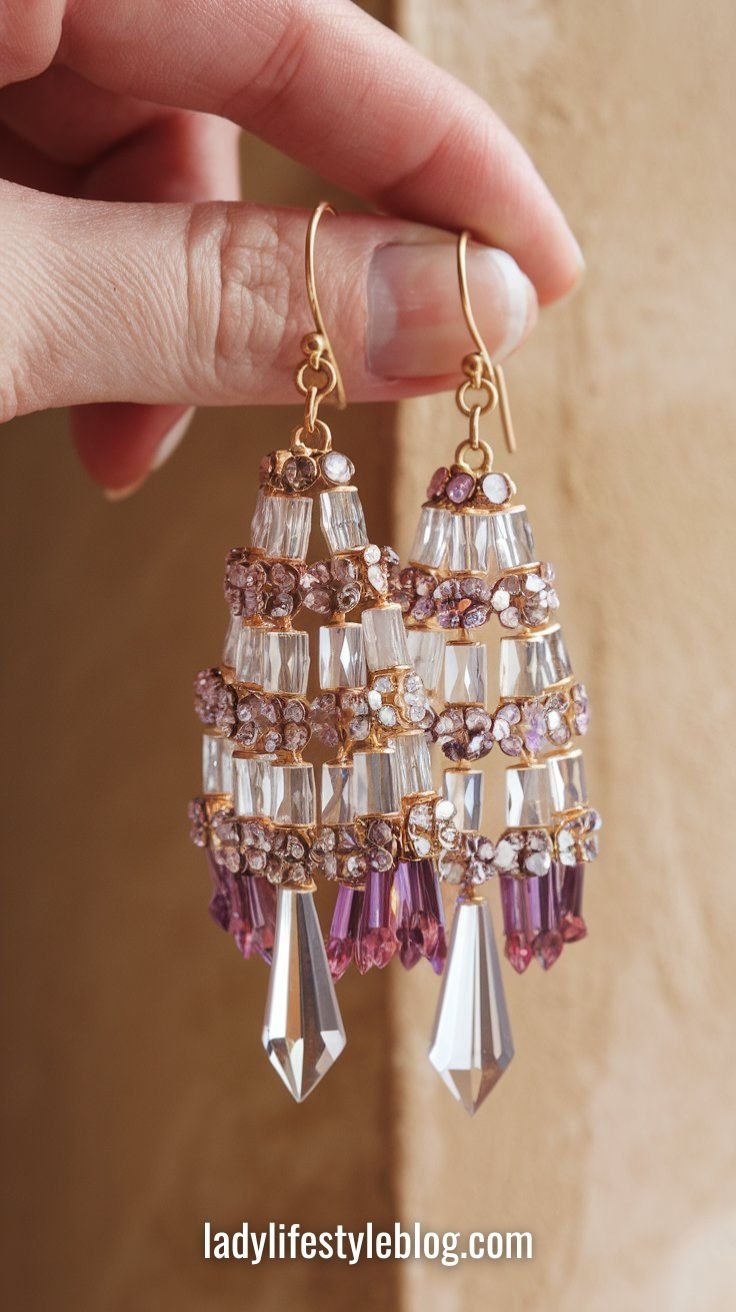
Crystal Dangle Earrings
I hope you love a bit of glam because these crystal drop earrings are pure elegance!
Steps:
- Select small crystal pendants.
- Attach them to jump rings and earring hooks.
- Customize with gold or silver accents.
Pro Tip: Attach a tiny jump ring between the crystal and the earring hook to give the crystal more movement and sparkle.
Common Mistake: Using low-quality crystal or glass can make the earrings look cheap. Choose Swarovski or high-quality glass beads for maximum shine.
Picture This:
Glowing crystals catching the light, making you feel effortlessly elegant!
Troubleshooting Your DIY Earrings
Even with the best techniques, things don’t always go as planned. Here are some common DIY earring problems and how to fix them.
1. Earrings Feel Too Heavy
- Fix: Use lighter materials like polymer clay, resin, or thin metal charms. Avoid bulky beads or multiple layers of heavy chains.
2. Jump Rings Keep Coming Undone
- Fix: Always twist, don’t pull when opening jump rings. If they keep opening, switch to a thicker gauge jump ring (like 18-20 gauge) for extra security.
3. Glue Isn’t Holding
- Fix: Use a strong jewelry glue like E6000 and let it cure for 24 hours. If gluing metal, lightly sand the surface first for better adhesion.
4. Resin Earrings Are Cloudy or Sticky
- Fix: If your resin is cloudy, polish it with a fine microfiber cloth. If it’s sticky, it wasn’t mixed properly—apply a fresh coat of correctly mixed resin to fix it.
5. Tassels Look Messy
- Fix: Use starch spray or fabric stiffener to keep tassels looking neat and uniform.
6. Leather Earrings Are Curling or Fraying
- Fix: Seal the edges with clear fabric glue or edge sealer to keep them smooth and professional-looking.
Conclusion
There you have it—10 boutique-worthy DIY earrings you can make right at home! I hope this list has inspired you to try something new. Whether you prefer elegant pearls, trendy polymer clay, or boho tassels, there’s a style for everyone. Plus, handmade earrings make thoughtful gifts that show off your creativity.
Which one will you try first? Grab your supplies and get crafting—your jewelry box is about to get a major upgrade!
At Lady Lifestyle Blog, I use AI as a tool to assist with research, idea generation, and content refinement. While much of my content is shaped with AI’s help, I personally review and adjust each post to ensure it aligns with the blog’s style and purpose. My focus is on providing stylish, creative, and practical inspiration for every modern lady!